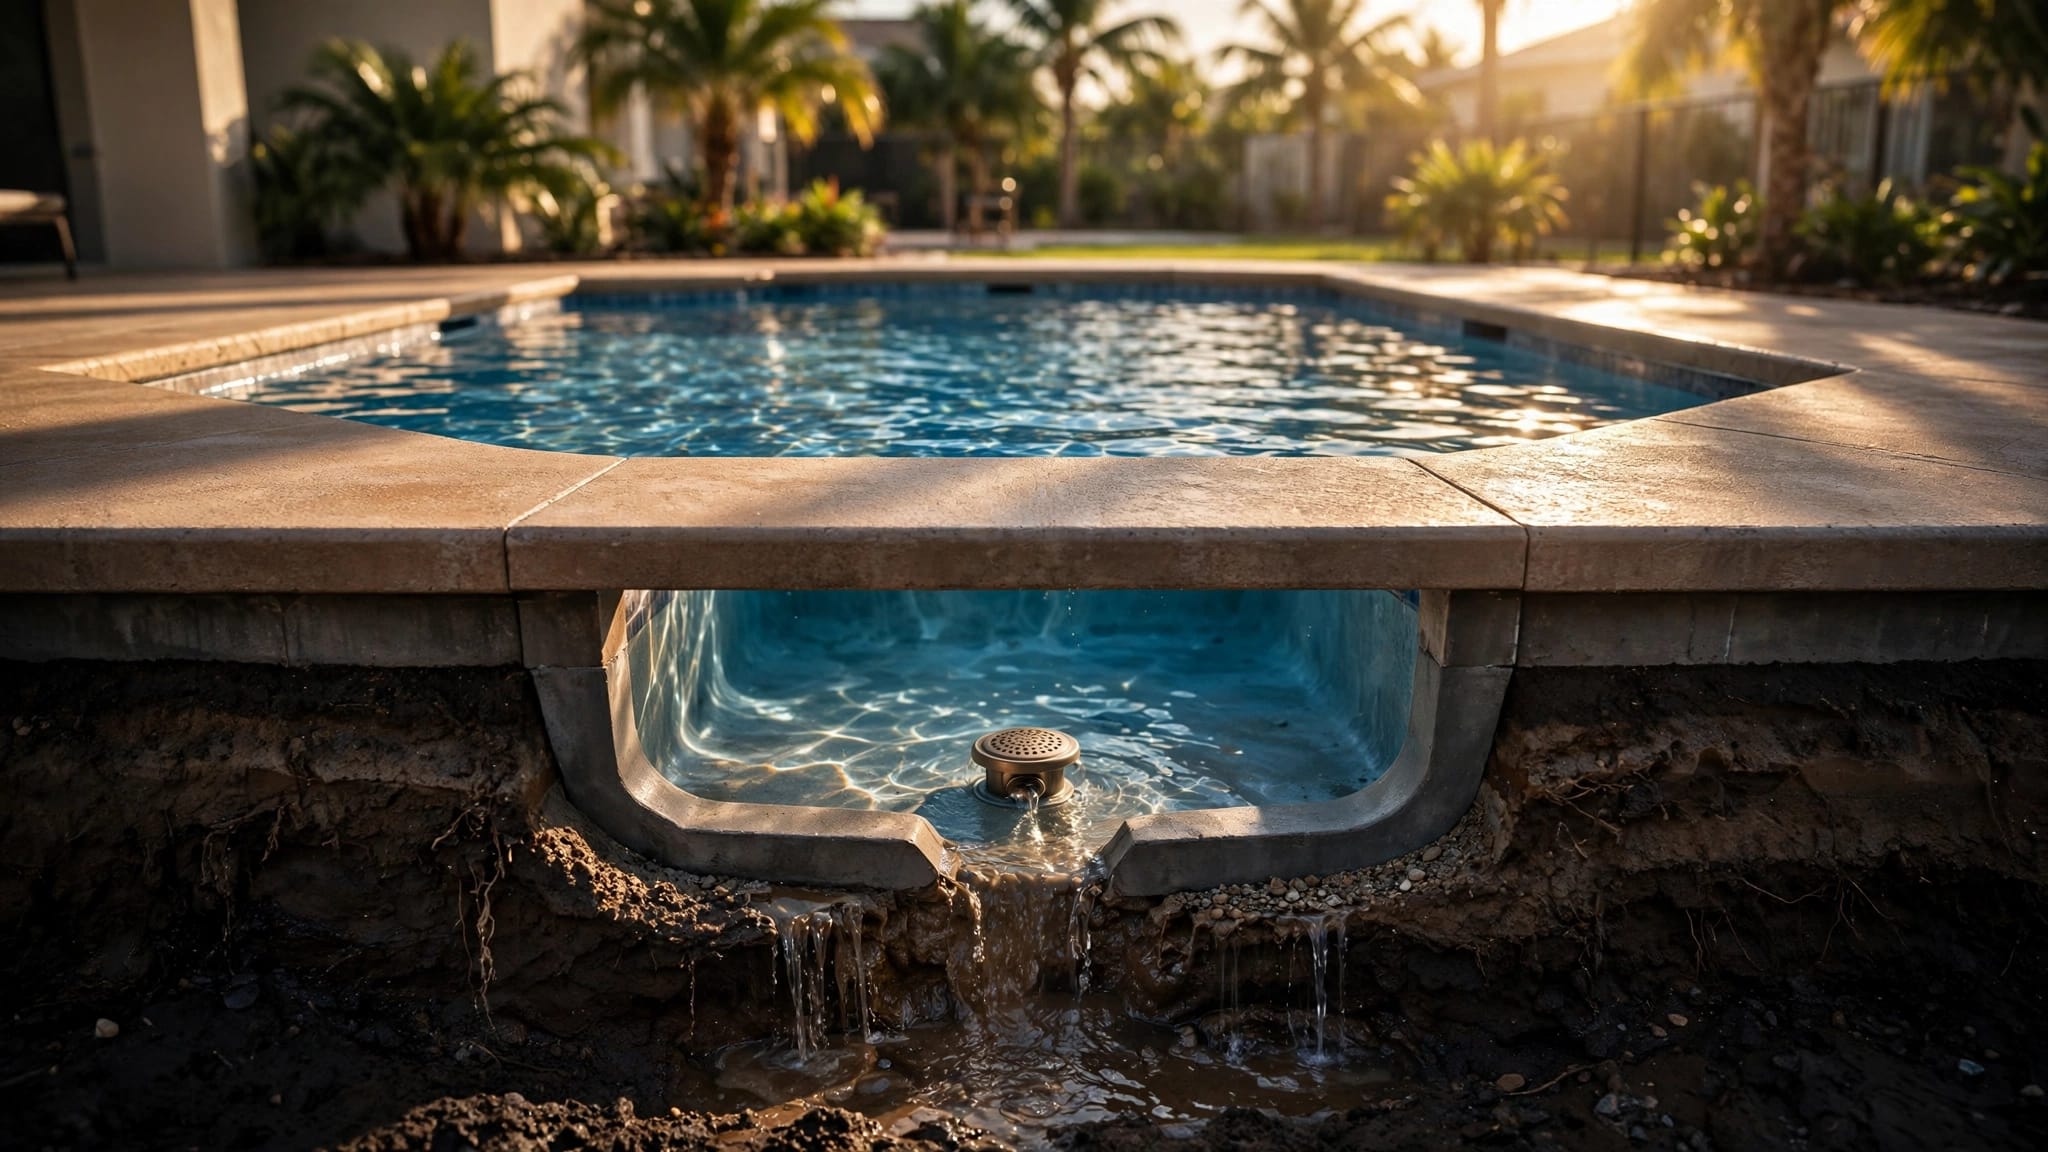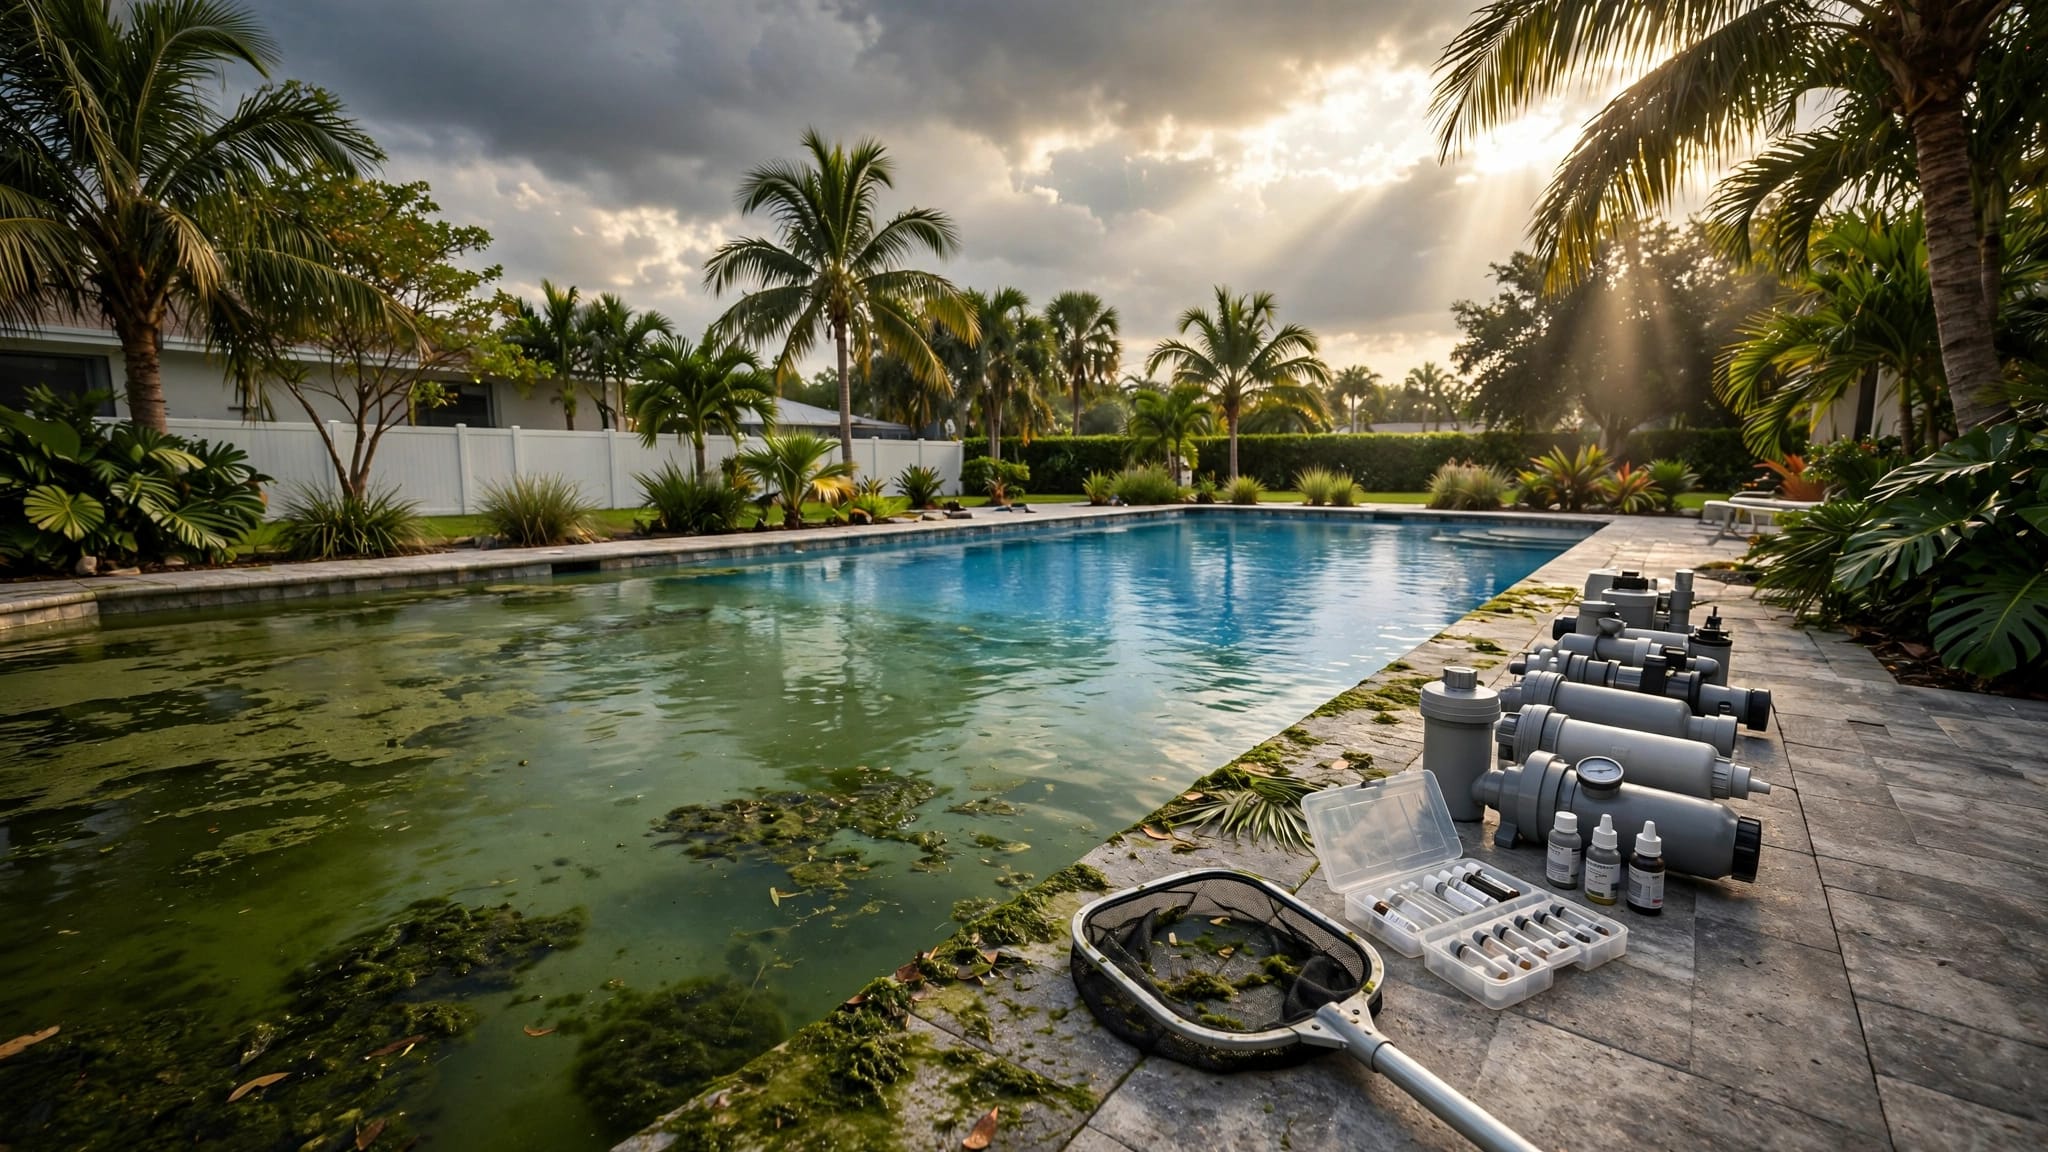
A pool can lose water for ordinary reasons, but a steady drop can also point to a repair that should not wait. Pool leak detection helps separate normal evaporation from a shell, plumbing, or equipment issue before water loss affects the deck, soil, or pool systems.
Cape Coral heat, wind, rainfall, splash-out, and automatic fillers can all complicate the picture. A careful test sequence gives you useful clues without guessing at the source.
Key Takeaways
Each leak test answers a different question. A reliable diagnosis often comes from comparing several findings instead of relying on one result.
| Test method | What it can reveal | What it cannot confirm alone |
|---|---|---|
| Water-level comparison | Whether the pool loses more water than a nearby sample | The exact leak location |
| Dye testing | Whether water movement appears near a visible crack or fitting | The full condition of the shell or plumbing |
| Pressure testing | Whether an isolated plumbing line holds controlled pressure | Where a failed line sits underground |
| Equipment inspection | Whether water escapes at accessible components | Whether hidden plumbing also has a leak |
| Acoustic testing | Whether pressurized plumbing produces detectable leak noise | A guaranteed repair location in every yard |
The clearest warning signs include water loss that exceeds a controlled comparison, damp soil or pavers, persistent wet areas near equipment, air bubbles at return jets, or a pool level that stops dropping at the same elevation.
A test result is a clue, not a repair plan. The pool's structure, fittings, circulation system, and surrounding deck all need context.
Pool Leak Detection Methods: Start by Separating Evaporation
Evaporation is water leaving the pool surface as vapor. It increases with heat, wind, low humidity, and direct sun. A leak sends water through an unintended opening in the shell, plumbing, fittings, or equipment.
Because Florida weather can speed up evaporation, a visible drop at the tile line does not automatically mean the pool leaks.
Use a controlled water-level comparison
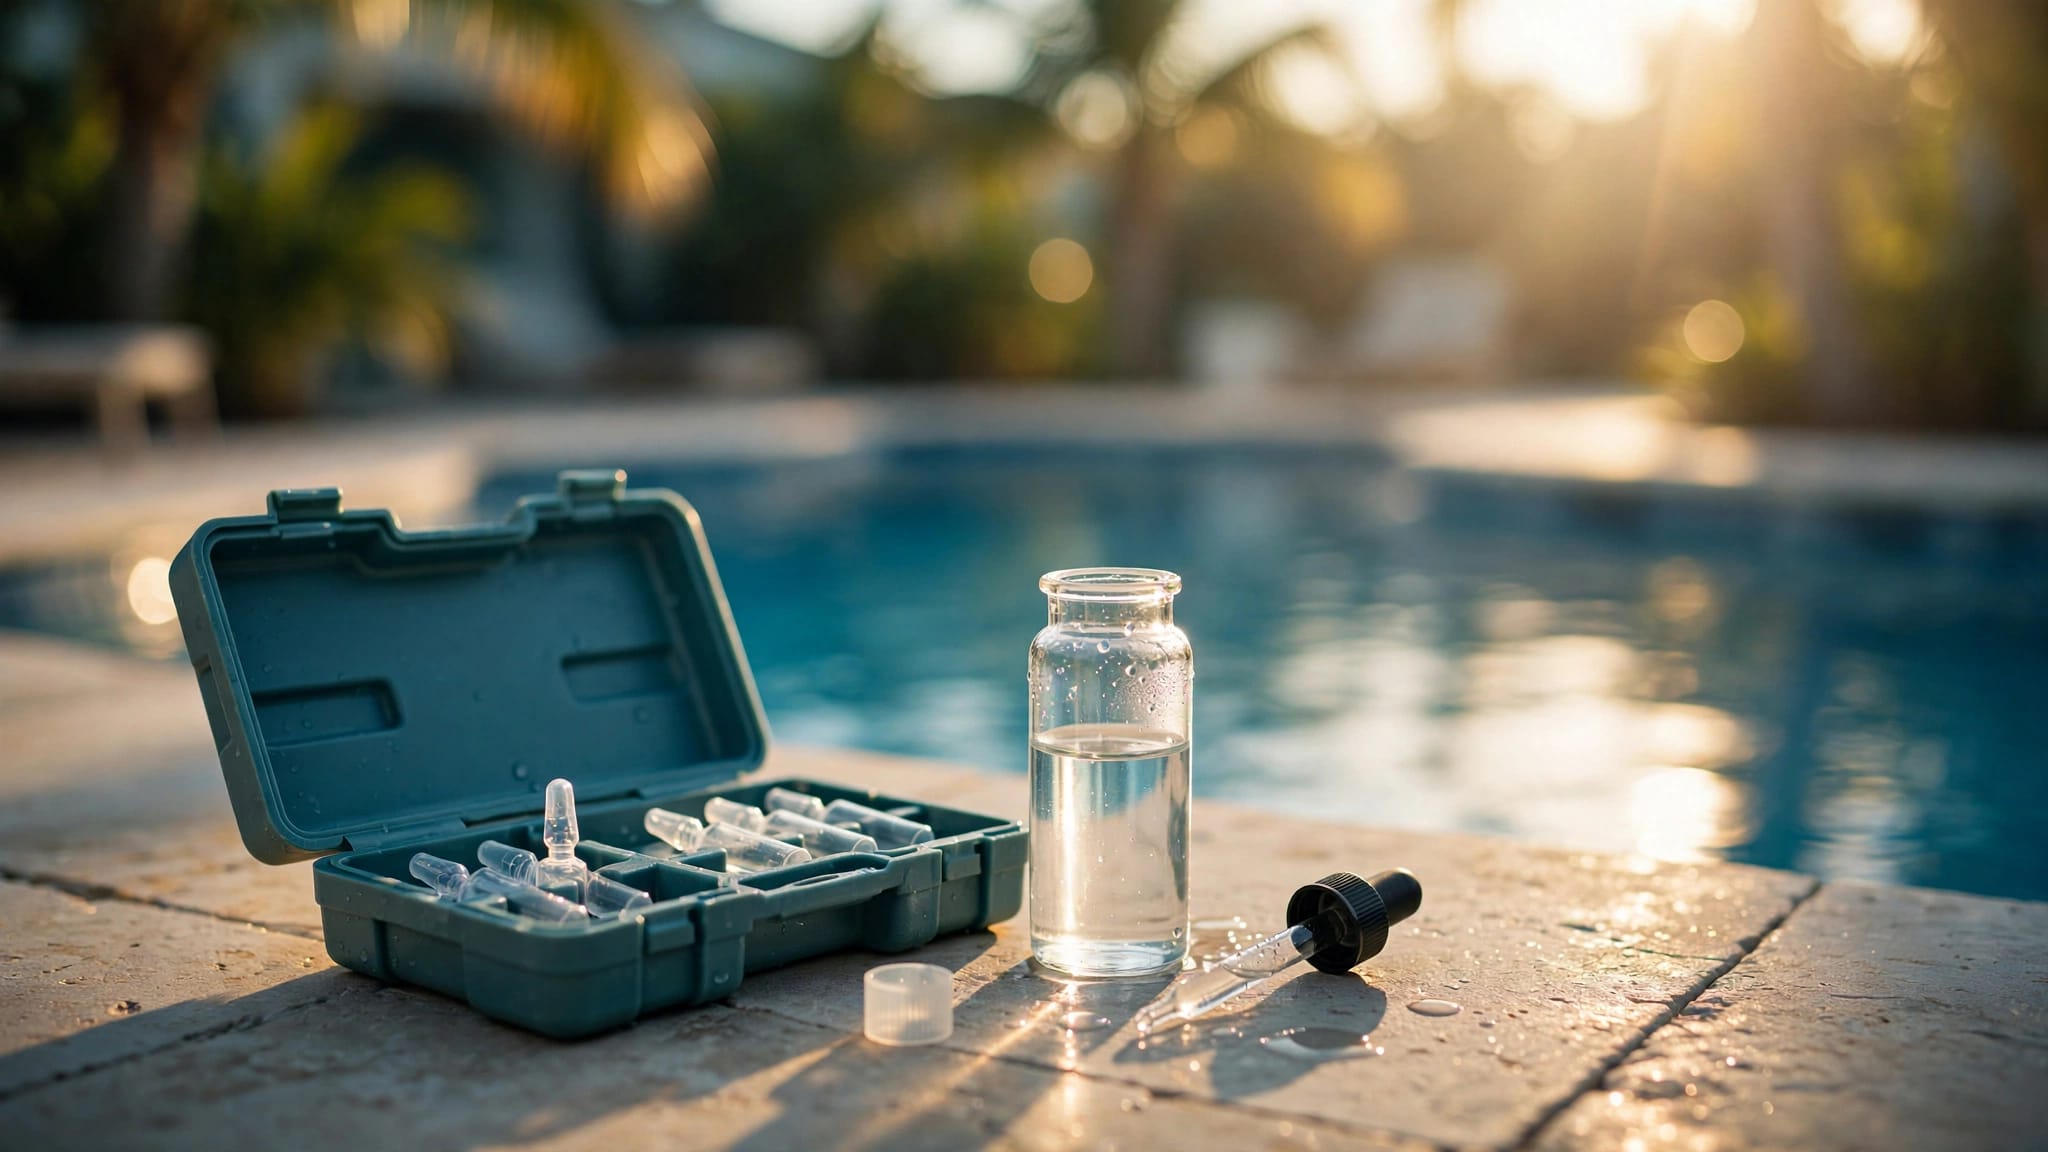
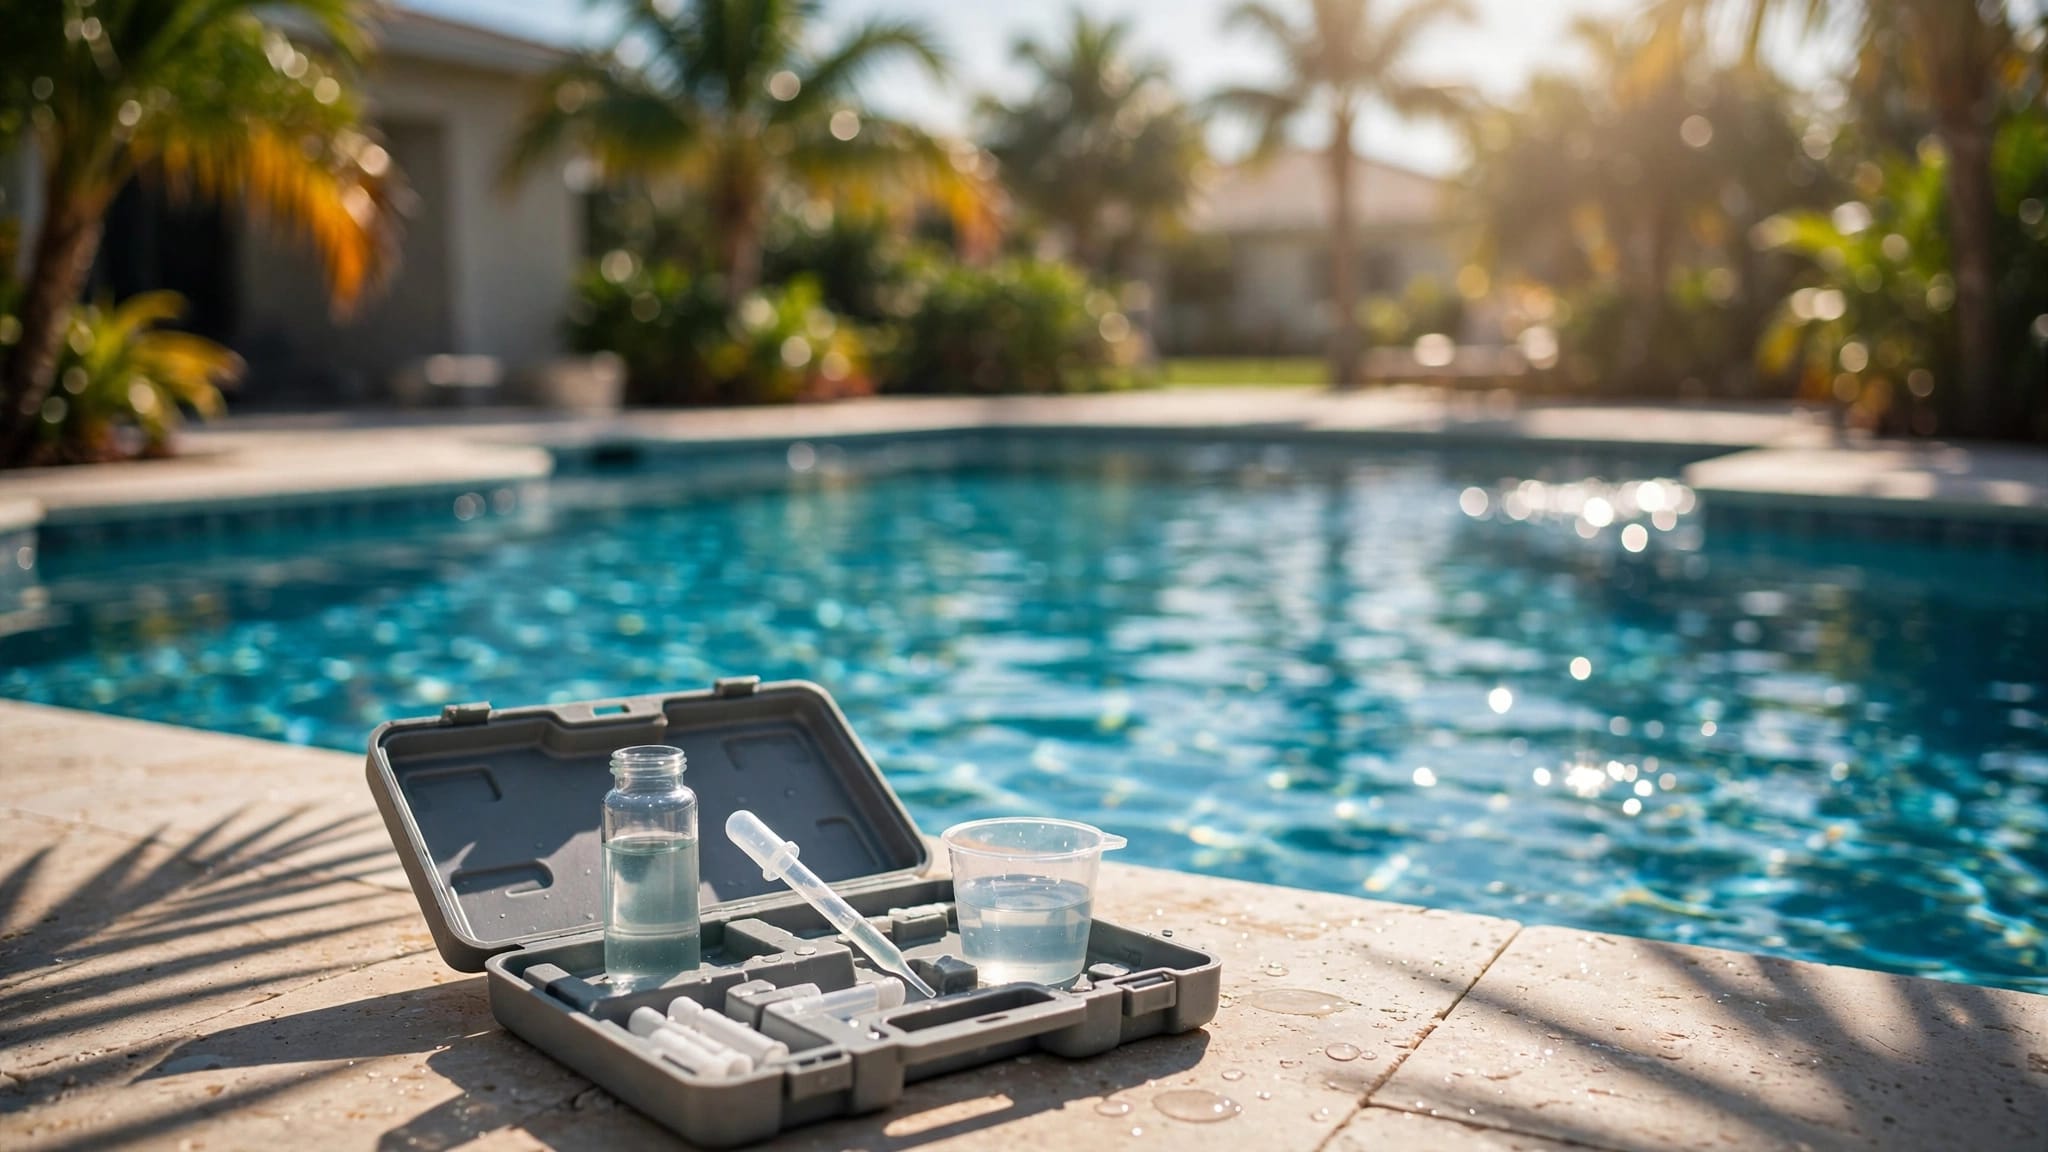
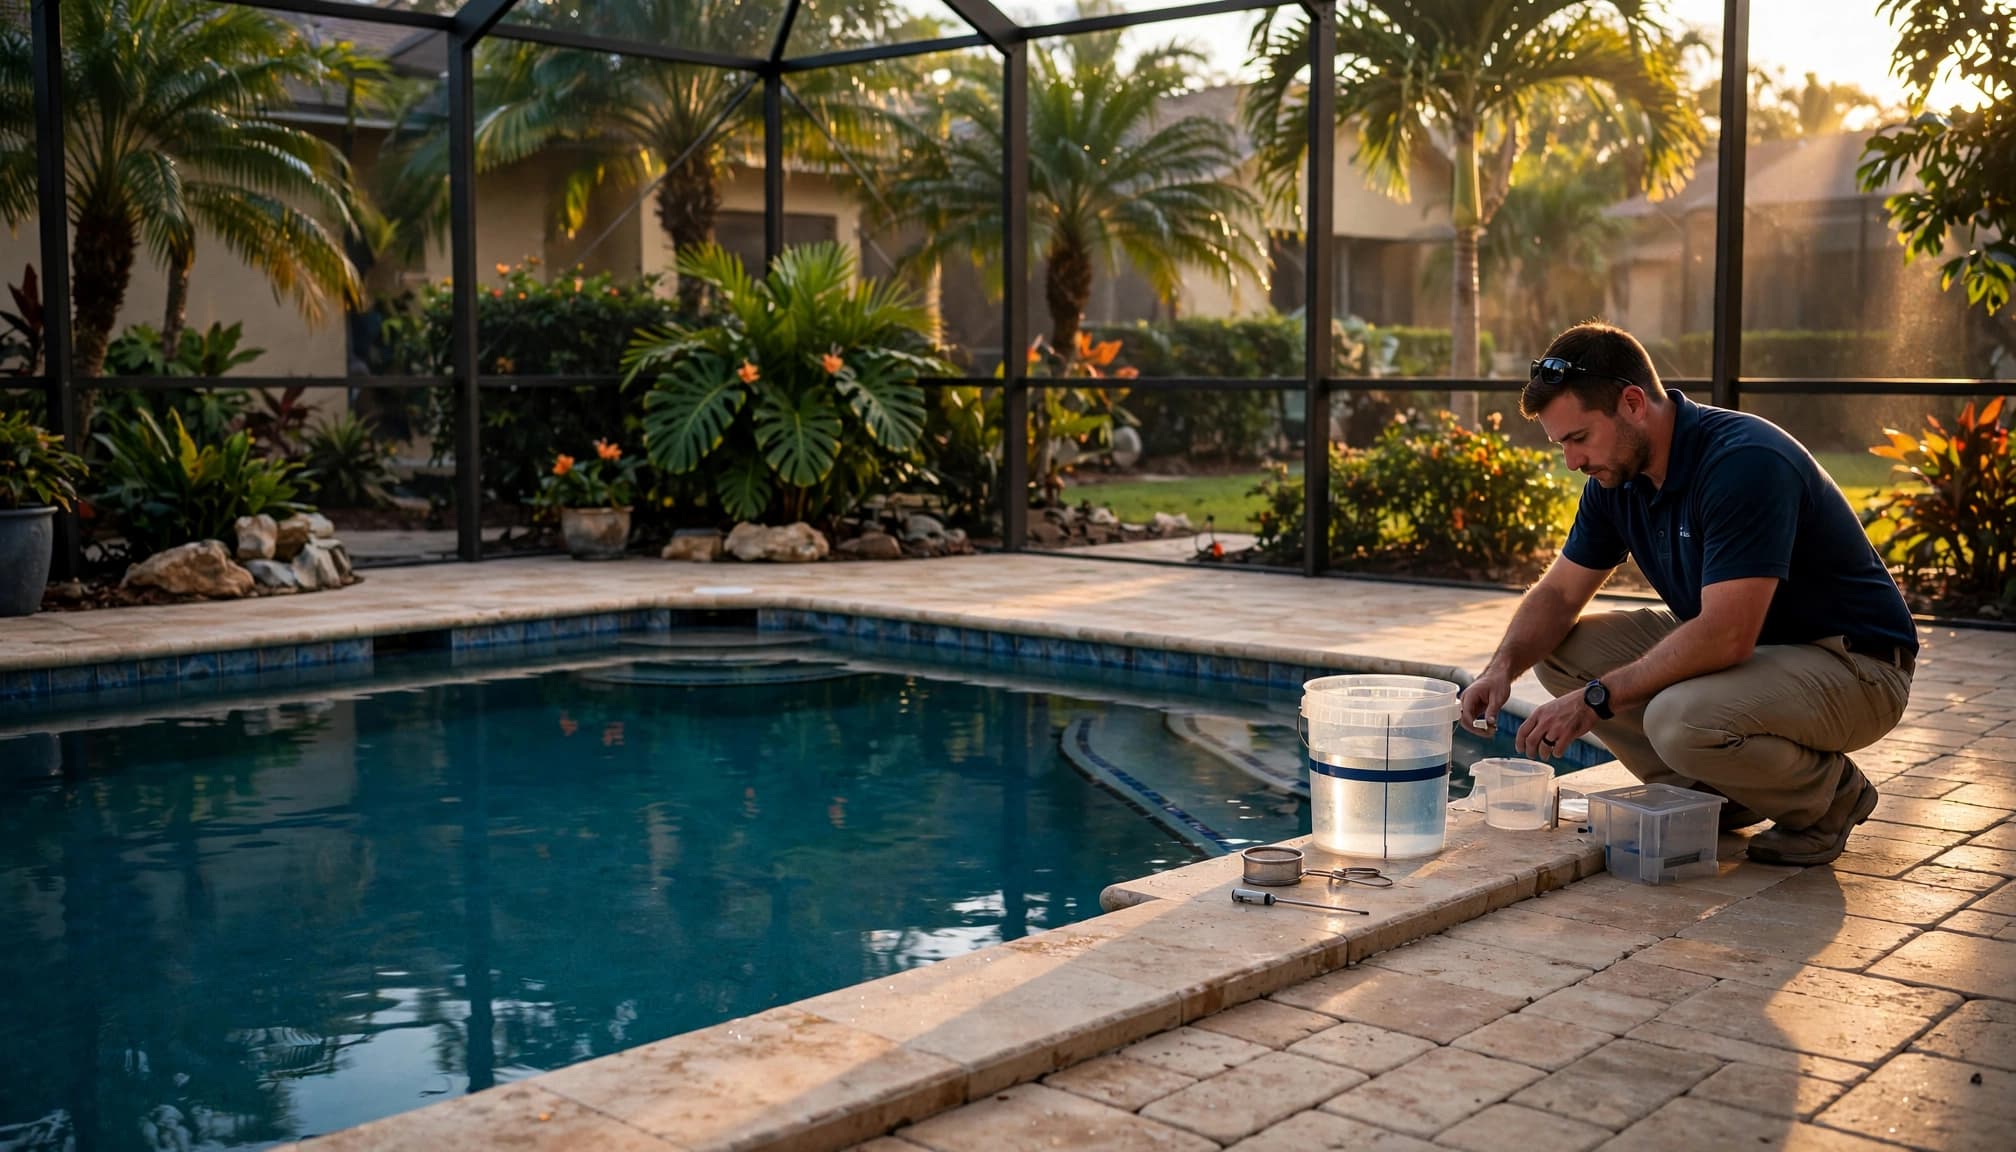
A water-level test compares the pool's loss against a container of water placed near the pool under similar conditions. The container should sit securely on a submerged step, with its water level close to the pool water level.
Mark the water level inside the container and the pool level on the outside. Keep the pool use, automatic filler activity, and test conditions consistent for the same measured interval. Rain, swimming, backwashing, and a running autofill can distort the comparison.
For a fuller picture, compare loss with the circulation system operating and during a separate period when it is off. Record each result along with weather conditions and any recent water additions.
Interpret the result with care
If the pool loses about the same amount as the sample, evaporation is a likely explanation. If the pool loses noticeably more, further inspection is warranted.
A greater loss while the pump runs can point toward a pressure-side plumbing issue or equipment leak. More loss with the pump off may direct attention to the shell, fittings, suction plumbing, or a static waterline opening. Neither pattern identifies the exact source by itself.
Don't drain a pool to test a suspected leak. Water inside the pool helps support the structure, and groundwater conditions can create serious risks when a pool is empty.
Dye Testing Around the Pool Shell and Fittings
A shell leak allows water to pass through the pool vessel. It may occur at a crack, loose fitting, skimmer throat, return fitting, light niche, drain, or damaged interior finish. However, a visible crack does not automatically carry water through the shell.
Dye testing focuses on a small, visible area where a leak path is suspected.
What dye movement can show
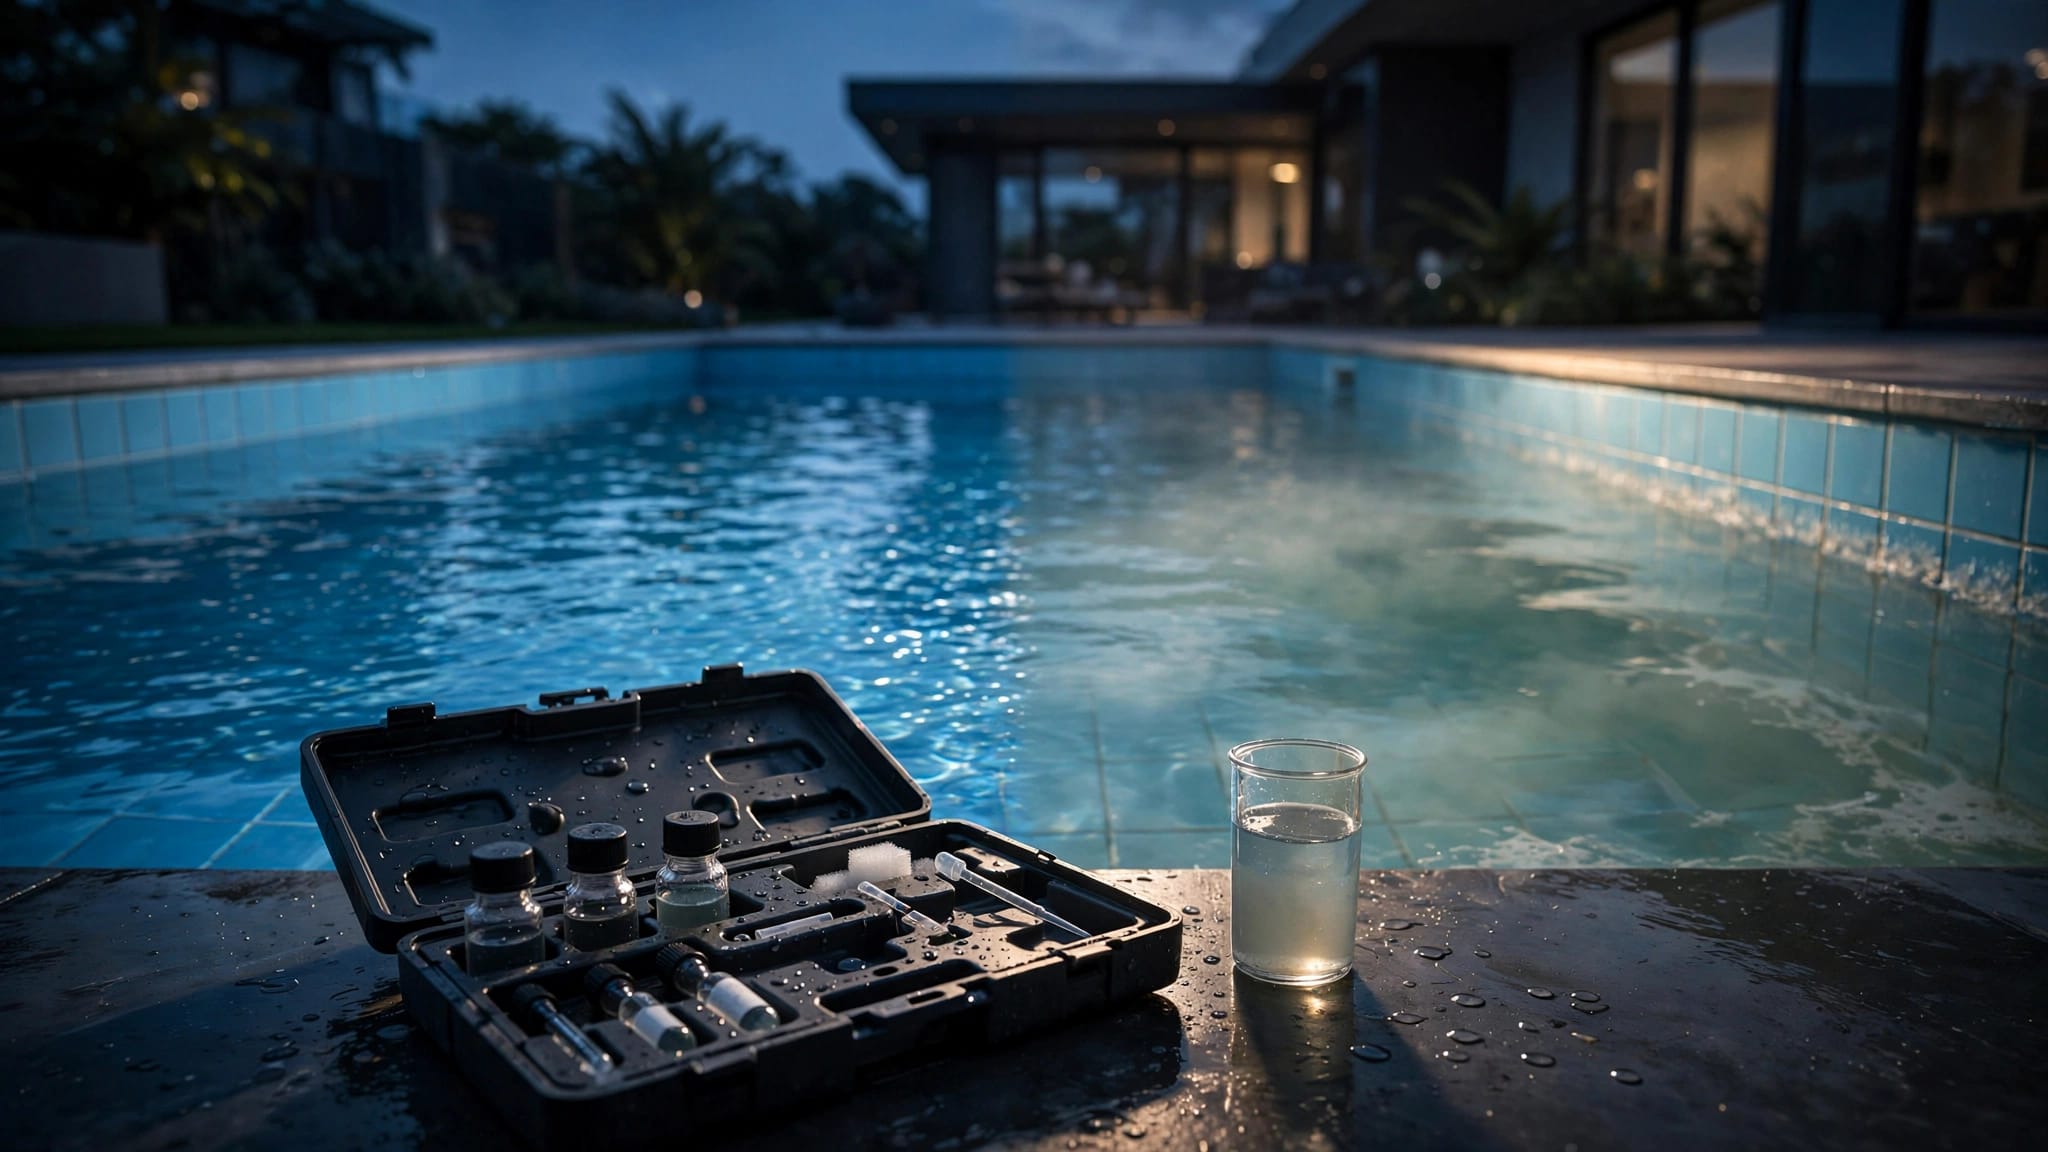
With still water and circulation stopped when appropriate, a technician may release a small amount of test dye near a crack, fitting, or suspected gap. Dye that moves consistently toward one point can suggest water is drawing through that location.
This method is useful around wall penetrations and surface defects that can be seen. It can also help distinguish a stain or harmless finish crack from an area that deserves closer evaluation.
Water currents can mislead the test. Wind, a nearby return jet, body movement, or residual circulation may pull dye in a direction unrelated to a leak.
Use extra caution near drains and lights
Do not place hands, tools, or dye near an active main drain. Keep swimmers out of the pool during any inspection, and do not remove a light fixture or open an electrical component to investigate water loss.
A suspected leak around a light, conduit, or electrical connection needs professional evaluation. Likewise, do not chip into plaster, concrete, or tile to chase a crack. That can enlarge the damage and make later repair harder to assess.
When a pool's water level repeatedly stops at the height of a crack, skimmer opening, or return, that elevation is a useful clue. Plumbing and fitting leaks can produce a similar pattern, so it still calls for a broader inspection.
Pressure Testing Plumbing and Checking Equipment
A plumbing leak occurs in a circulation line that carries water between the pool and the equipment pad. It may sit underground and leave little or no visible water at the surface.
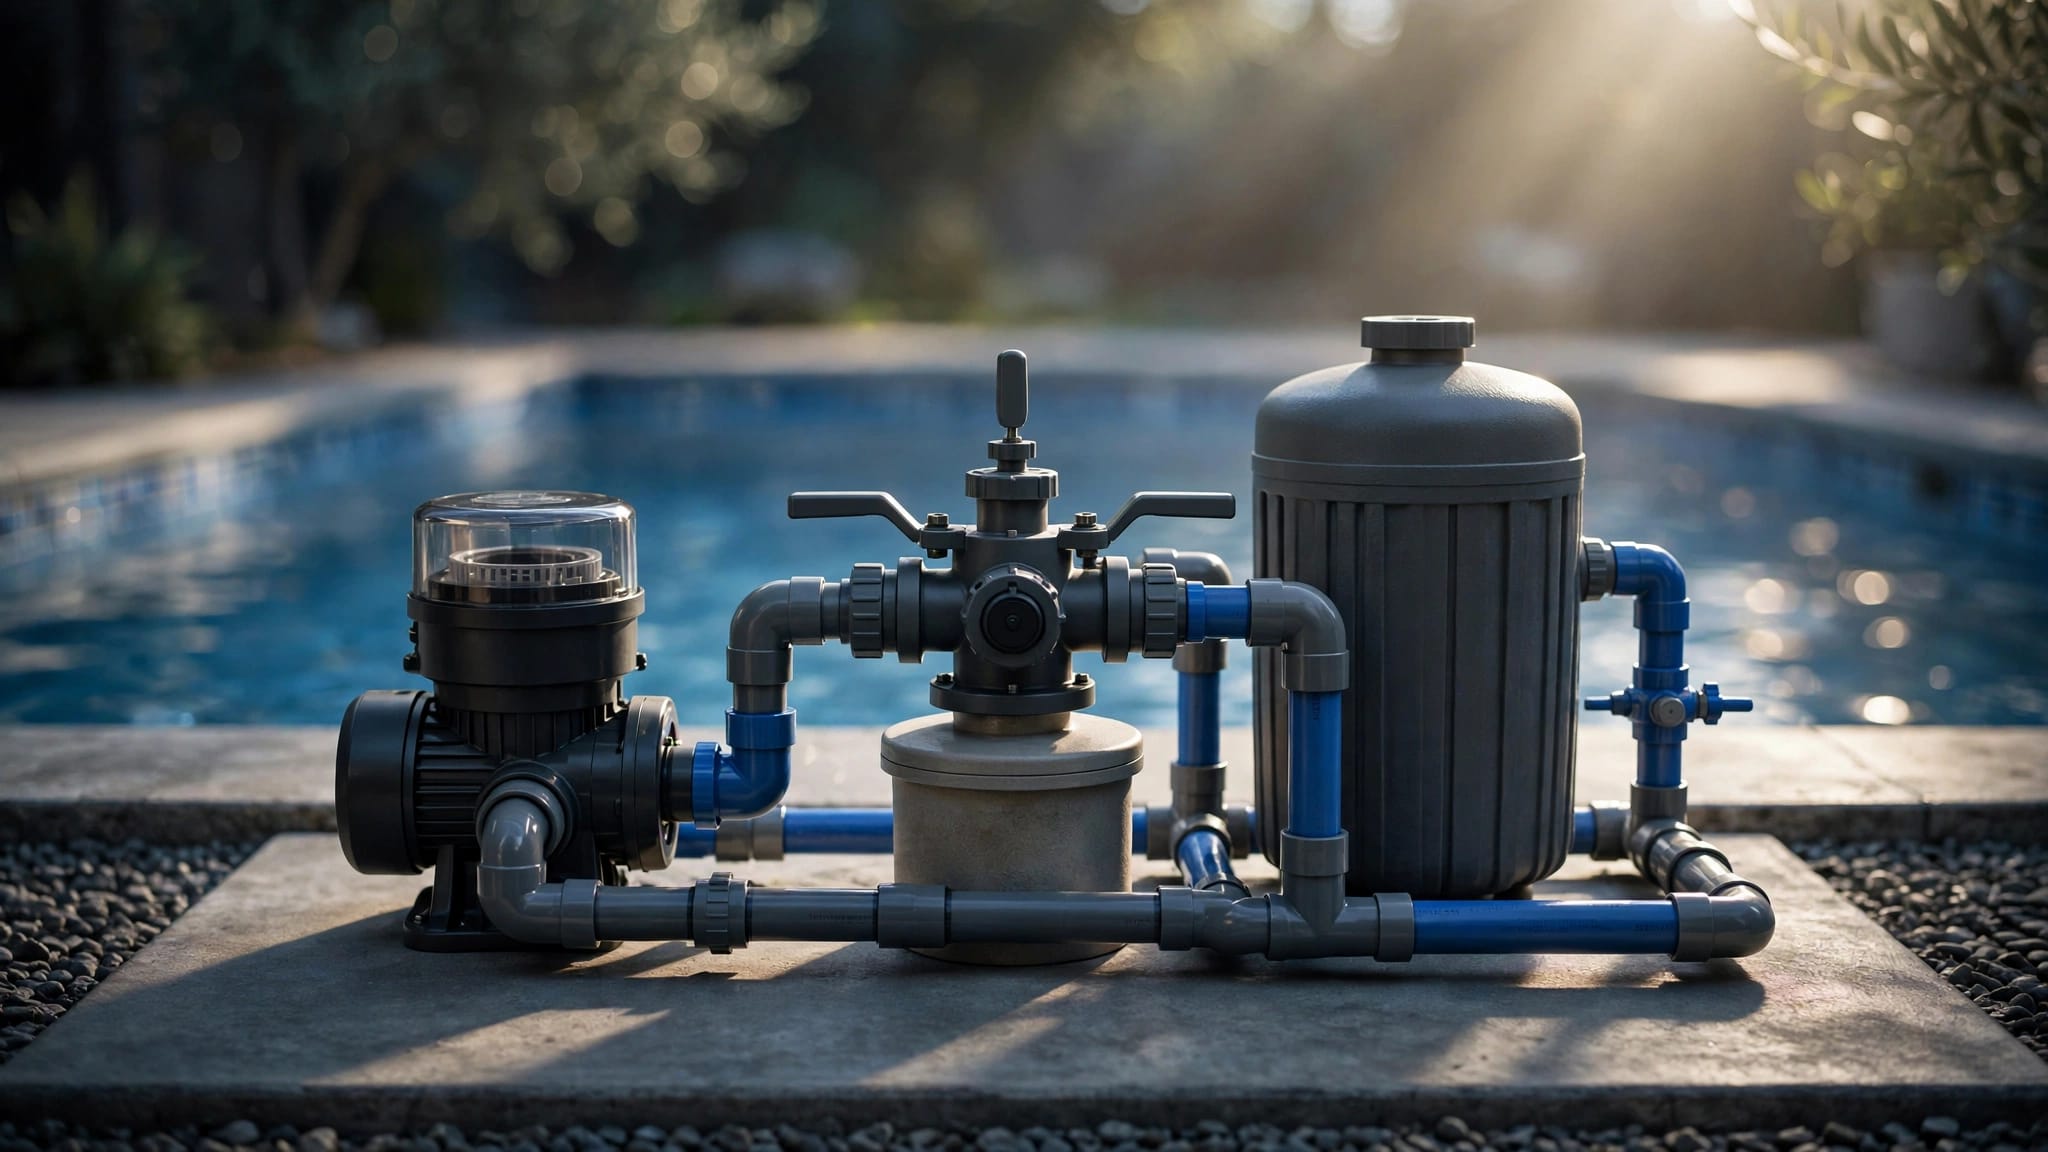
An equipment-related leak is usually easier to see. Water may drip or spray from the pump, filter, heater, valve, pipe fitting, or salt system while the pool is running.
What pressure testing can reveal
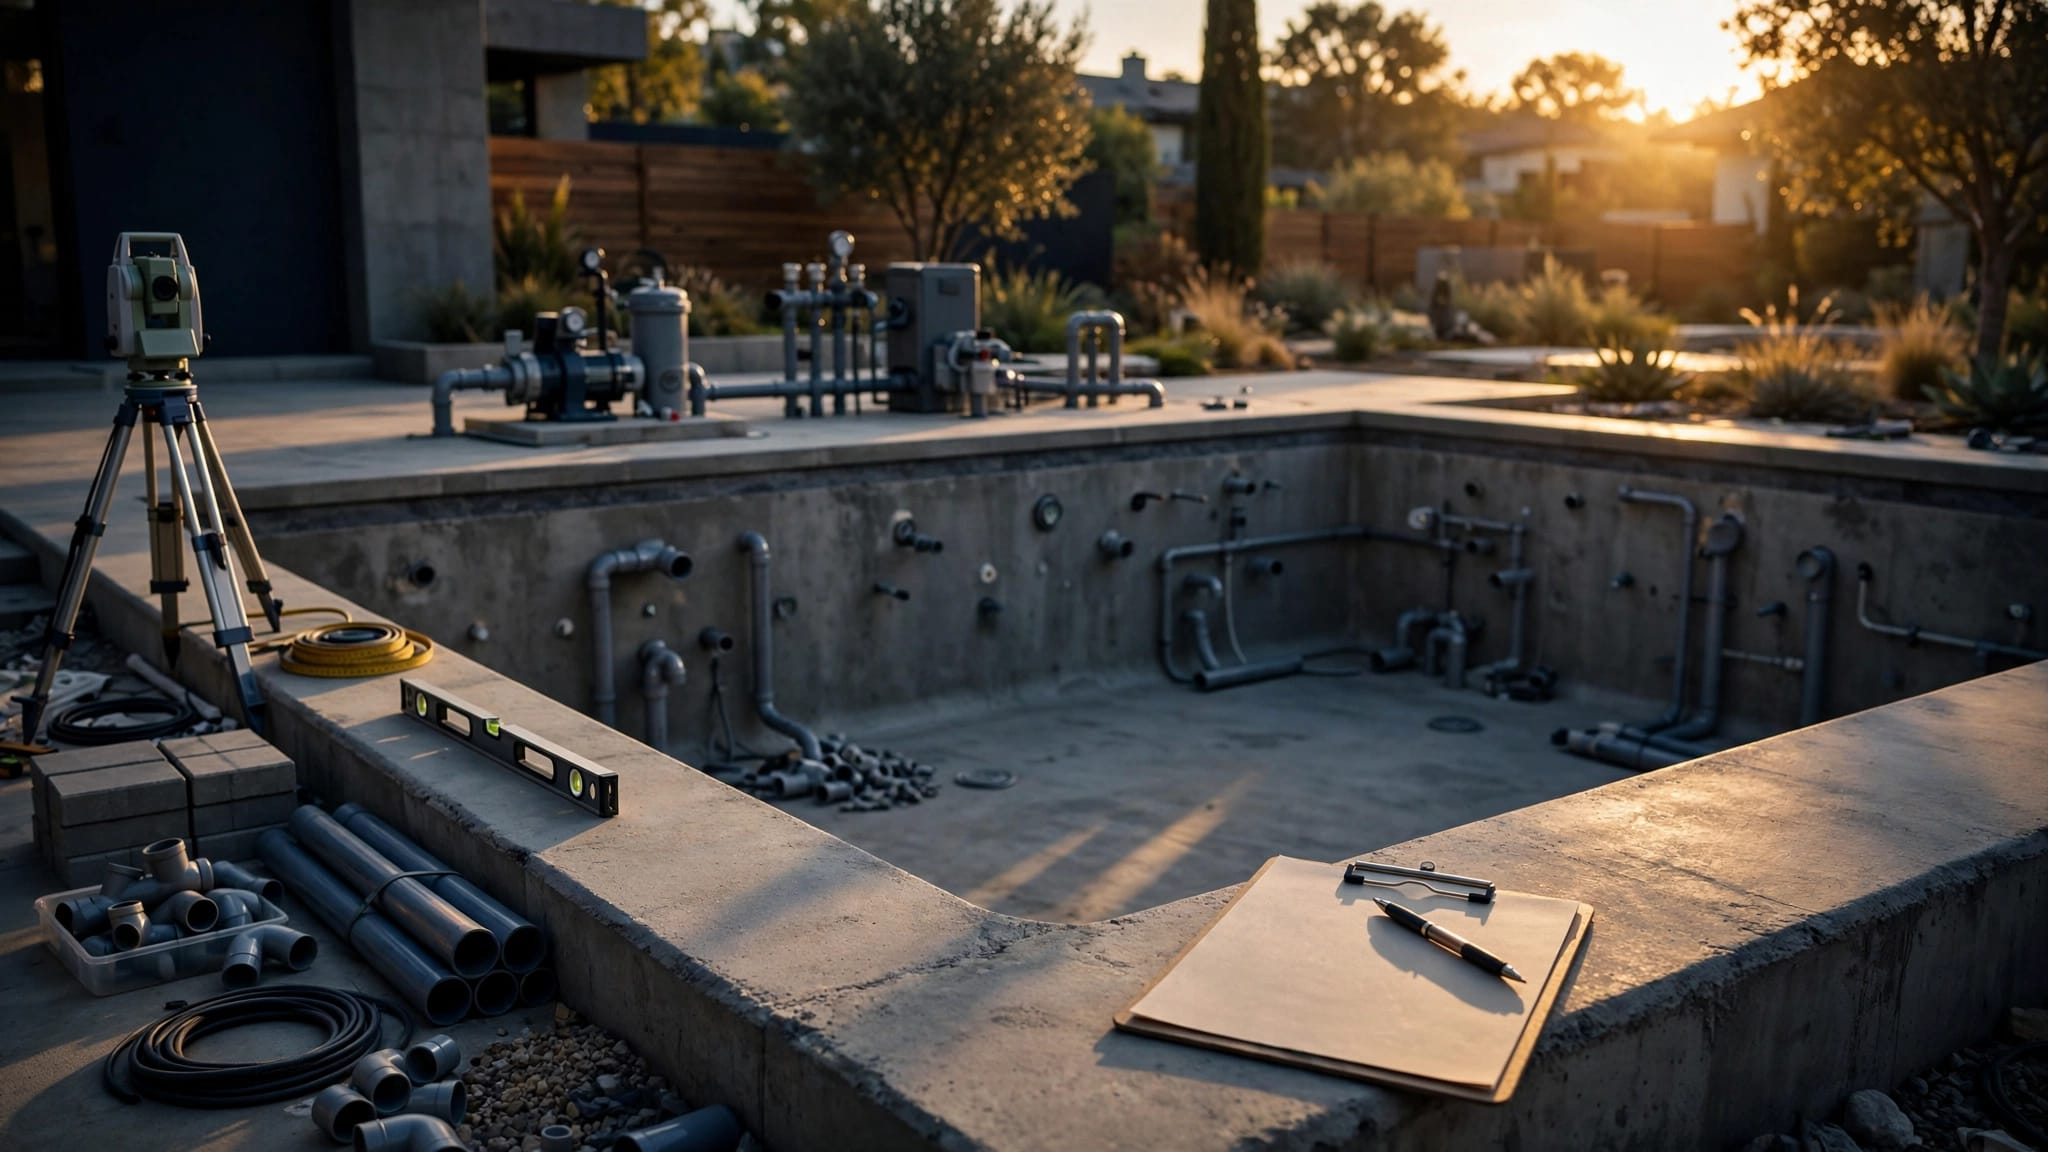
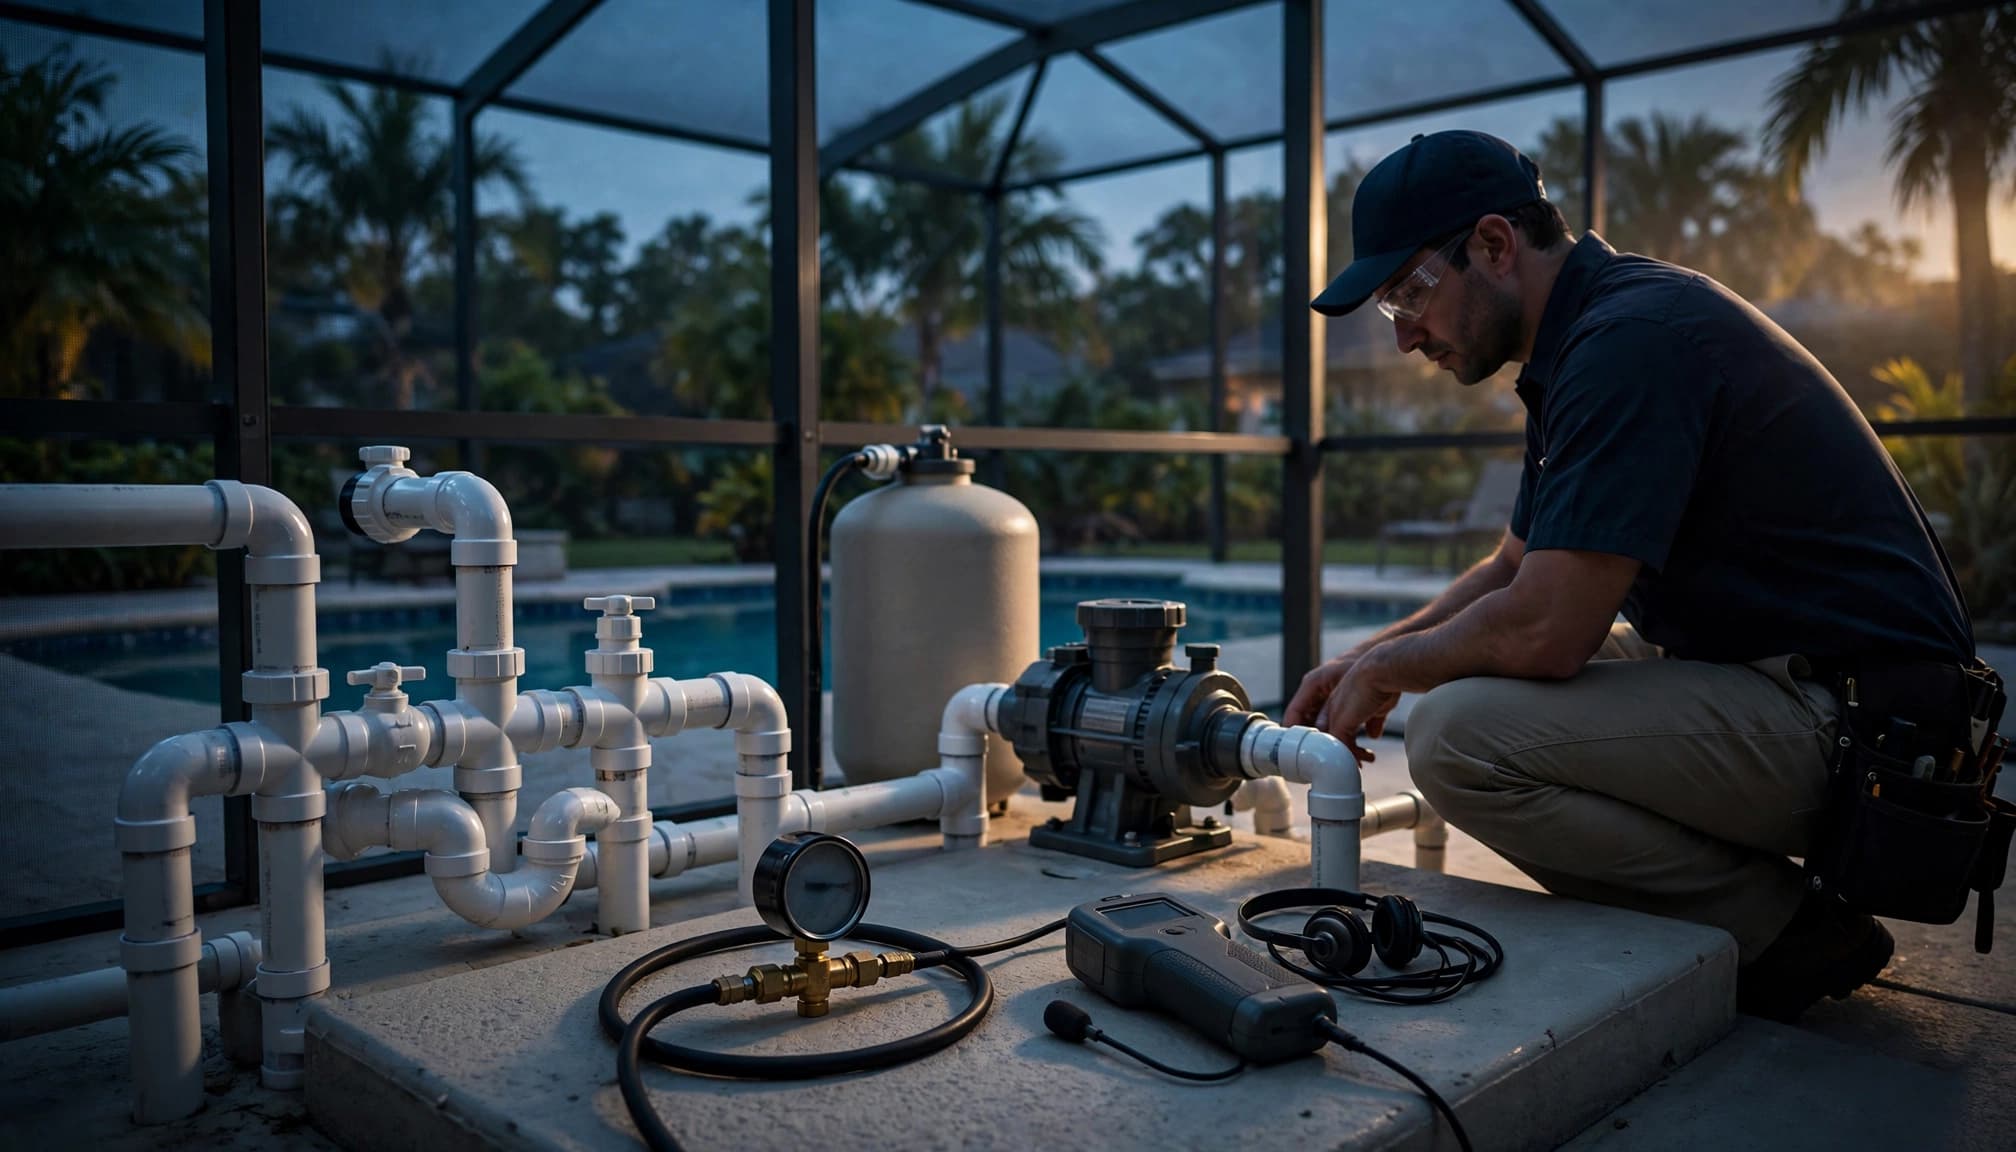
During a professional pressure test, the technician isolates a plumbing line and applies controlled pressure while monitoring whether the line holds. A drop can indicate that the isolated line has a problem.
Pressure testing helps narrow the investigation to a suction line, return line, cleaner line, spa line, or other plumbing run. It does not always show the exact point of failure or explain why the line failed.
Homeowners should not pressure-test pool plumbing with compressed air. Pressurized components can release forcefully if a fitting, valve, gauge, or plug fails. A professional uses the correct isolation methods and checks the system condition first.
What an equipment pad inspection can reveal
Pool equipment deserves a close visual inspection before hidden plumbing becomes the main suspect. Look for wet ground below the pump, drips at unions, moisture around the filter tank, leaking valve stems, and water at heater connections.
Air bubbles at the returns, loss of pump prime, or a pump basket that will not stay full can suggest a suction-side air leak. That issue may not leave a puddle because the plumbing can draw air inward instead of pushing water out.
Never open a filter, loosen a union, force a valve, or handle exposed wiring while the system has power or pressure. Shut the equipment down before a basic visual check, then leave electrical, gas, heater, and plumbing repairs to qualified professionals.
Acoustic Detection and Visual Site Clues
Professional pool leak detection may also include acoustic equipment. A listening device can help detect sound from water or air escaping a pressurized line, particularly when the suspected plumbing is buried.
The result depends on soil, pipe depth, water movement, nearby equipment noise, and the leak itself. For that reason, acoustic findings work best alongside pressure-test results and visual evidence.
Watch the deck, soil, and waterline
Soft soil, washed-out areas, new gaps between pavers, or persistent puddles can suggest that water is moving where it should not. A leak near the pool can also contribute to erosion beneath decking.
Inspect the coping, tile line, skimmer, returns, and accessible pipe connections for cracks, loose material, or damp spots. Take wide photos first, then capture close-ups of changes. Photos taken over several days can help show whether a crack or wet area is spreading.
Keep people away from unstable deck sections. A shifted deck, major crack, or displaced wall needs prompt professional attention.
Keep a simple record before testing
A short log makes water-loss patterns easier to interpret. Write down the water level, whether the pump ran, weather conditions, autofill activity, recent rain, and any visible damp areas.
Also note when the pool was last resurfaced, when equipment was replaced, and whether the pool has had recent deck work. These details help separate a sudden equipment leak from a long-developing shell or plumbing concern.
Avoid adding water repeatedly without recording it. An automatic filler can hide the rate of loss and delay a useful diagnosis.
Match the Repair to the Actual Problem
Repair should follow the confirmed source. Replacing a pump seal will not fix a cracked skimmer, and resurfacing a pool will not repair a failed return line.
A complete evaluation can separate urgent safety concerns from cosmetic improvements you can plan for later.
Treat active leaks and safety issues first
Act promptly when you see severe water loss, wet electrical equipment, exposed wiring, a damaged pool light, a major shell crack, unstable decking, or a leaking heater connection. Keep the pool closed if conditions could affect swimmer safety.
A contractor may inspect the shell, deck, tile, equipment, plumbing, and nearby soil before recommending repairs. If the issue involves major cracking, settlement, or wall movement, the right evaluation may also require a structural specialist.
For a suspected leak or equipment issue, schedule an onsite review through Get a Free Estimate.
Plan resurfacing separately from leak repair
An aging pool finish can feel rough, pit, stain, or lose material without being the source of water loss. Once a contractor identifies and addresses any active leak, you can decide whether the finish, tile, coping, or deck also needs attention.
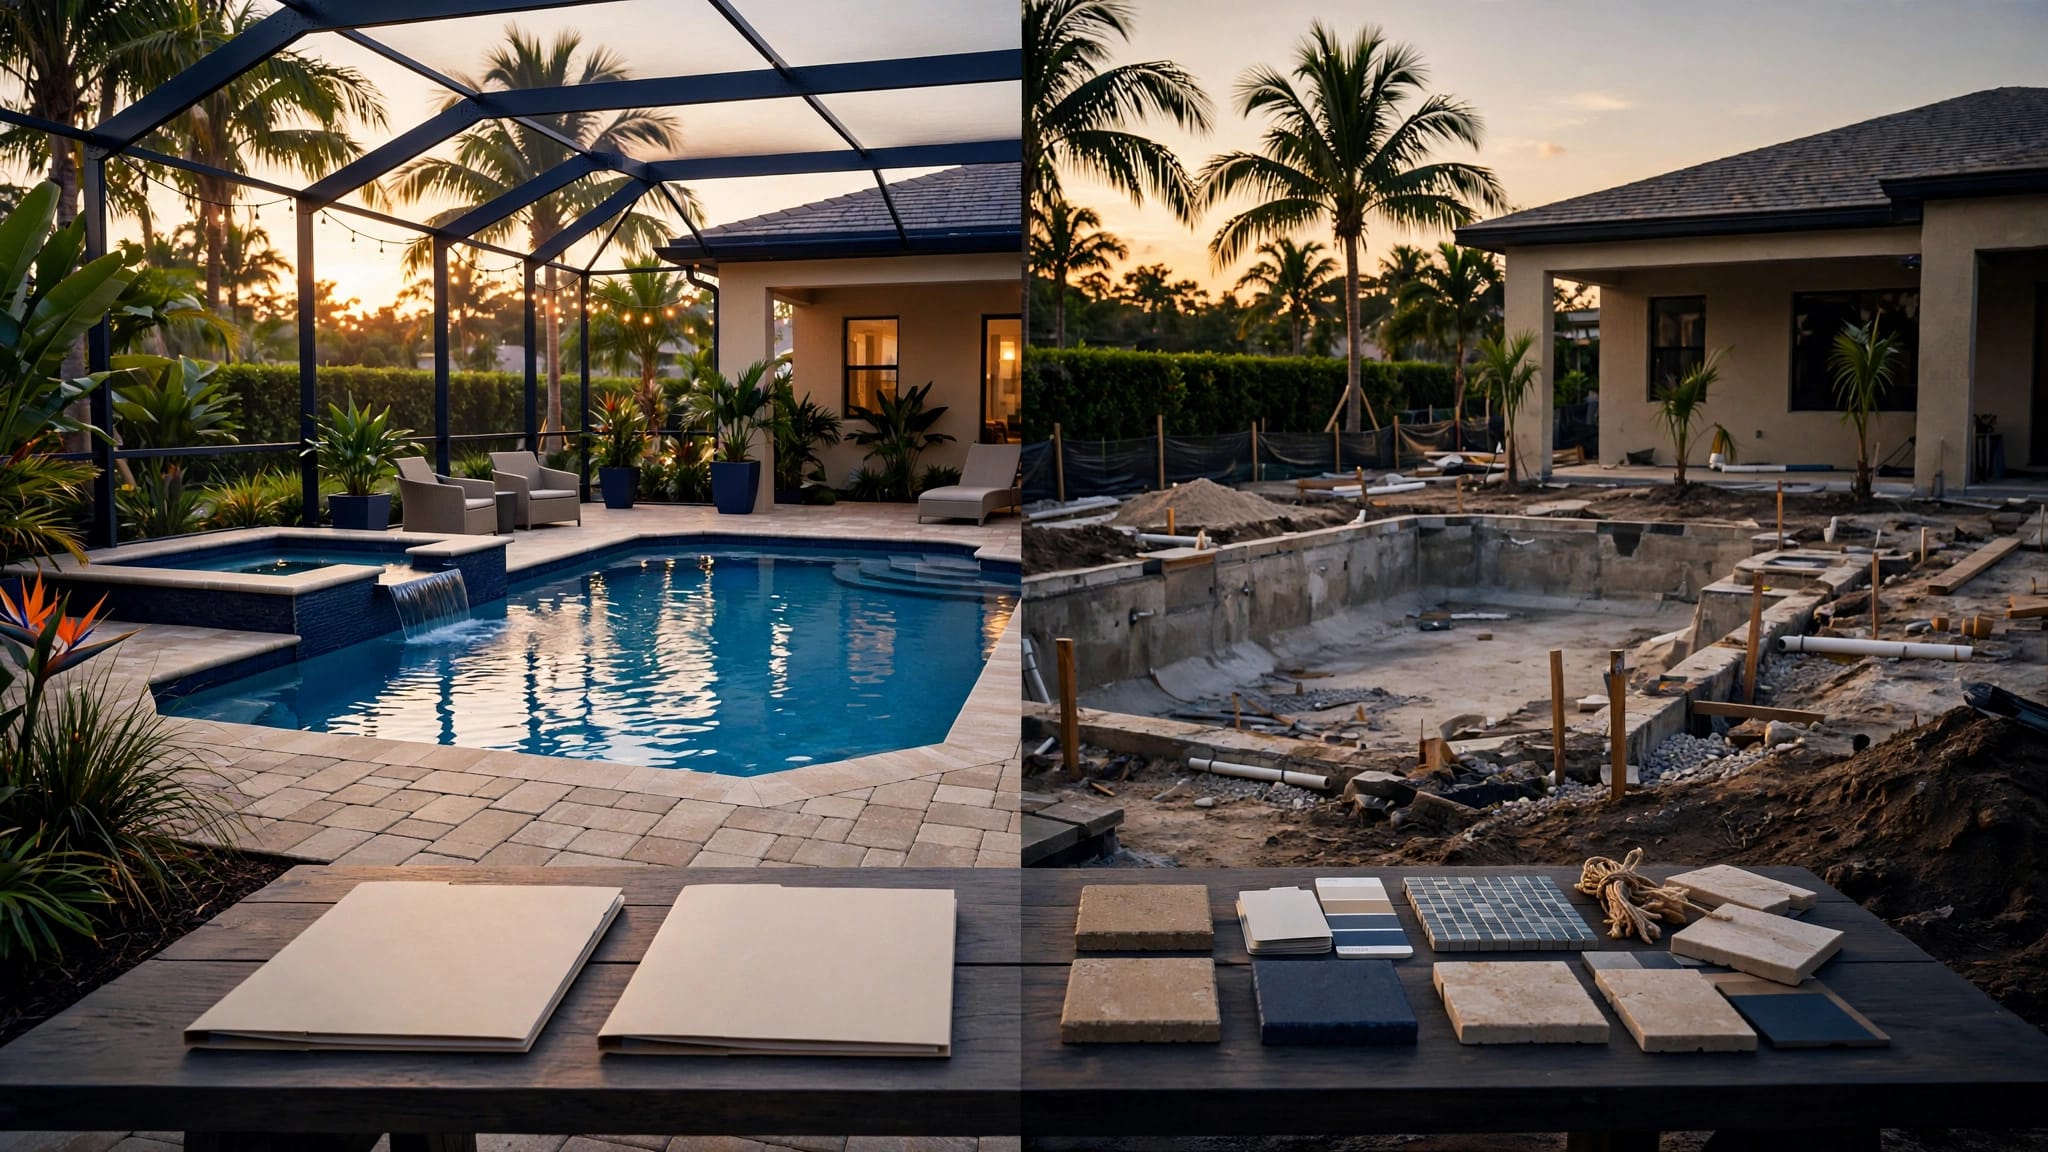
Pool renovations and resurfacing can update an older pool's interior and surrounding features, but that work should follow a clear diagnosis when water loss is involved.
If the pool needs broader changes, such as a spa addition, deck redesign, or new equipment, compare the repair scope with the planned improvement scope. That keeps a necessary repair from getting lost in a larger renovation proposal.
Frequently Asked Questions
Can evaporation make a pool lose a noticeable amount of water?
Yes. Heat, direct sun, wind, and low humidity can increase evaporation, especially in an uncovered Florida pool. Splash-out and backwashing can also lower the water level.
A controlled water-level comparison helps show whether the pool is losing more water than nearby exposed water under similar conditions.
Does dye testing prove that a pool has a leak?
No. Dye moving toward a crack or fitting can support a suspected leak path, but water currents can affect the result. Dye testing also only evaluates the area being tested.
A pool can have a hidden plumbing or equipment leak even when a visible crack does not pull dye.
When should a pool owner call for professional help?
Call when water loss continues after a controlled comparison, the pump loses prime, the equipment pad stays wet, or soil and decking show new movement. Prompt help is also appropriate for cracks that widen, water near electrical equipment, or a pool that loses water to the same level repeatedly.
Avoid drain-downs, pressure testing, electrical work, and major plumbing disassembly until the pool has been evaluated safely.
A Clear Test Sequence Prevents Costly Guesswork
Water loss becomes easier to manage when you first separate evaporation from a likely leak. Then, use visual inspection, dye testing, pressure testing, and equipment checks to narrow the source without treating any single test as final proof.
The strongest pool leak detection plan follows the evidence, protects the pool structure, and matches the repair to the actual problem.