A pool pump lid O-ring can leak when it's dirty, twisted, flattened, or damaged. To find the source, look at the lid seam, inspect the seal and its mating surfaces, and compare any moisture with nearby fittings and the pump housing.
The confusing part is that a lid leak doesn't always leave a puddle. Because the pump draws water through its strainer, a poor seal can pull air into the system while the pump runs. Here's how to narrow down the cause safely.
Signs of a Pool Pump Lid O-Ring Leak
The clear strainer lid gives you a view of the water entering the pump. Changes under that lid can point toward a seal problem, but they don't identify it on their own.
Air While the Pump Runs
Persistent air collecting under the lid, bubbles returning to the pool, or weak return flow can indicate a suction-side air leak. A loose lid or damaged O-ring is one possibility. Low pool water, a blocked basket, or a leak at a fitting can produce similar symptoms.
A small amount of air during startup may clear as the pump primes. Pay closer attention if air keeps accumulating or the pump struggles to maintain steady flow.
Water After the Pump Stops
Moisture around the lid seam after shutdown is another clue. Water may escape when suction stops, even though the same opening drew in air while the pump was running.
Look for the highest wet point rather than assuming the puddle below it marks the source. Water can travel down the lid, along the housing, or across the equipment pad before it collects.
Shut Off the System Before Opening the Lid
Before touching the lid or basket, turn the pump off at the service breaker. Make sure the timer or automation system can't restart it while you're working. Keep your hands away from the impeller and electrical components.
Follow your equipment's shutdown and pressure-release instructions before opening the pump. If the filter has an air-relief valve, release pressure as directed and check that the pressure gauge reads zero. A stuck gauge or continuing pressure is a reason to stop and call a pool professional.
Some pumps sit below the pool's water level, so water may continue to flow toward the open strainer. Follow the equipment instructions for any valves that need to be closed. Note their original positions so you can restore normal circulation afterward.
Never loosen the lid while the pump is running, and don't force a lid that won't turn. If water is close to wiring or electrical equipment, leave the area alone and arrange professional service.
Inspect the O-Ring, Lid, and Sealing Surface
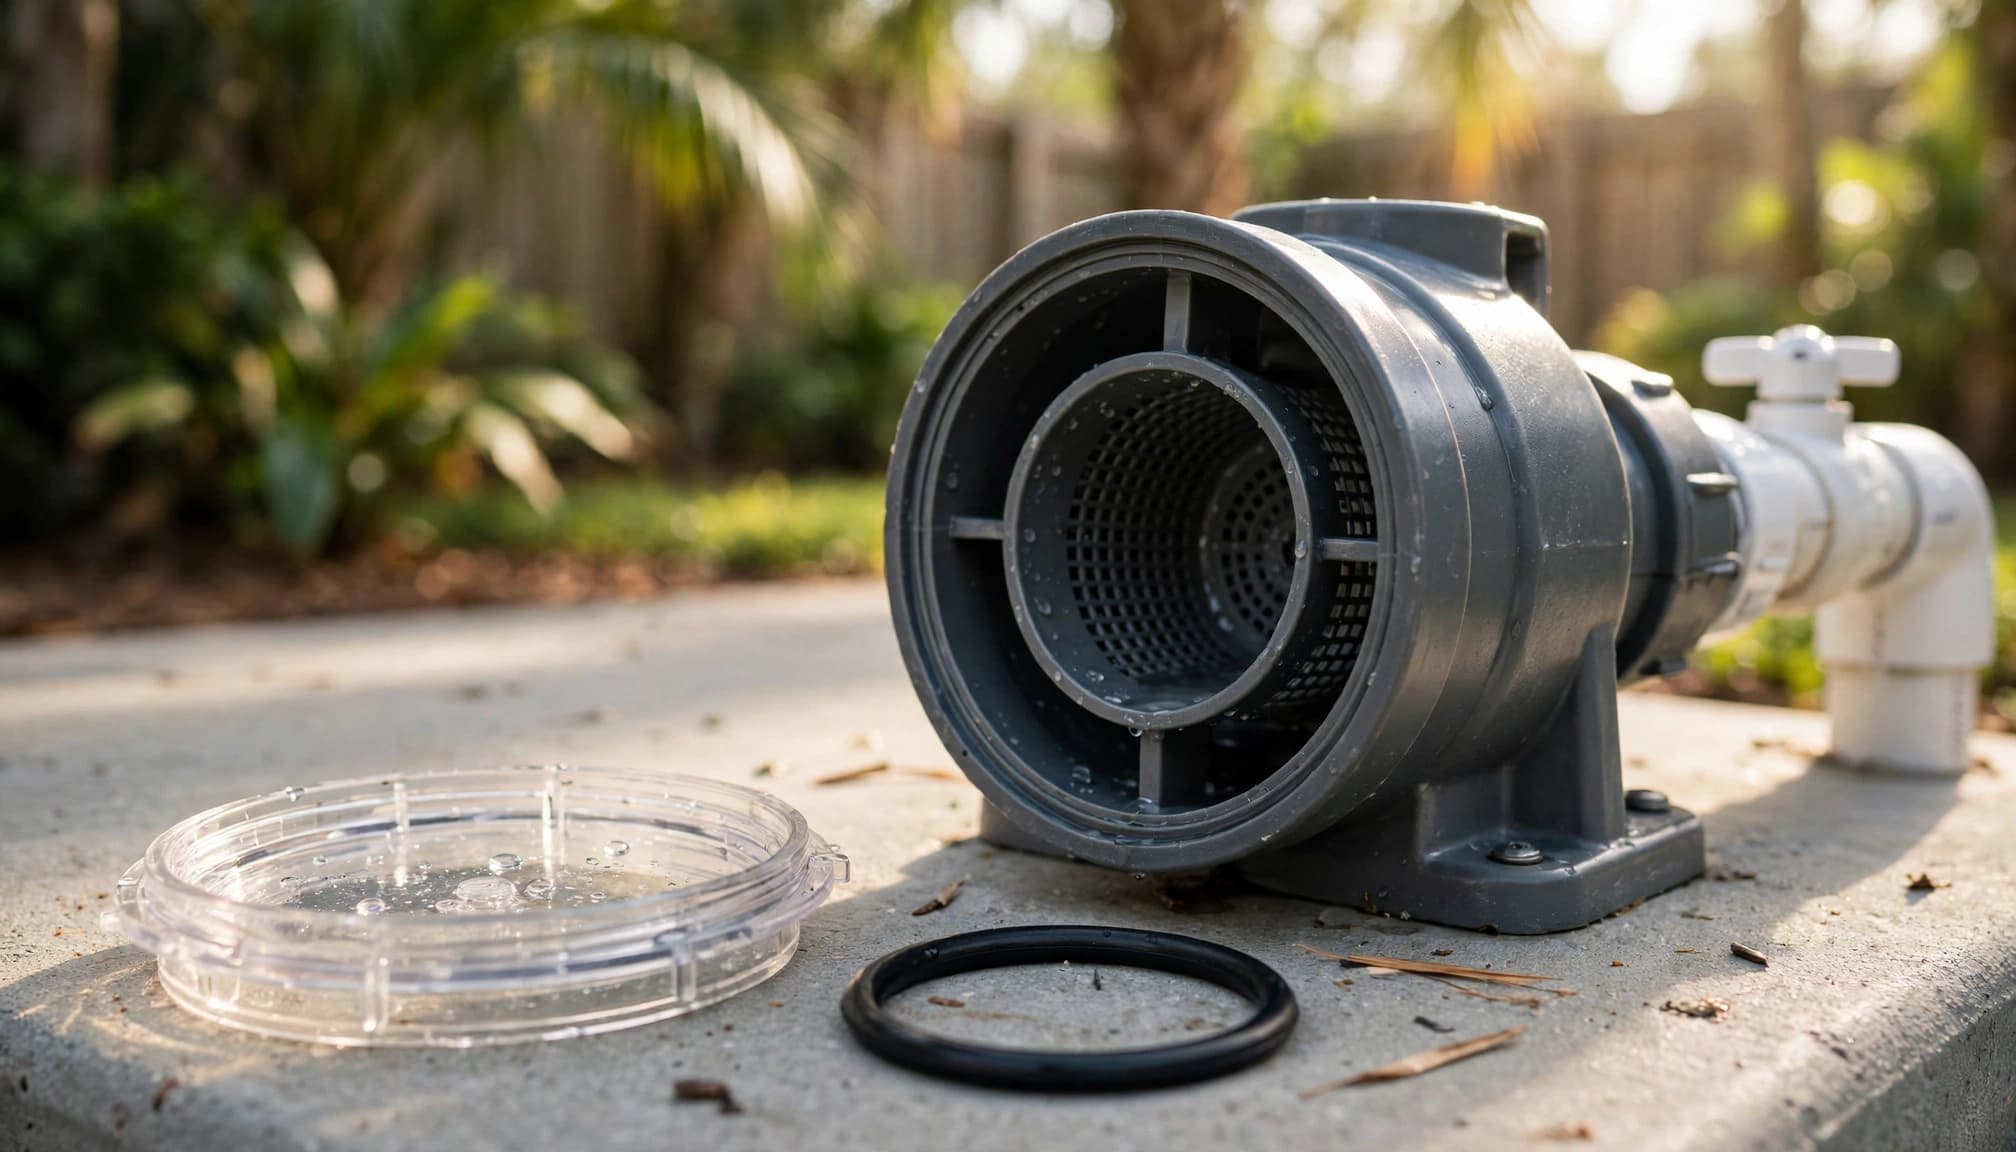
Once the system is safely shut down, remove the lid as directed. The O-ring may sit in a groove in the lid or on the pump housing, depending on the equipment.
Look for Wear and Poor Seating
Remove the ring gently and inspect its entire circumference. Cracks, cuts, flattened areas, or a brittle feel can keep it from sealing evenly. A ring that looks stretched or doesn't sit naturally in its groove also deserves attention.
Check for a twist before removing it. If one section is rolled, pinched, or protruding from the groove, the lid may have closed without pressing evenly against the seal.
A dry-looking ring is a reason to inspect its flexibility and condition more closely. If it's cracked, brittle, or misshapen, cleaning and reseating won't restore the damaged material.
Examine the Lid and Housing
Look across the clear lid for hairline cracks, chips, distortion, and damage around the locking surfaces. Clouding can make inspection harder, although clouding alone doesn't prove the lid is leaking.
Inspect the surface that meets the O-ring as well. A nick or crack in the lid or pump housing can interrupt the seal even when the ring itself looks sound. Don't keep tightening a damaged lid to compensate for a faulty sealing surface.
Clean and Reseat the Pool Pump Lid O-Ring
A leaf fragment or grain of sand in the groove can hold part of the seal away from its mating surface. Cape Coral's wind and rain can carry debris into the pool even when a screen enclosure is in place.
Remove Debris Without Scratching
Rinse the O-ring and wipe the groove and mating surfaces with a clean, soft cloth. Remove dirt, grit, and plant material around the full circle, including any debris caught at the edge of the lid.
Avoid abrasive pads or sharp tools that can scratch the plastic or cut the seal. Clean the lid so you can see through it, then inspect the surfaces again before reassembly.
Seat the Ring Evenly
Place an undamaged O-ring back in its groove without stretching or twisting it. It should sit flat around the full circumference rather than bunching up or rising above the groove at one spot.
Set the lid in place and secure it according to the pump's instructions. Make sure it sits evenly and the locking mechanism engages properly. Excessive force can damage the lid or make it difficult to remove during the next basket cleaning.
If the seal is worn or no longer fits its groove properly, replace it with the correct part for the pump. A poorly fitting ring can leave a gap even when the lid appears closed.
Distinguish the Lid From Nearby Leak Sources
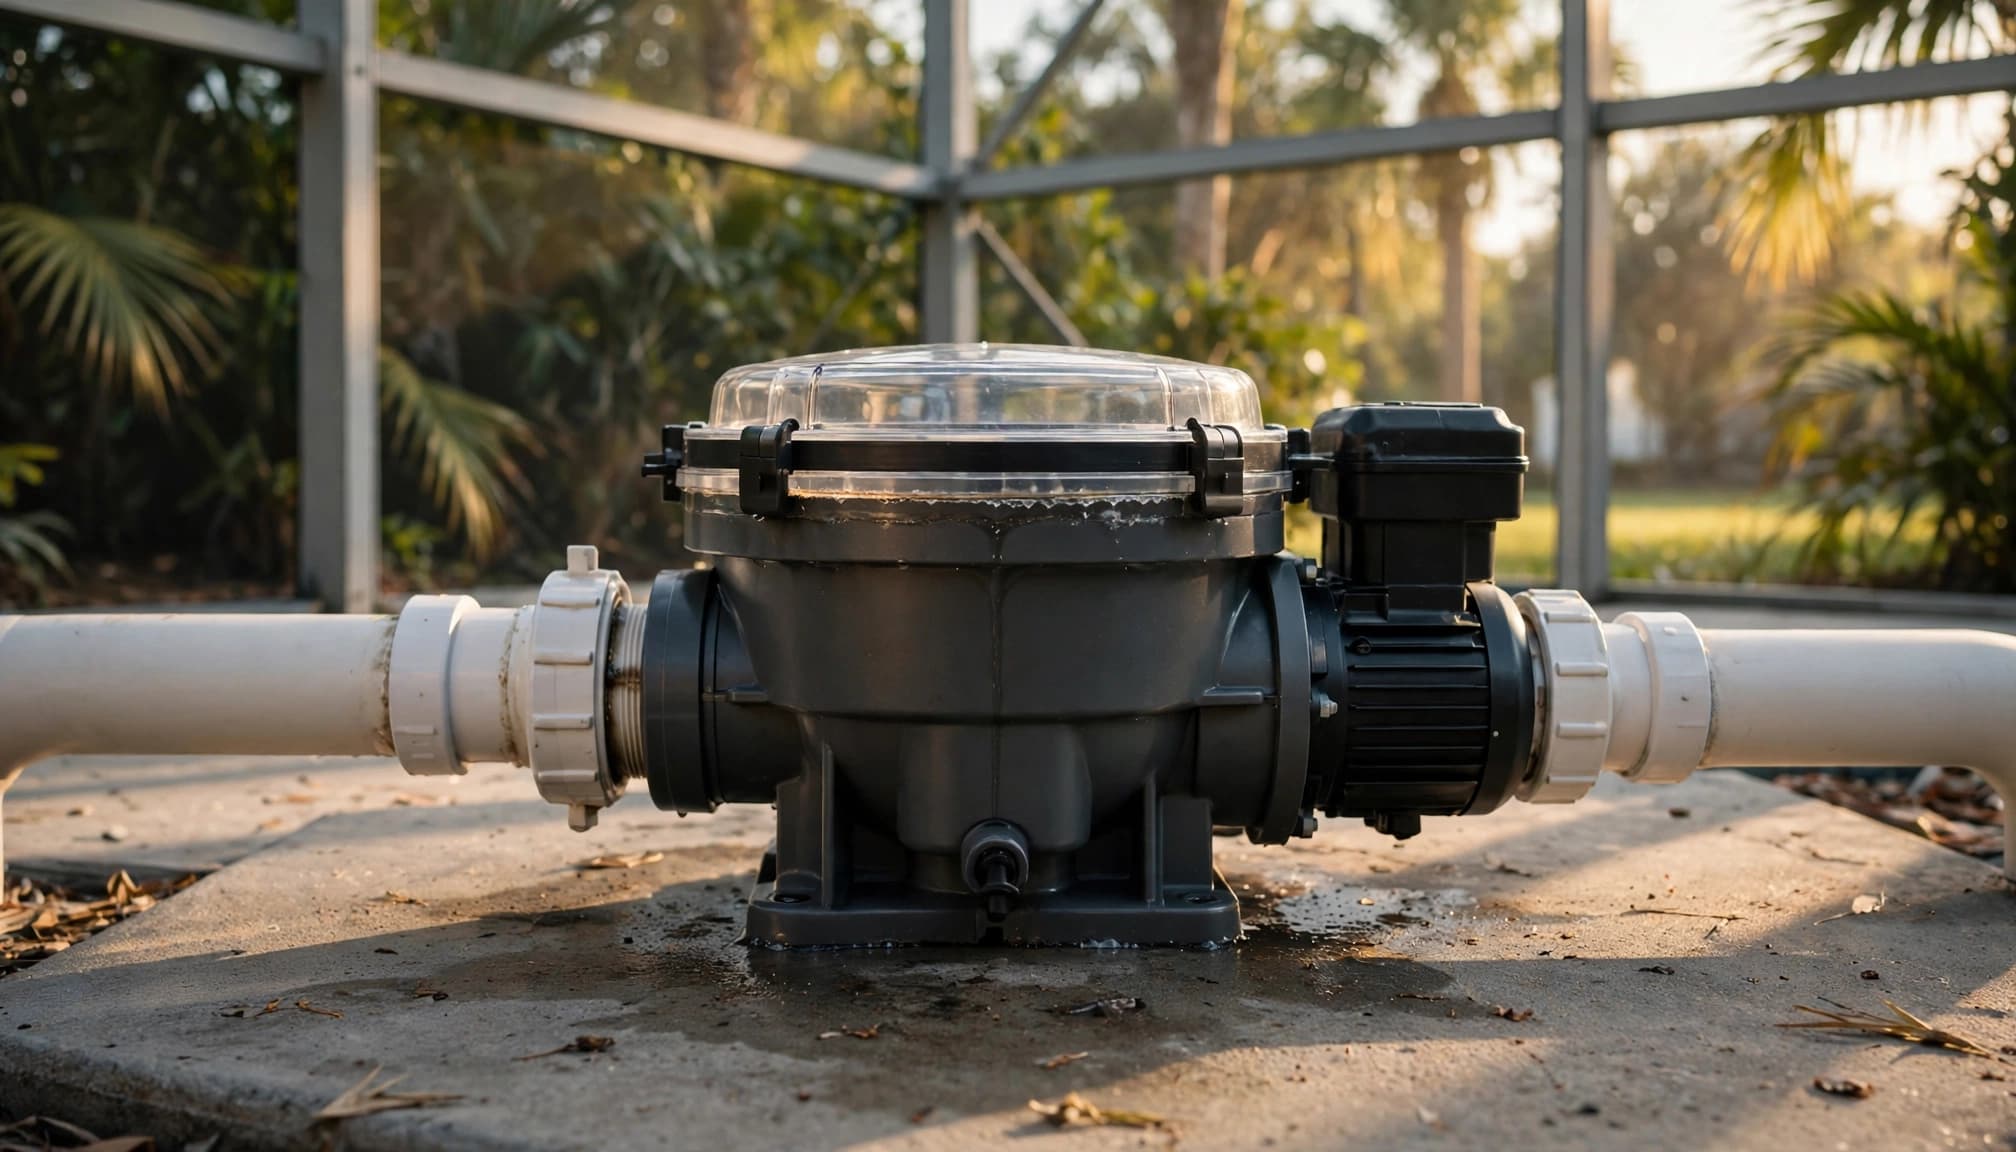
The lid is only one connection on the suction side of the system. Look at the surrounding equipment before deciding that the O-ring caused the problem.
Check the Fittings and Drain Plugs
Inspect the pipe entering the front of the pump, its visible fitting or union, and any nearby valves. A loose connection, worn fitting seal, or cracked PVC can draw air into the pump while it runs. Pump drain plugs can also be a source of air or water leaks.
Look for moisture, mineral residue, or a visible crack around each connection. A wet lid doesn't prove the lid is leaking if water has dripped onto it from plumbing above.
Don't force a fitting or disassemble plumbing that's under pressure. If a connection looks damaged, leave the repair to a pool professional.
Look at the Pump Housing and Motor Area
Trace moisture around the strainer housing and down toward its base. A crack in the housing can leak independently of the lid. Water appearing where the pump body meets the motor may also point to a problem beyond the lid seal.
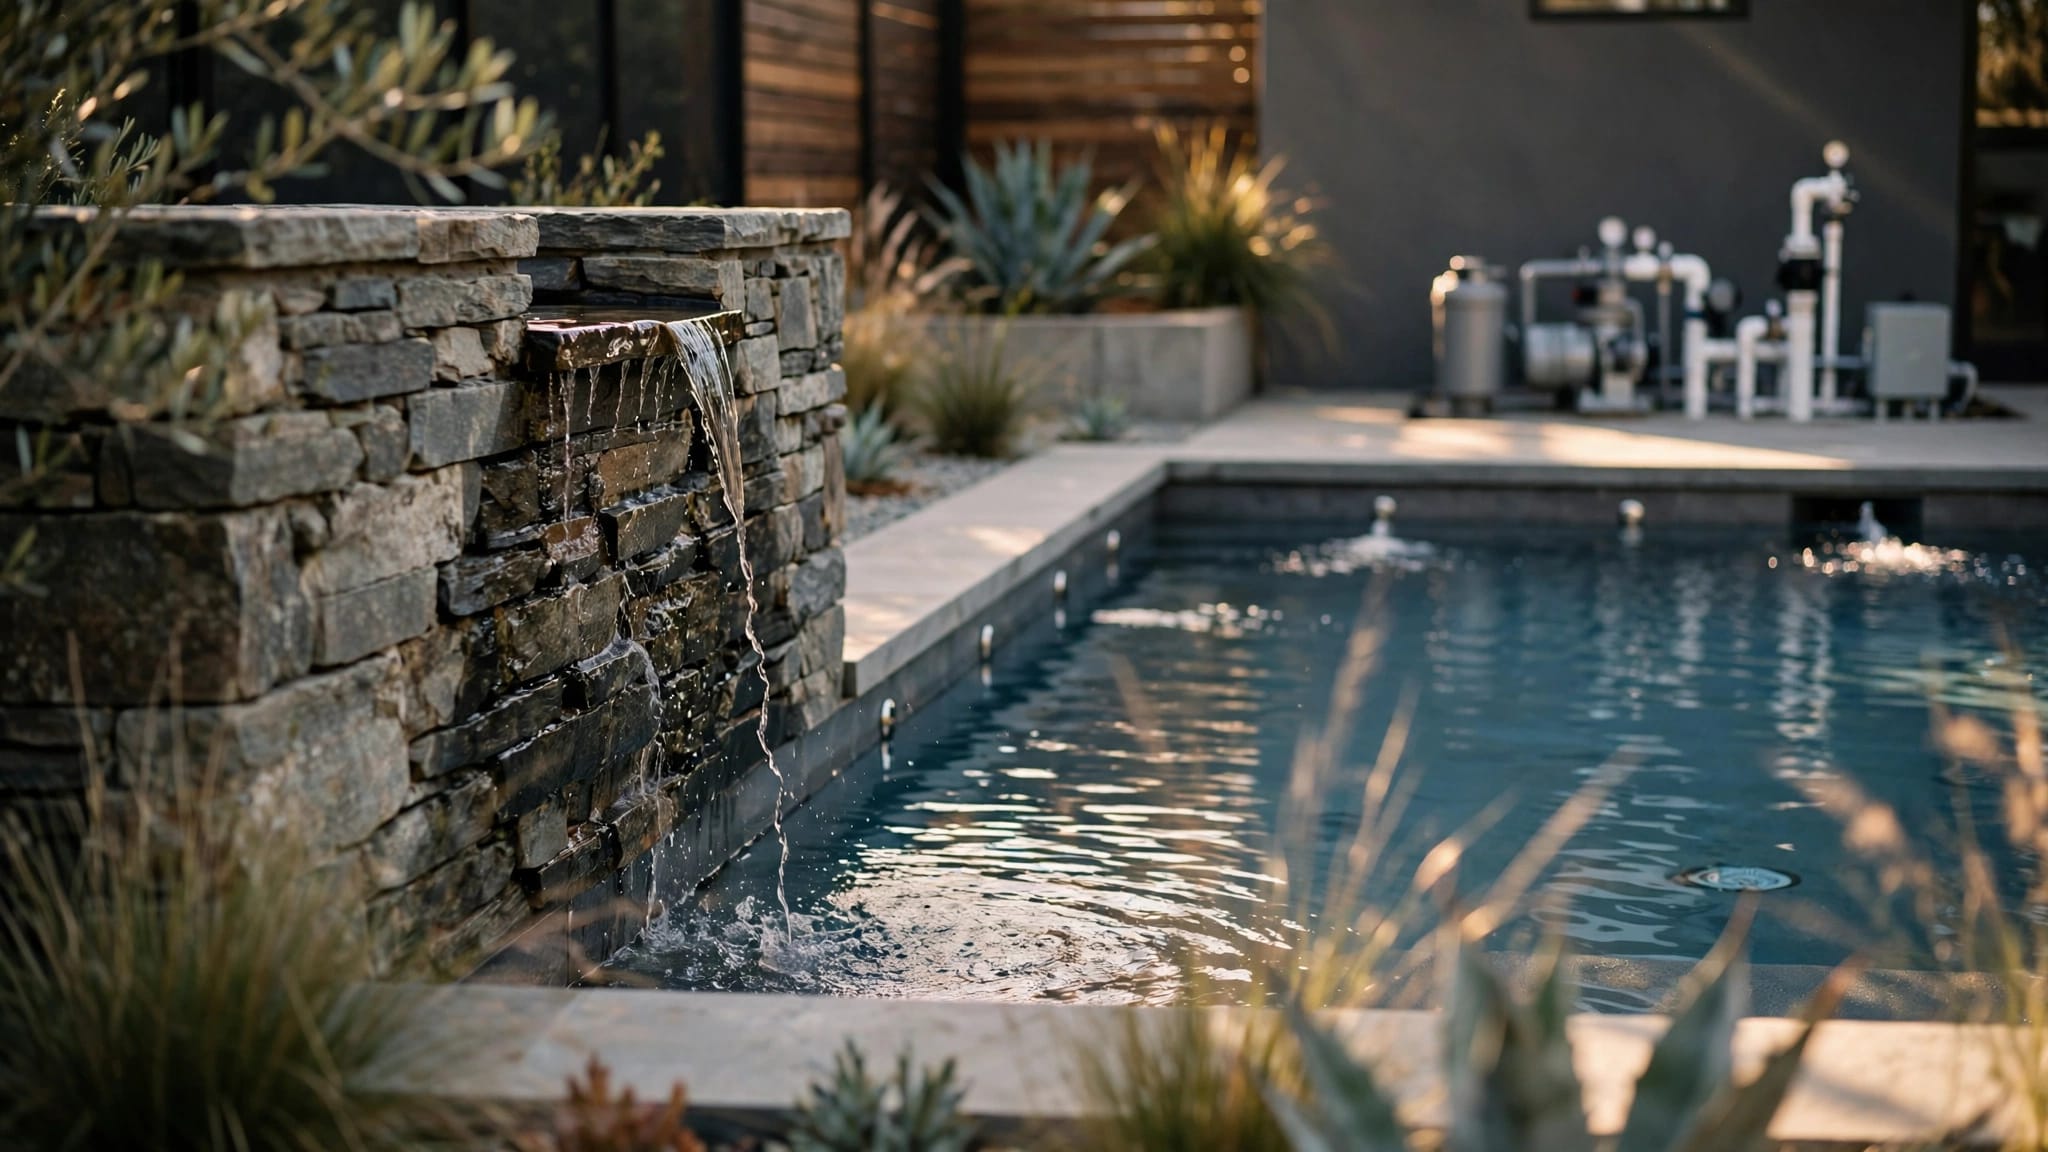
A puddle under the equipment can have more than one source. Look at the filter and other nearby components too, while keeping a safe distance from electrical parts. Our guide to common causes of pool pump air leaks covers other places air can enter.
Restart the Pump and Watch for Changes
After the lid is secure, restore any valves to their normal operating positions. Follow the pump's priming instructions, including filling the strainer housing with water if required. Don't start the pump with all suction valves closed.
Use the filter's air-relief valve as directed during startup. Watch the pump basket and return flow as the system resumes normal operation. The pump should establish a steady supply of water rather than continuing to collect air.
Compare what you see with the original symptom. If moisture returns at the lid seam, the seal, lid, or mating surface may still need attention. If the lid stays dry but a nearby fitting becomes wet, that connection deserves a closer look.
Air that persists beneath the lid doesn't prove the seal is still leaking. Check that the pool water level supports the skimmer and that the skimmer basket is clear. A low water level or suction restriction can also interrupt flow.
Stop the pump if it can't maintain prime or adequate water flow. Repeatedly restarting a pump that runs dry won't repair the cause and can damage equipment.
When to Call a Pool Professional
Arrange service if the lid, housing, or plumbing is cracked, or if the source remains unclear after cleaning and reseating the O-ring. A professional can assess the equipment and, when needed, test plumbing that isn't accessible for a visual inspection.
Shut the system down and get help if the pump repeatedly loses prime, makes a severe grinding noise, trips a breaker, or leaks near electrical components. Don't open electrical compartments or attempt to repair a damaged cord.
For routine prevention, inspect the lid and seal whenever you clean the pump basket. Clear leaves after windy weather, keep the pool at its normal operating level, and compare filter pressure with the clean-filter reading for your system.
If recurring circulation problems are part of a larger pool renovation, we can discuss the equipment area during an on-site consultation. Get a Free Estimate to talk with us about your project.
A Better Seal Starts With the Source
A dirty or poorly seated O-ring can let air into a pool pump, but nearby fittings and the housing can cause similar symptoms. Follow the moisture or air clues, then inspect each part before replacing anything.
Cleaning the groove and seating an undamaged ring evenly may restore the seal. If the lid or housing is damaged, or the pump still won't hold prime, professional diagnosis is the safer next step.