Pool plaster blisters are raised areas in a pool's interior finish. A small, isolated spot may be a candidate for patching, while widespread damage may call for resurfacing.
The right repair depends on what's happening beneath the surface and how much of the finish remains sound. Here's how to recognize the problem, assess its extent, and plan a repair.
What Pool Plaster Blisters Look Like
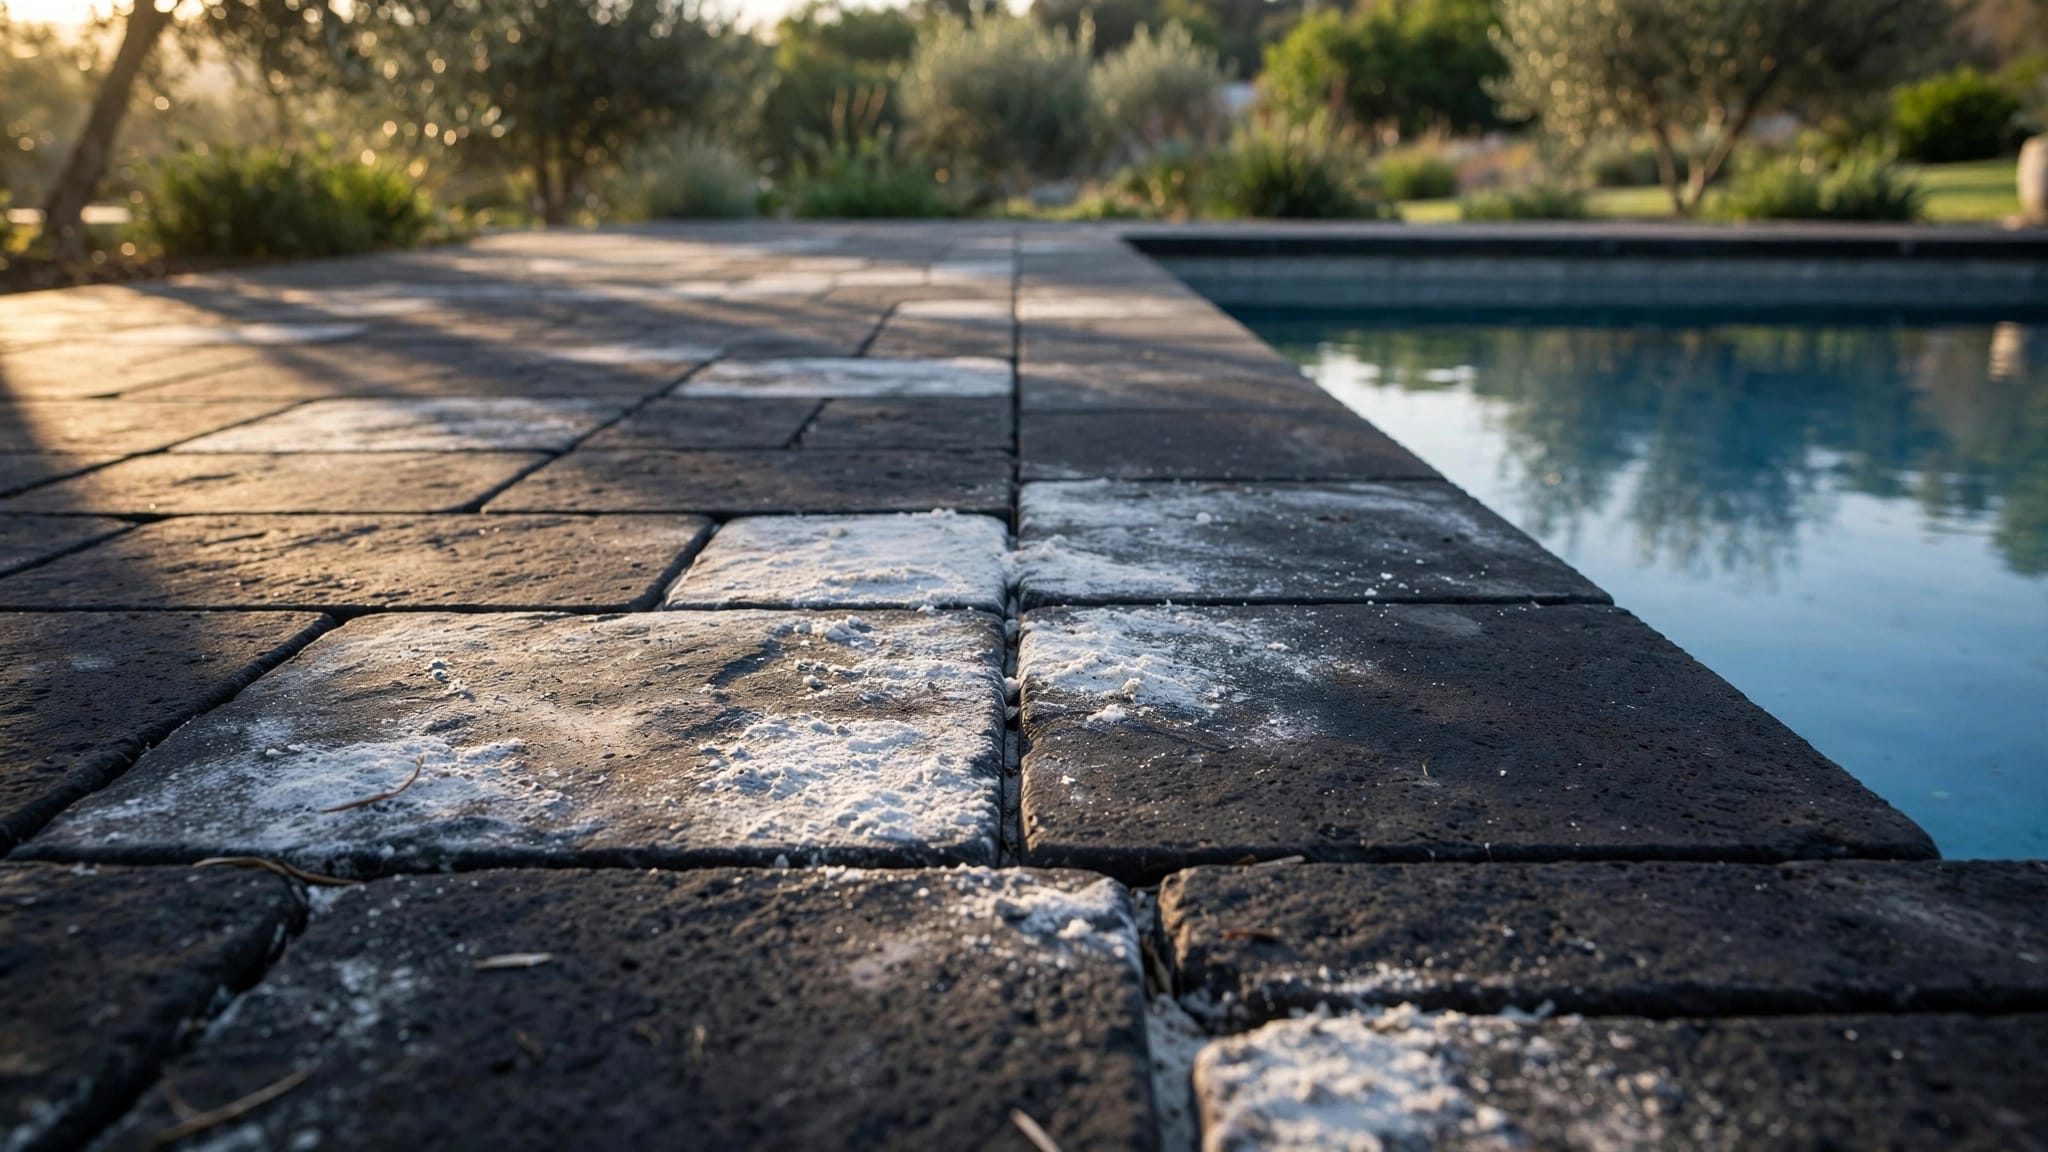
A blister appears as a bump or raised patch that interrupts the smooth contour of the plaster. It may be small and isolated, or you may see several raised areas across a wall, floor, or step.
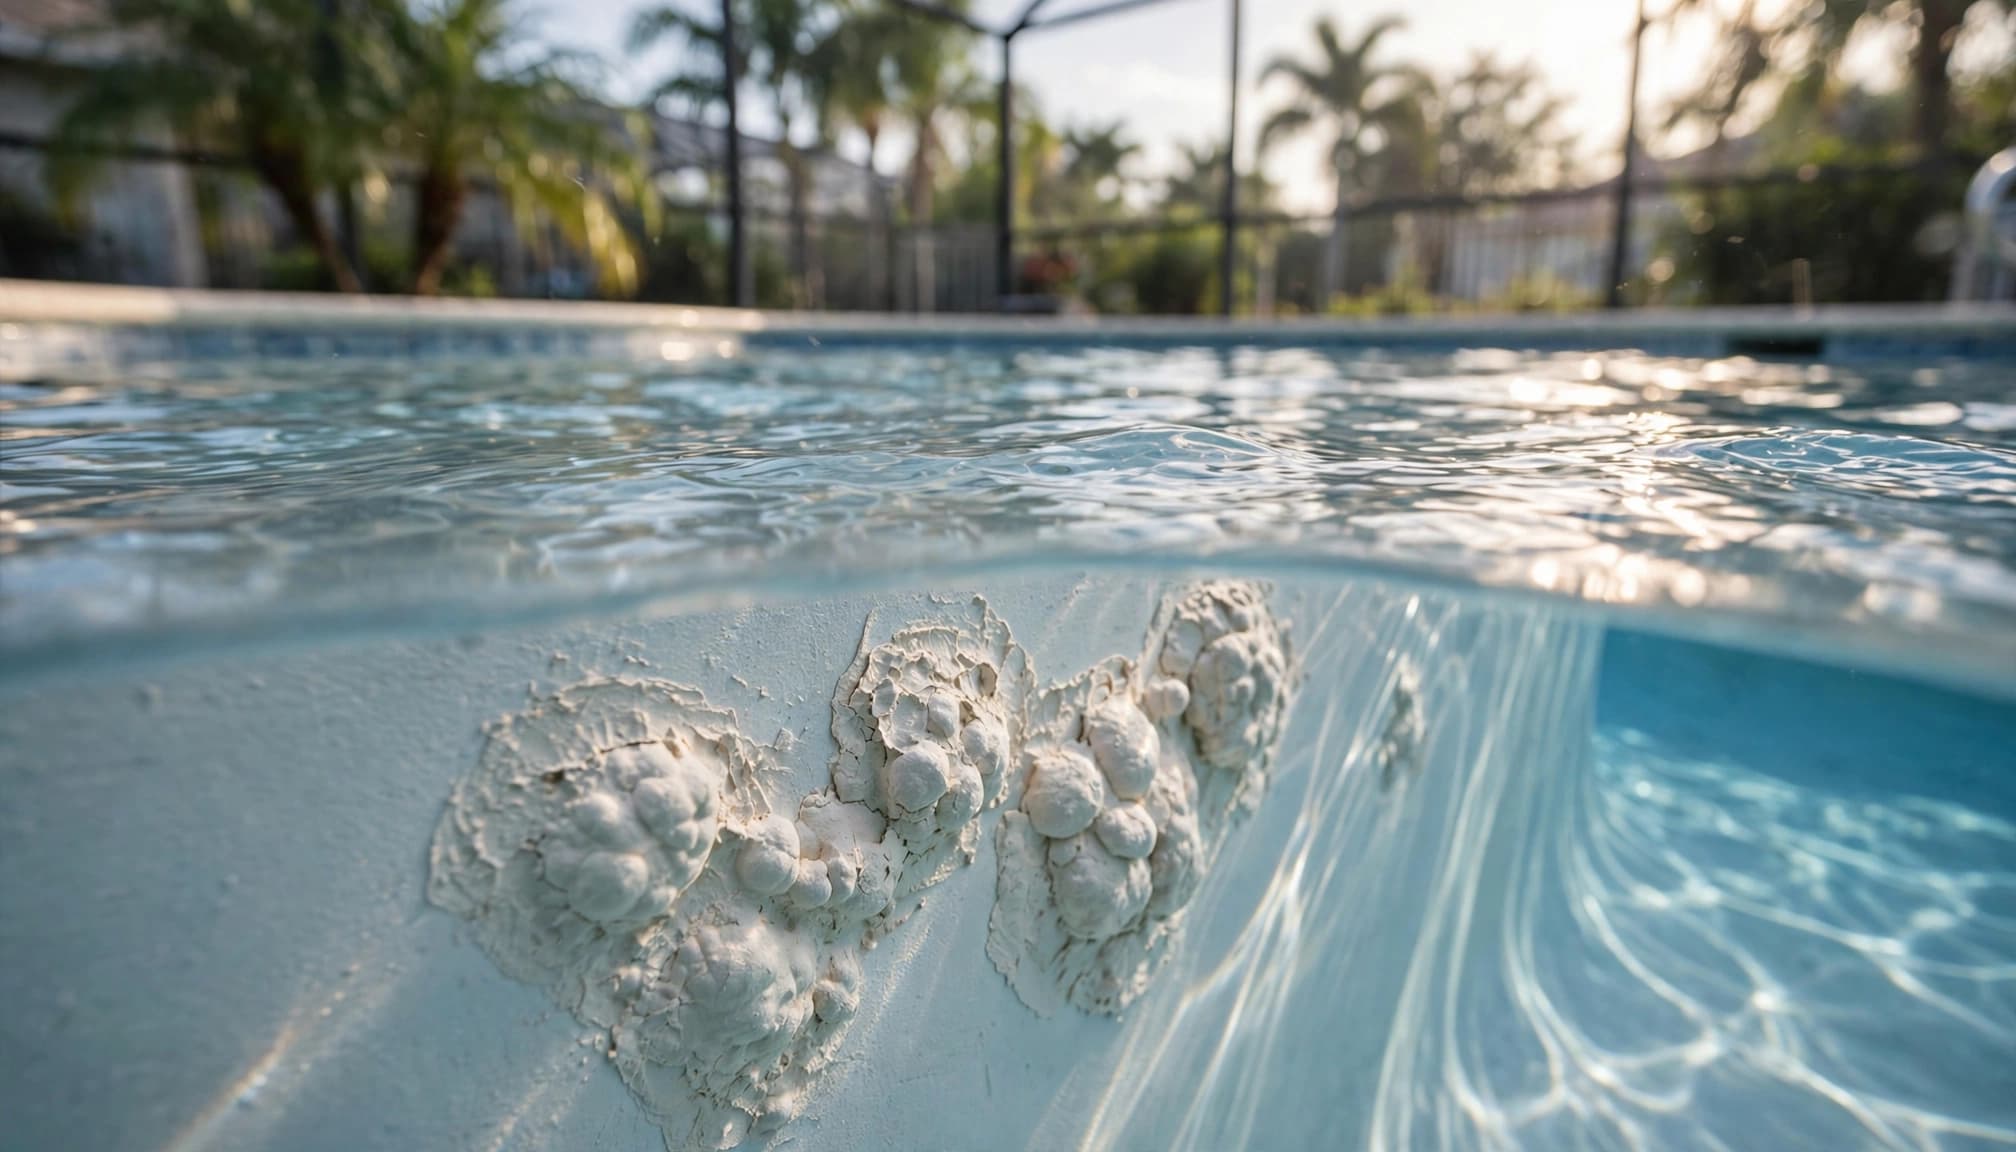
Some areas may develop cracks or lose pieces of finish. A rough or sharp edge can make a step or shallow area uncomfortable to use. Other raised spots remain intact, so their appearance alone doesn't tell you how extensive the damage is.
Blisters can also be confused with scale, stains, or other surface imperfections. Scale generally appears as a deposit on the finish, while a stain changes its color. Neither should automatically be treated as a blister.
Look at the rest of the pool, too. Pitting, flaking, and roughness alongside raised spots may point to a broader finish problem. Our guide to signs your pool needs resurfacing covers other changes worth noting.
What Factors Should an Inspection Consider?
A visible blister doesn't establish what went wrong. An assessment looks at the finish, the surface beneath it, and the conditions around the affected area before settling on a repair.
Surface preparation and application
Plaster needs a properly prepared surface. When an inspection uncovers damage, the contractor can assess the existing finish and substrate to determine what preparation a repair will require.
Application records can also help. The type of finish, the age of the work, and any previous repairs give the contractor useful context. If you have an installation contract or product information, keep it available for the inspection.
Moisture and curing conditions
Moisture conditions are another part of the assessment, particularly when the damage is near a fitting, waterline, or other area that needs closer attention. A visible raised spot alone doesn't establish where moisture is present or what repair is needed.
For a newer finish, the contractor may also review the filling and startup process. Plaster products have their own requirements for application, filling, brushing, and water care. Those details help shape a repair plan suited to the material.
How to Assess the Damage
Start by documenting what you can see without disturbing the finish. Clear photos give your contractor a useful starting point and make it easier to describe changes.
Map the affected spots
Photograph each area and note its location: a wall, step, shallow floor, deep end, or area near a fitting. Include a wider photo of the pool as well as a closer view. A ruler beside a spot can provide a useful size reference.
Pay attention to whether the damage is confined to one area or appears in several places. Also note any flaking, cracks, or rough plaster nearby. These observations help the contractor decide how much of the finish needs closer examination.
Don't pop, scrape, or aggressively scrub a raised area. Removing material can enlarge the damaged spot and make the original condition harder to assess.
Look beyond the finish
A contractor should examine cracks, loose tile, or changes around the deck when they appear near the damaged plaster. A line that crosses the pool finish and continues into other materials deserves particular attention.
If a crack is widening, the surfaces on either side are uneven, or steel is exposed, arrange a professional evaluation promptly. Those signs don't establish a diagnosis, but they can point to work beyond a finish repair.
Continue normal water care while you arrange an assessment. Avoid draining the pool yourself. Emptying a pool can create structural hazards, particularly where groundwater is high.
Choosing Between Patching and Resurfacing
The size and location of the affected area matter, but so does the condition of the surrounding finish. A small visible spot may need more work once loose material is identified.
Localized patching
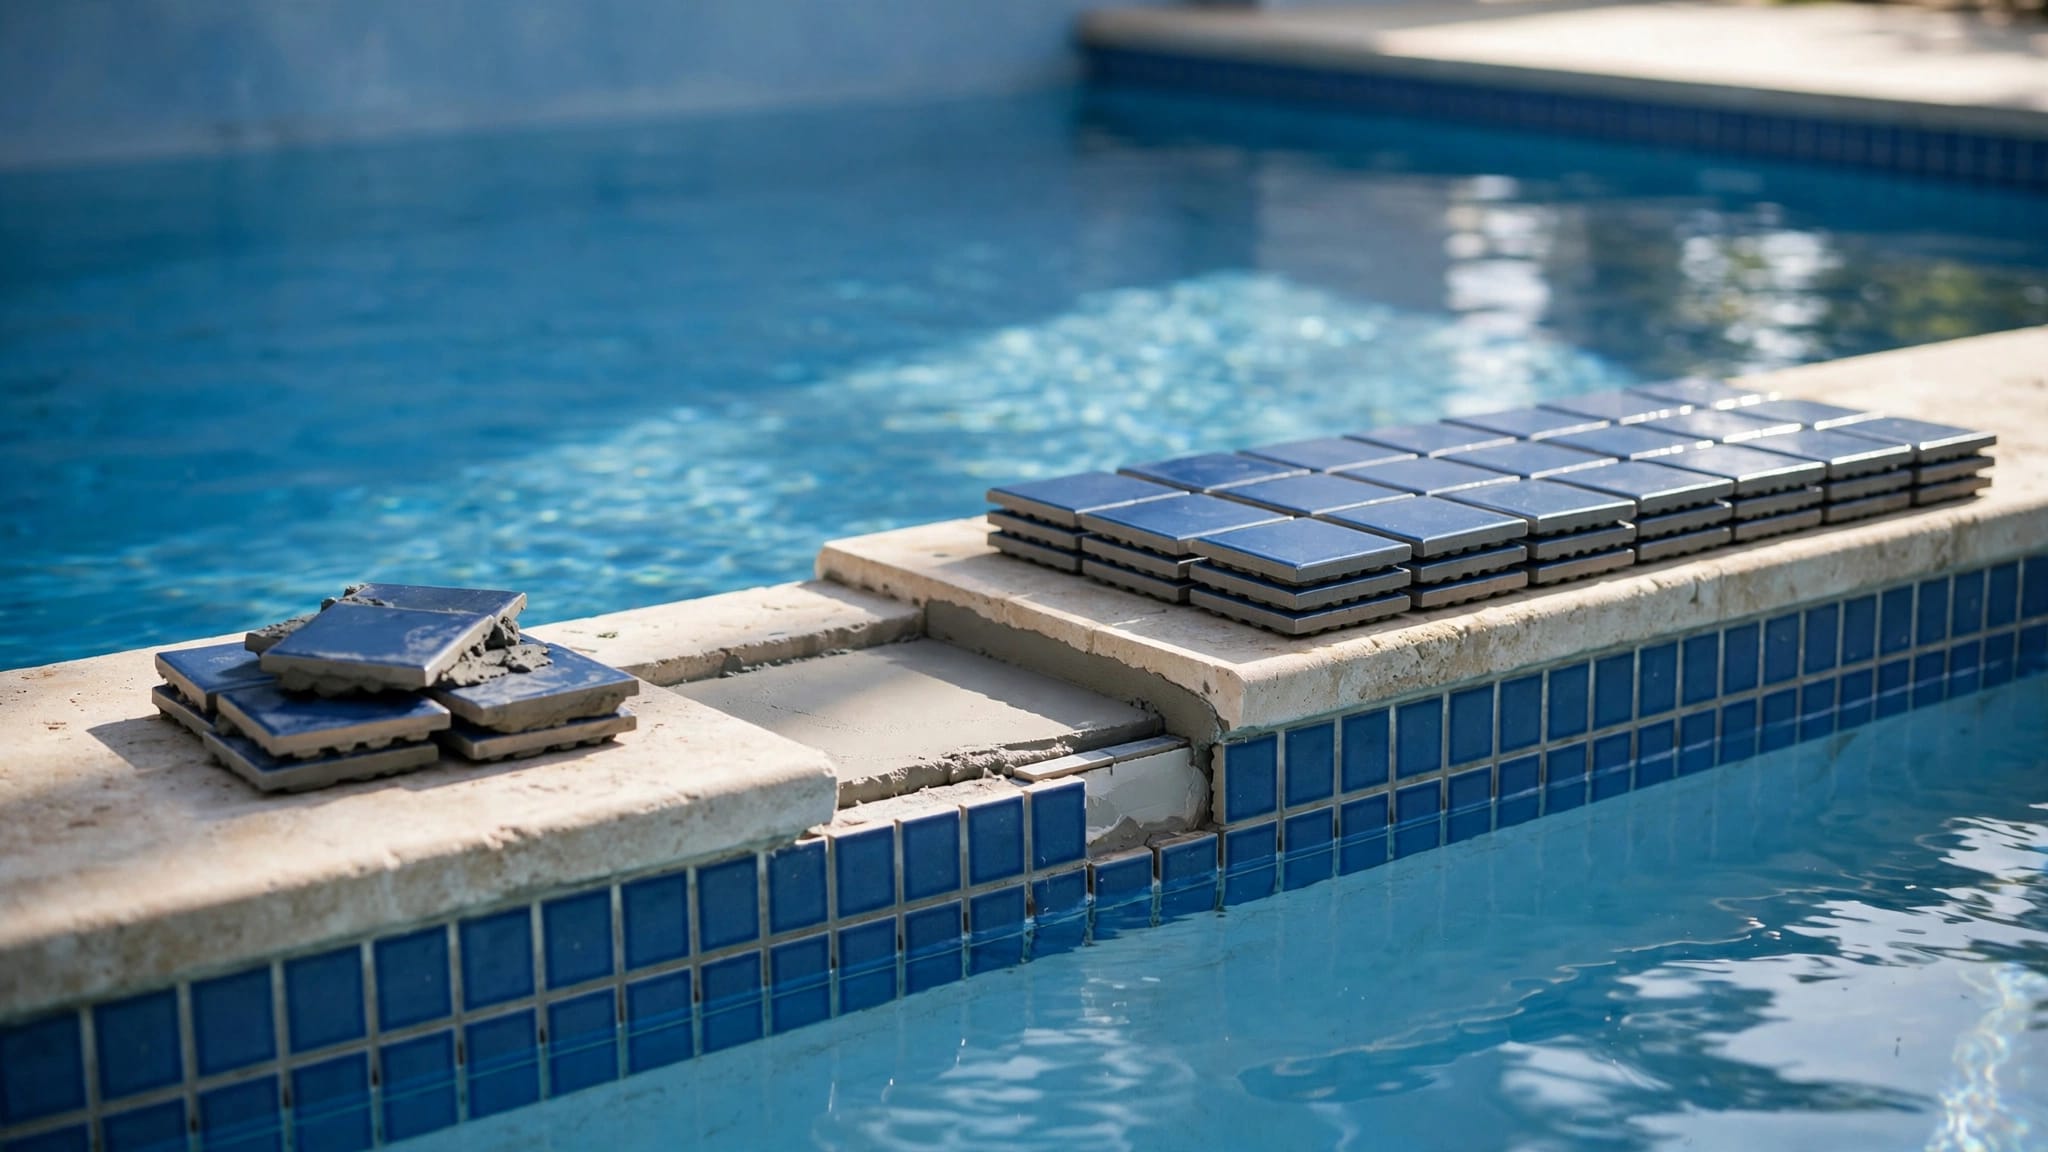
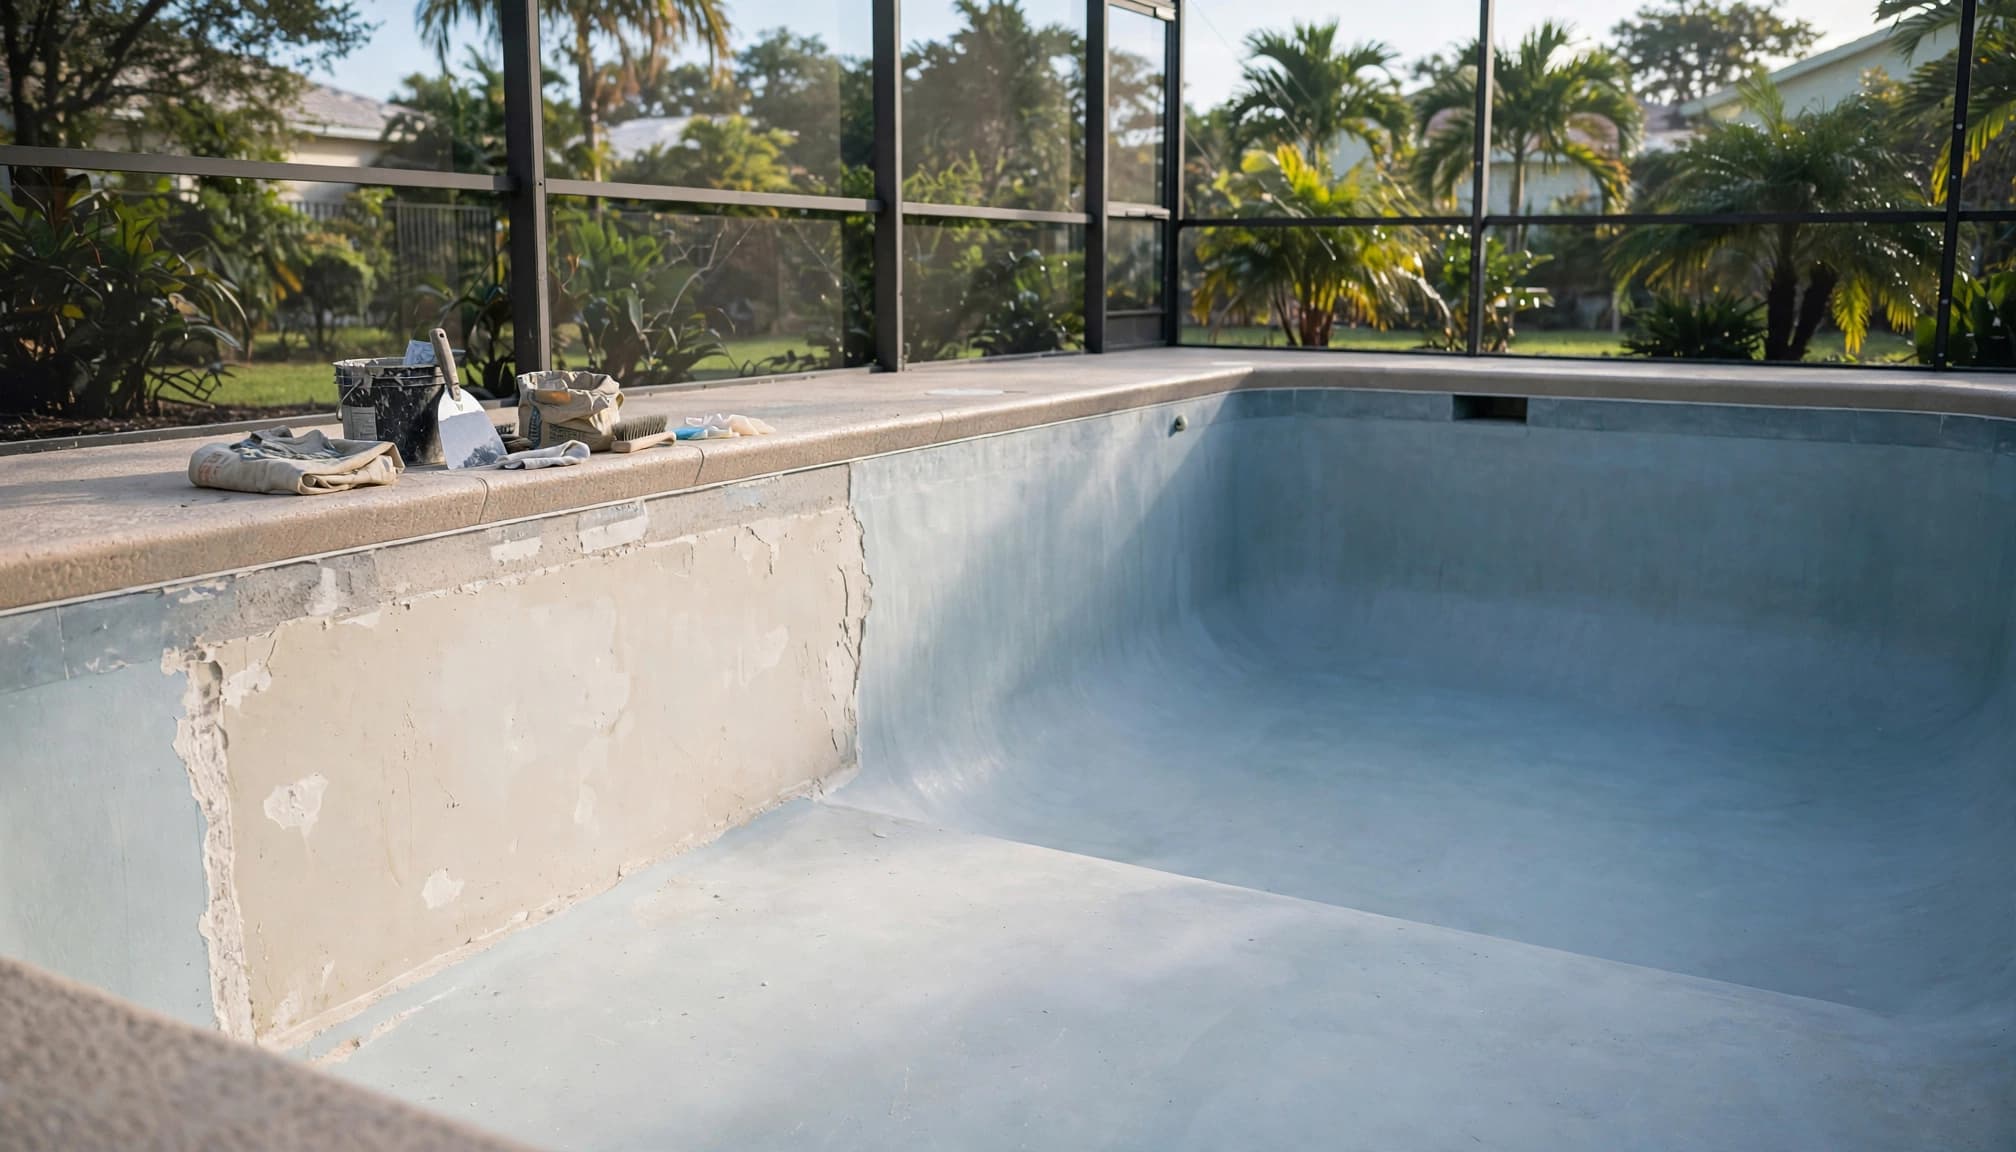
A patch may be practical when damage is limited to a small area and the surrounding finish remains sound. The contractor removes affected material, prepares the repair area, and applies a compatible repair material suited to the location.
A patch on a step or shallow ledge may be more noticeable than one in a less visible part of the pool. Even with a close match, a new patch can differ in color or texture from older plaster that has spent years underwater.
Ask what the repair will include and how visible it may be. If more damaged material appears during preparation, the repair area may need to expand beyond the original spot.
Broader resurfacing
Resurfacing becomes more practical when damaged areas are widespread or the rest of the finish is also thin, rough, pitted, or flaking. Rather than repairing separate spots, the project prepares the pool interior for a new finish.
Resurfacing doesn't automatically address a shell crack, plumbing leak, or movement around the pool. Those issues may need separate work before the new surface goes on.
Acid washing isn't a substitute for either repair. It removes a thin layer to clean the existing finish, but it doesn't rebuild damaged plaster. Compare pool resurfacing and acid washing when staining is part of the problem.
What Happens During Resurfacing?
Resurfacing begins with professional draining and an inspection of the exposed interior. The crew examines the walls, floor, steps, corners, tile line, and areas around fittings and drains. Loose or failing material must be removed before the new finish is applied.
Preparation may also include repairs to small defects and treatment of exposed areas. The exact work depends on the condition of the existing surface and the requirements of the selected finish.
Common choices include traditional plaster, quartz, and pebble finishes. They differ in appearance and texture, so look at samples with your waterline tile and surrounding deck in mind. The material also determines the startup instructions you'll follow after installation.
If you're considering other updates, our pool renovations and resurfacing services include interior refinishing and broader renovation work. Combining related repairs can help avoid disturbing a newly finished surface later.
Planning for Cost, Timing, and Appearance
Repair costs depend on the amount of preparation and repair work, not only the size of the visible blister. Pool size, access, finish selection, and related tile or shell work also affect a resurfacing estimate.
A written scope should separate the main tasks. Look for a description of surface preparation, finish installation, cleanup, and any separate repair work. That makes it easier to compare a localized patch with a complete resurfacing project.
Our guide to pool resurfacing costs in Cape Coral discusses the factors that affect the budget. An on-site estimate gives you a clearer picture of your pool's needs.
For planning, many resurfacing jobs take about five to seven days, though the schedule varies with the scope and conditions. Startup and curing instructions continue after installation, and swimming restrictions depend on the finish and its specifications.
Expect some visual differences after a patch. With full resurfacing, review the selected finish and its texture before work starts so you know what the new interior will look and feel like.
How to Reduce the Risk of Repeat Problems
A durable repair starts with an accurate assessment and a surface prepared for the selected material. The work beneath the visible finish matters as much as the final appearance.
Address related damage first
If the inspection identifies a shell crack, leak, or other condition that needs separate repair, include that work in the project plan. Covering an unresolved problem with a fresh finish can leave you paying to revisit the same area.
For a localized patch, discuss the condition of the surrounding plaster. If the rest of the interior is already worn, a patch may address the immediate spot without extending the life of the entire finish.
Follow the finish care instructions
After a repair or resurfacing project, follow the product-specific startup directions. These may include a filling schedule, brushing routine, water testing, and limits on swimming.
Continue testing and maintaining the water after startup. Poorly maintained water can stain, scale, or wear a plaster finish. Use cleaning tools suited to the surface, and avoid aggressive scrubbing around repaired areas.
Keep photos and paperwork for the work. If you notice a new raised spot or a change near the repair, that record gives the contractor useful context for another assessment.
Choose the Repair That Fits the Damage
Pool plaster blisters deserve a close look before you choose a fix. An isolated area may be suitable for a patch, while widespread deterioration can make resurfacing the more practical choice.
The strongest repair plan accounts for the condition beneath the finish as well as its appearance. If you'd like us to assess your pool, Get a Free Estimate for an on-site consultation.