Weak return jets don't always mean your pump needs replacing. Leaves and stringy debris can clog a pool pump impeller, but cleaning it carelessly can turn a blockage into a repair.
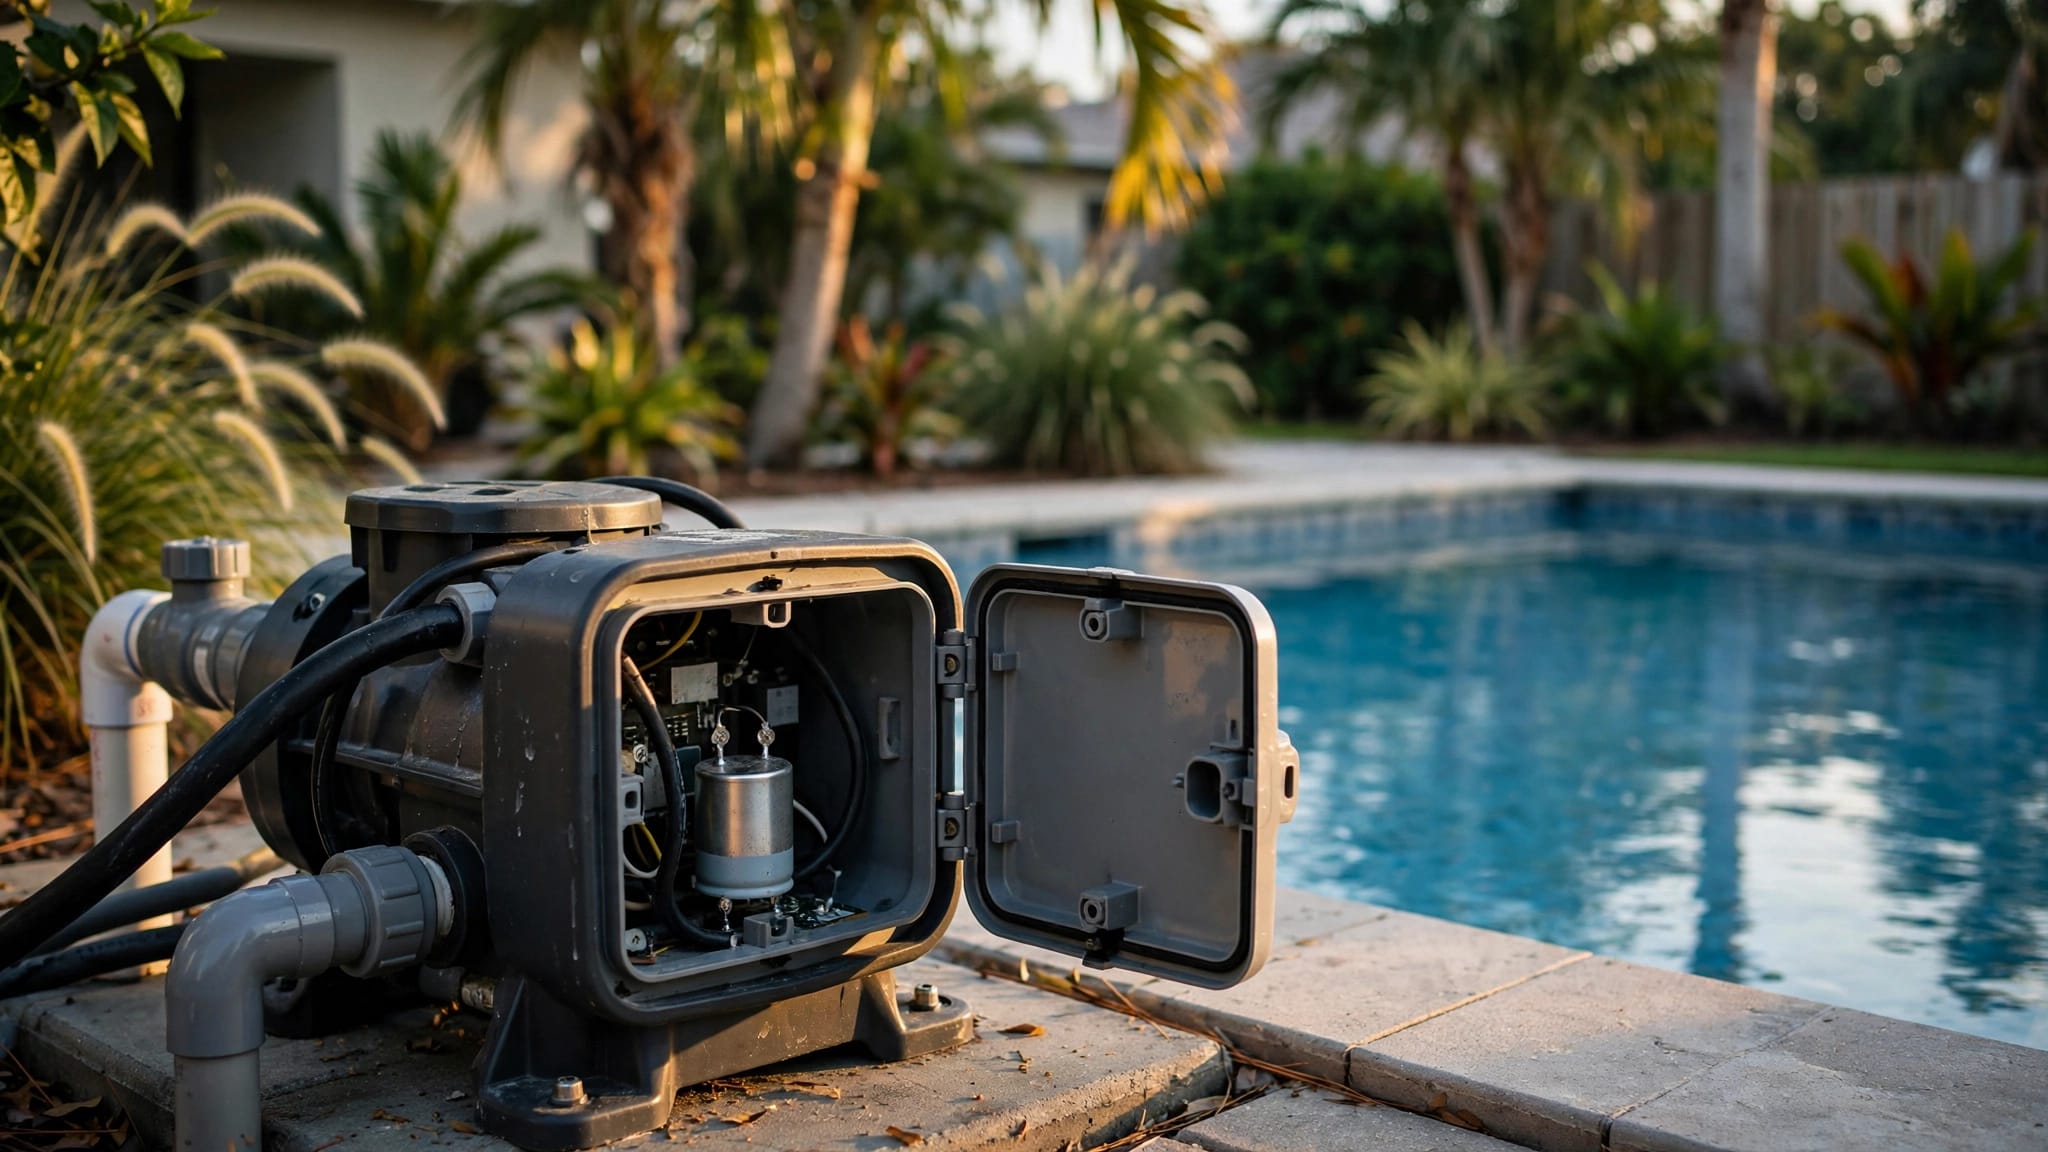
The safest approach starts with disconnecting power , then removing only debris you can reach without forcing tools against internal parts. Your pump's manual determines how to access the impeller and whether homeowner cleaning is appropriate.
Before opening anything, rule out the simpler causes of poor circulation.
Key Takeaways
- Disconnect electrical power and prevent automatic restarts before opening the pump or reaching inside.
- Check water level, baskets, valve positions, and filter pressure before assuming the impeller is clogged.
- Use suitable non-metallic tools gently, and never pry against impeller blades.
- Stop if access requires unfamiliar disassembly or you find cracked, seized, or damaged parts.
Cleaning methods vary by pump. Follow the manufacturer's instructions rather than copying a procedure for equipment that only looks similar.
Check Whether the Impeller Is the Problem
The impeller rotates inside the pump, moving water through the circulation system. Debris can obstruct its inlet or internal passages even when the strainer basket looks reasonably clean.
However, poor flow alone doesn't confirm a clogged impeller.
Compare pressure and return flow
Weak returns with unusually high filter pressure often point toward a dirty filter or another return-side restriction. Compare the reading with your normal clean-filter pressure at the same pump speed.
Low pressure, poor flow, and a history of debris getting past the basket can justify inspecting the impeller. Yet suction-side blockages and air leaks can produce similar symptoms.
Persistent bubbles under the clear lid suggest checking water supply and suction-side seals first. A gravel-like sound can indicate cavitation caused by restricted water supply, rather than loose debris inside the pump.
Rule out basic circulation problems
Confirm that the pool water level adequately supplies the skimmer. Check that accessible valves remain in their normal operating positions.
With power disconnected and pressure relieved, empty the skimmer and pump baskets. Inspect them for cracks, distortion, or a poor fit that could let debris bypass them.
Also examine the lid and O-ring. If the basket drains after every shutdown, investigate drain-back or an air leak instead of repeatedly cleaning the impeller.
Disconnect Power and Release Pressure First
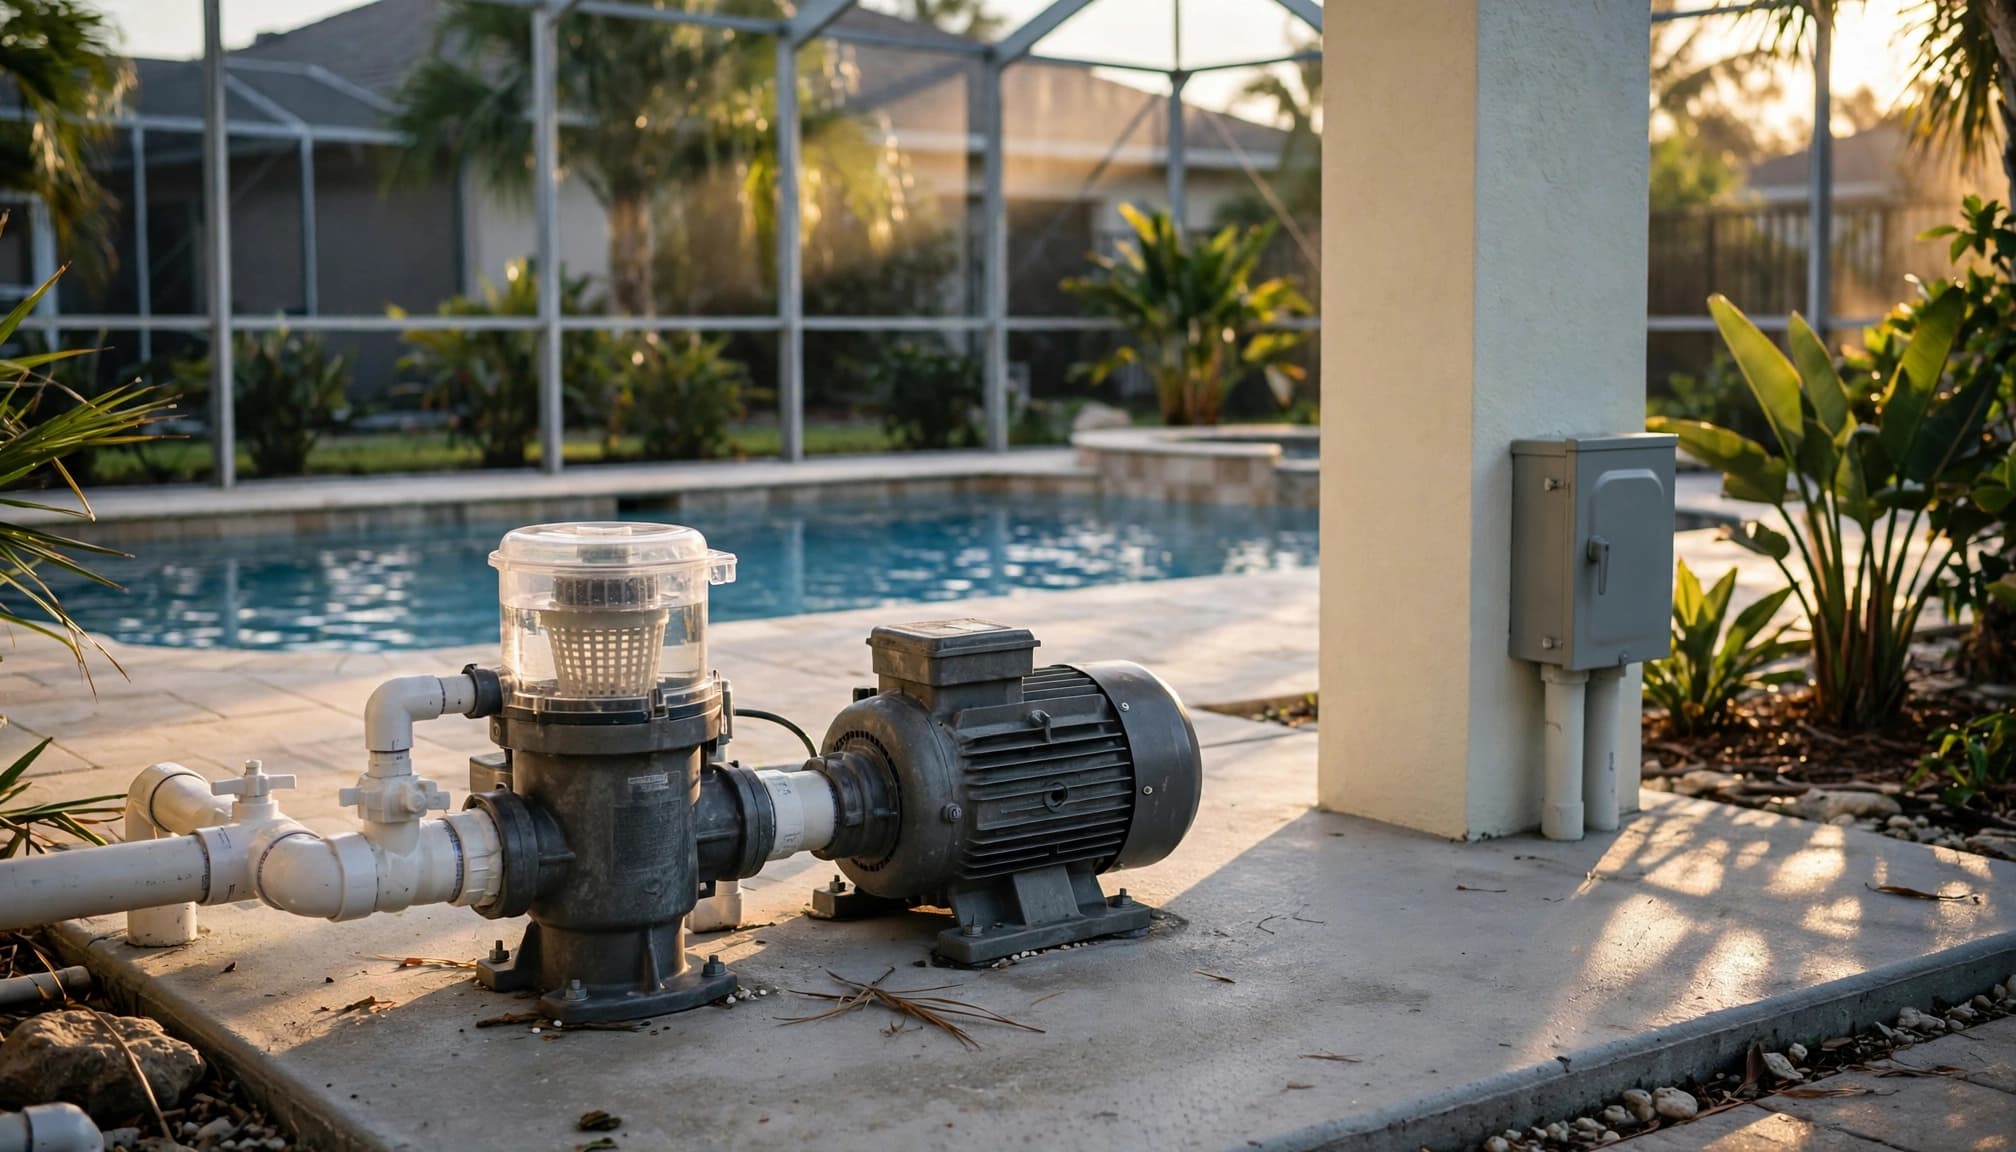
A stopped motor doesn't prove the pump is safe to open. Timers, automation, and remote controls can start equipment unexpectedly.
Isolate the electrical supply
Stop the pump using its normal controls, then disconnect its electrical supply at the correct breaker or service disconnect. Disable scheduled starts as an additional precaution.
Prevent anyone from restoring power while you work. Use a lockable disconnect where available, and keep control of the isolation point. For a factory cord-connected pump, follow its unplugging instructions only when the plug, receptacle, and surrounding area are dry.
Don't rely on an app's "off" setting. Verify isolation as the manufacturer directs. If you can't confidently identify or isolate the supply, call a qualified professional.
Don't open electrical compartments or handle equipment with damaged wiring. Equipment that has been submerged needs professional inspection before restarting.
Relieve stored pressure
Follow the pump and filter manuals to release pressure before loosening the pump lid. Use the designated air-relief procedure, keep clear of the opening, and confirm the gauge reads zero.
Follow any required isolation-valve instructions, particularly when equipment sits below the pool water level. Valve positions and draining requirements vary by installation.
A zero pressure reading doesn't establish electrical safety. Power isolation and pressure relief are separate requirements.
If pressure remains, the gauge appears faulty, or you don't understand the valve arrangement, stop before opening anything.
Find the Manufacturer-Approved Access Route
Have the exact pump model available before starting. Pentair, Hayward, and other manufacturers publish model-specific manuals and parts diagrams.
A manual for another pump may show different fasteners, seals, or access requirements.
Start at the strainer basket opening
After isolating power and relieving pressure, remove the lid and basket according to the manual. Keep loose fasteners and debris away from the opening.
Use a flashlight to inspect the passage behind the basket. Some designs permit limited inspection or cleaning through this opening; others don't provide suitable access.
Don't assume you can safely reach the impeller because you can see an opening. Avoid inserting fingers or tools blindly into the inlet. If the manual doesn't describe this cleaning route, ask a pool professional.
Leave difficult housing access to a professional
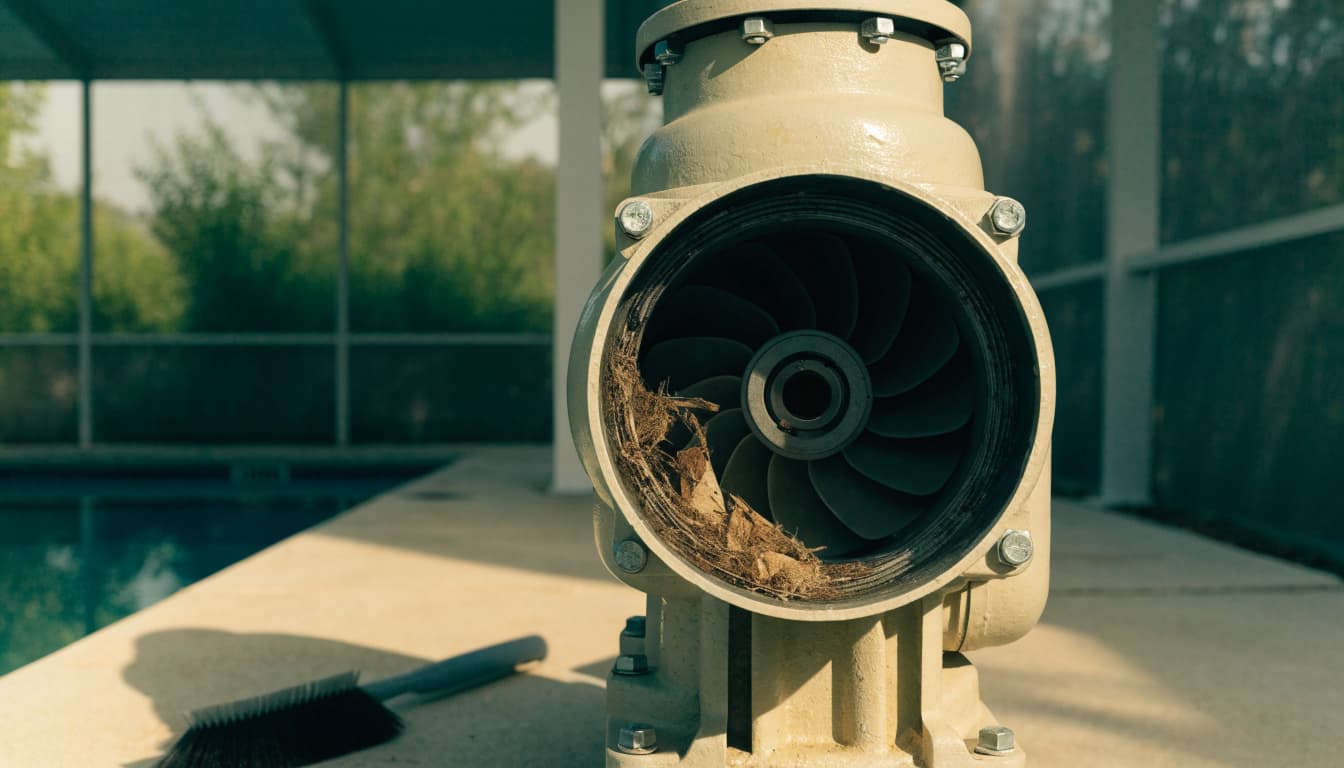
Some pumps require separating the motor assembly from the housing and removing a diffuser to expose the impeller. That work introduces risks to seals, alignment, and brittle plastic.
Only proceed if the manufacturer permits the procedure and you understand the complete reassembly instructions. Otherwise, leave this access route to a technician.
Never pry housing sections apart against the impeller. Don't disconnect wiring, disturb the shaft seal, or unscrew the impeller merely to improve access for routine debris removal.
Clear the Pool Pump Impeller Gently
Once you have approved access, remove visible debris in small amounts. A suitable non-metallic tool reduces scratching risk, but it can still damage plastic if forced.
Use this sequence only where your pump manual permits accessible impeller cleaning:
- Inspect before touching anything. Shine a flashlight into the accessible area. Identify loose debris and look for cracked blades, chipped edges, or lodged hard objects.
- Choose an appropriate tool. Use a small, soft nylon brush or another manufacturer-approved non-metallic cleaning tool. Avoid screwdrivers, wire hooks, and stiff metal brushes against the impeller.
- Lift or brush away loose material. Work gently on debris you can see and reach. Remove it toward the access opening rather than pushing it farther into the pump.
- Check for remaining obstructions. Inspect again after each small removal. If material wraps around internal parts or won't release with light contact, stop instead of pulling harder.
- Account for everything you used. Remove loosened debris and check that no bristles or tool fragments remain. Inspect accessible surfaces again before reassembly.
Don't lever a tool against blade edges or force a tool between vanes. Avoid scraping, bending, or twisting the impeller, even if the debris appears close.
Routine clearing doesn't require proving that the impeller spins freely by hand. Don't force rotation through the inlet or use the motor to dislodge material.
Pressure washers and aggressive flushing can damage components or drive debris deeper. Likewise, solvents and improvised chemical treatments aren't appropriate substitutes for mechanical inspection.
Reassemble and Prime Before Restarting
Cleaning isn't complete until the pump runs with adequate water flow and no new leaks. Keep power disconnected throughout reassembly.
Restore seals and components correctly
Reinstall any components you removed in the order specified by the manual. Check seating surfaces, gasket placement, and fasteners before closing the housing.
For basket-only access, clean the lid's sealing surface and inspect the O-ring. Replace a cracked, stretched, or flattened seal rather than trying to compensate by overtightening the lid.
Use only a manufacturer-approved pool seal lubricant when instructed. Petroleum products can damage seals.
Seat the basket correctly and secure the lid as directed. Don't use a wrench on a hand-tightened lid unless the manual requires one. Restore isolation valves to the correct operating positions before restarting.
Watch the initial restart
Prime the pump according to its instructions. That may include filling the strainer housing with clean water, but the exact procedure depends on the model and installation.
Confirm the system is assembled and ready before restoring power. Follow the filter's air-relief instructions during startup, and stand clear of pressurized equipment.
Observe basket water level, return flow, leaks, and sound. Compare pressure at the same speed used for your normal baseline.
If the pump won't establish prime within the manufacturer's allowed procedure, shut it down. Don't keep restarting it or let it run without adequate water flow.
Stop When Cleaning Becomes a Repair
A cracked pool pump impeller needs assessment and replacement, not further cleaning. Chipped blades, rubbing marks, or broken plastic inside the housing also require professional attention.
Stop if the impeller appears seized, debris is tightly wound around inaccessible parts, or housing components won't separate as instructed. Extra force can damage the diffuser, shaft seal, or pump body.
A humming motor that won't start may have an electrical or mechanical fault. Don't reach inside to give the impeller a push.
Turn off the system for breaker trips, burning smells, smoke, severe grinding, or persistent leaks. A qualified technician should diagnose these symptoms before another restart.
When arranging service, provide the pump model and describe when the problem occurs. Mention recent storms, basket damage, filter cleaning, and changes in pump speed.
Persistent weak flow after cleaning needs diagnosis. Suction leaks, blocked plumbing, valve problems, and filter restrictions can remain even when the impeller is clear.
Keep Debris From Reaching the Impeller Again
Inspect both baskets regularly and after windy weather. Replace cracked baskets promptly, and confirm each one fits its intended housing.
Cape Coral's screened enclosures reduce debris, but small palm strands and other windblown material still reach the water. After enclosure work, check for screen scraps and spline before they enter the circulation system.
Inspect the clear lid while cleaning the basket. Hairline cracks, a loose fit, and a flattened O-ring can contribute to air leaks.
Maintain the correct water level and follow the filter manufacturer's cleaning instructions. Unusually rapid water loss warrants a leak inspection, not repeated pump troubleshooting.
If you're planning pool renovations and resurfacing, include circulation and equipment access in the project discussion. A finish update alone won't correct plumbing problems.
For an on-site consultation about a renovation or enclosure project, Get a Free Estimate from Back Bay Pools. Ask whether an equipment assessment can be included.
Protect the Pump While Restoring Flow
Safe impeller cleaning depends on gentle, approved access after electrical isolation and pressure relief. Remove accessible debris without prying, then reassemble and prime according to the manual.
If access is difficult or parts appear damaged, stop and arrange professional service. Weak returns deserve a diagnosis before they become a reason to force tools into the pump.