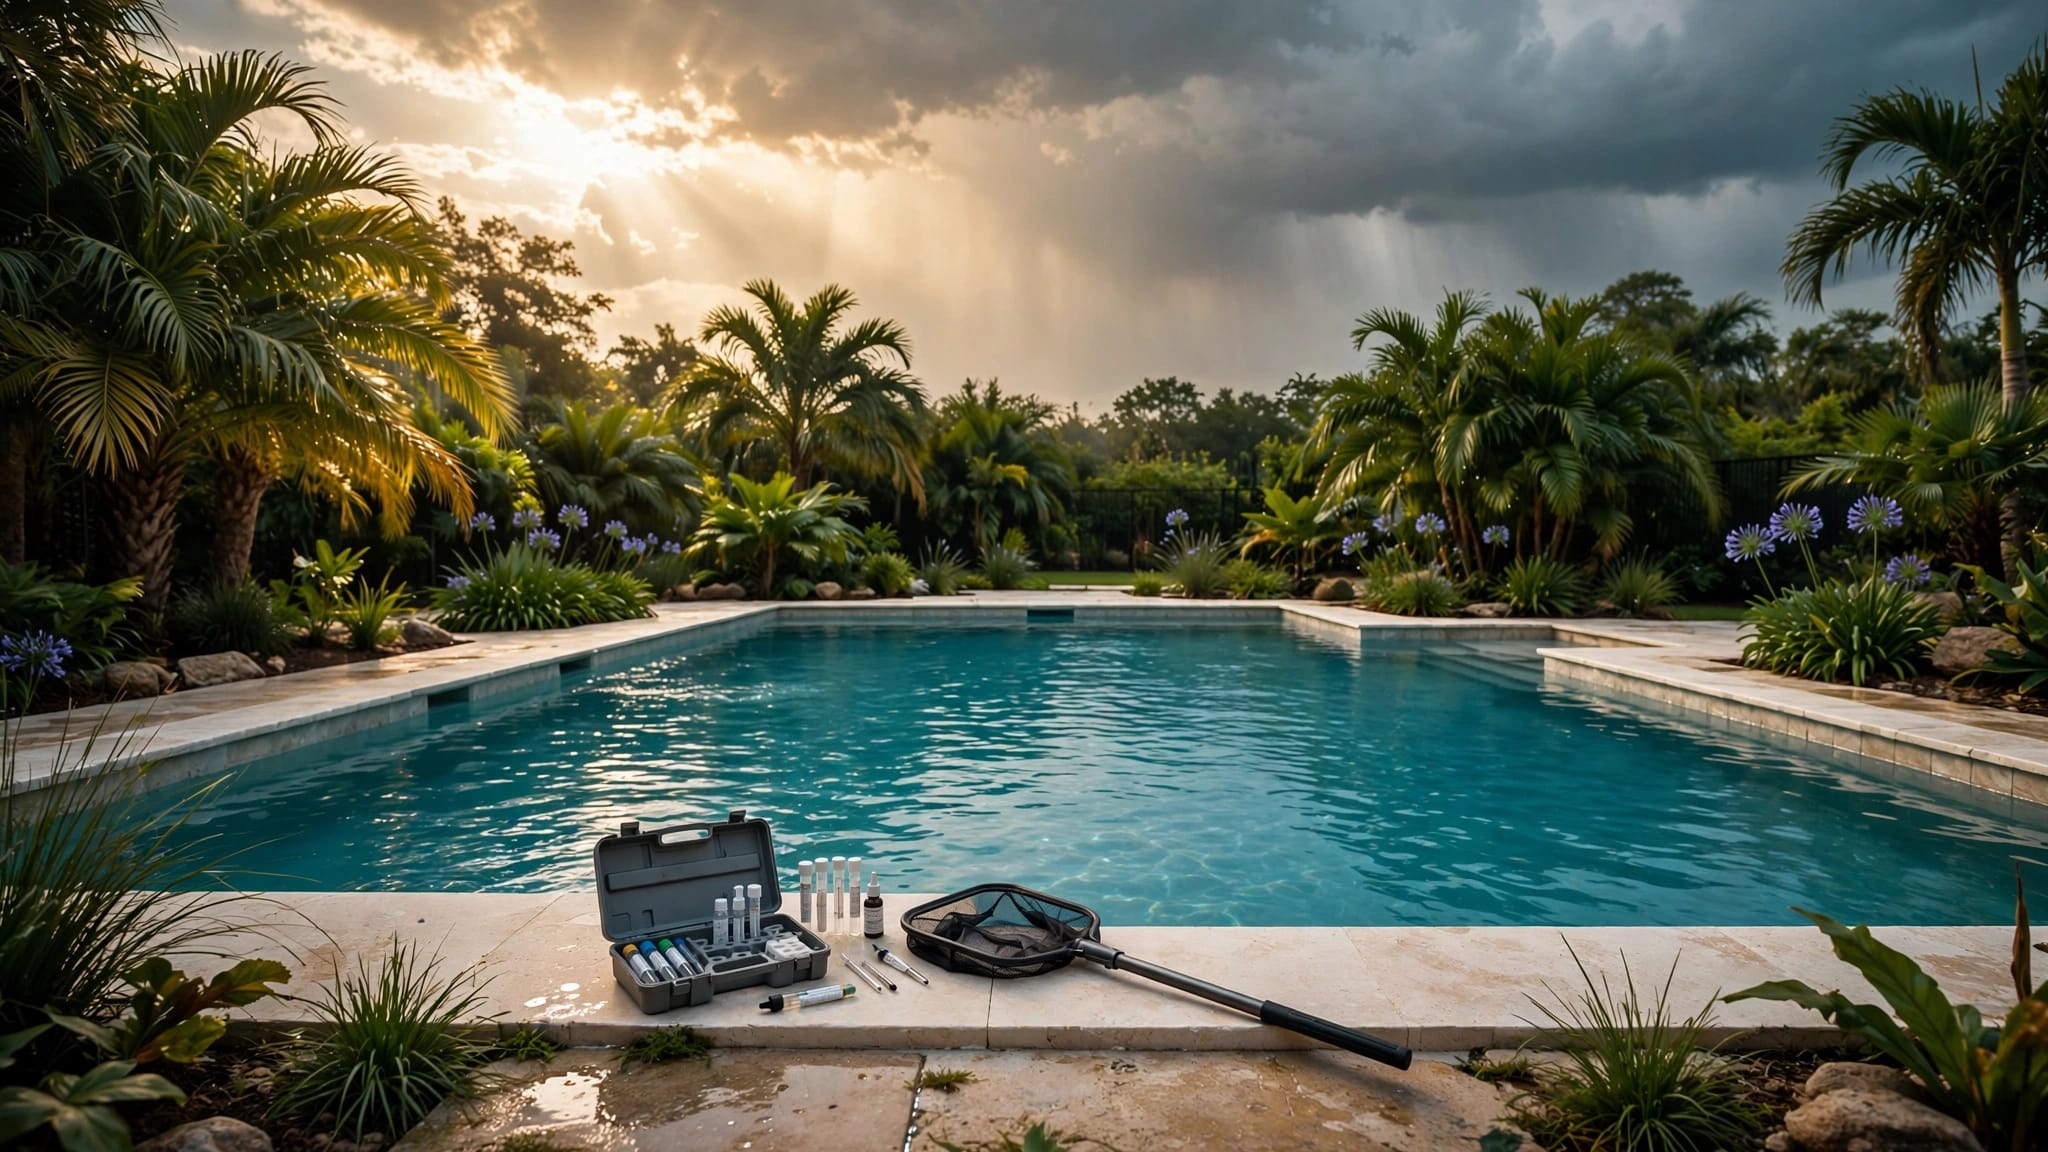
A sparkling pool can still contain water that irritates skin, damages equipment, or weakens sanitizer. Regular pool water testing shows whether your pH and chlorine levels are balanced before small problems become expensive repairs.
You don't need specialized equipment or advanced chemistry knowledge. With basic test strips or a liquid kit, you can collect a good sample, read the results, and make small adjustments safely. Start with the readings that matter most.
Why Test Your Pool Water Regularly?
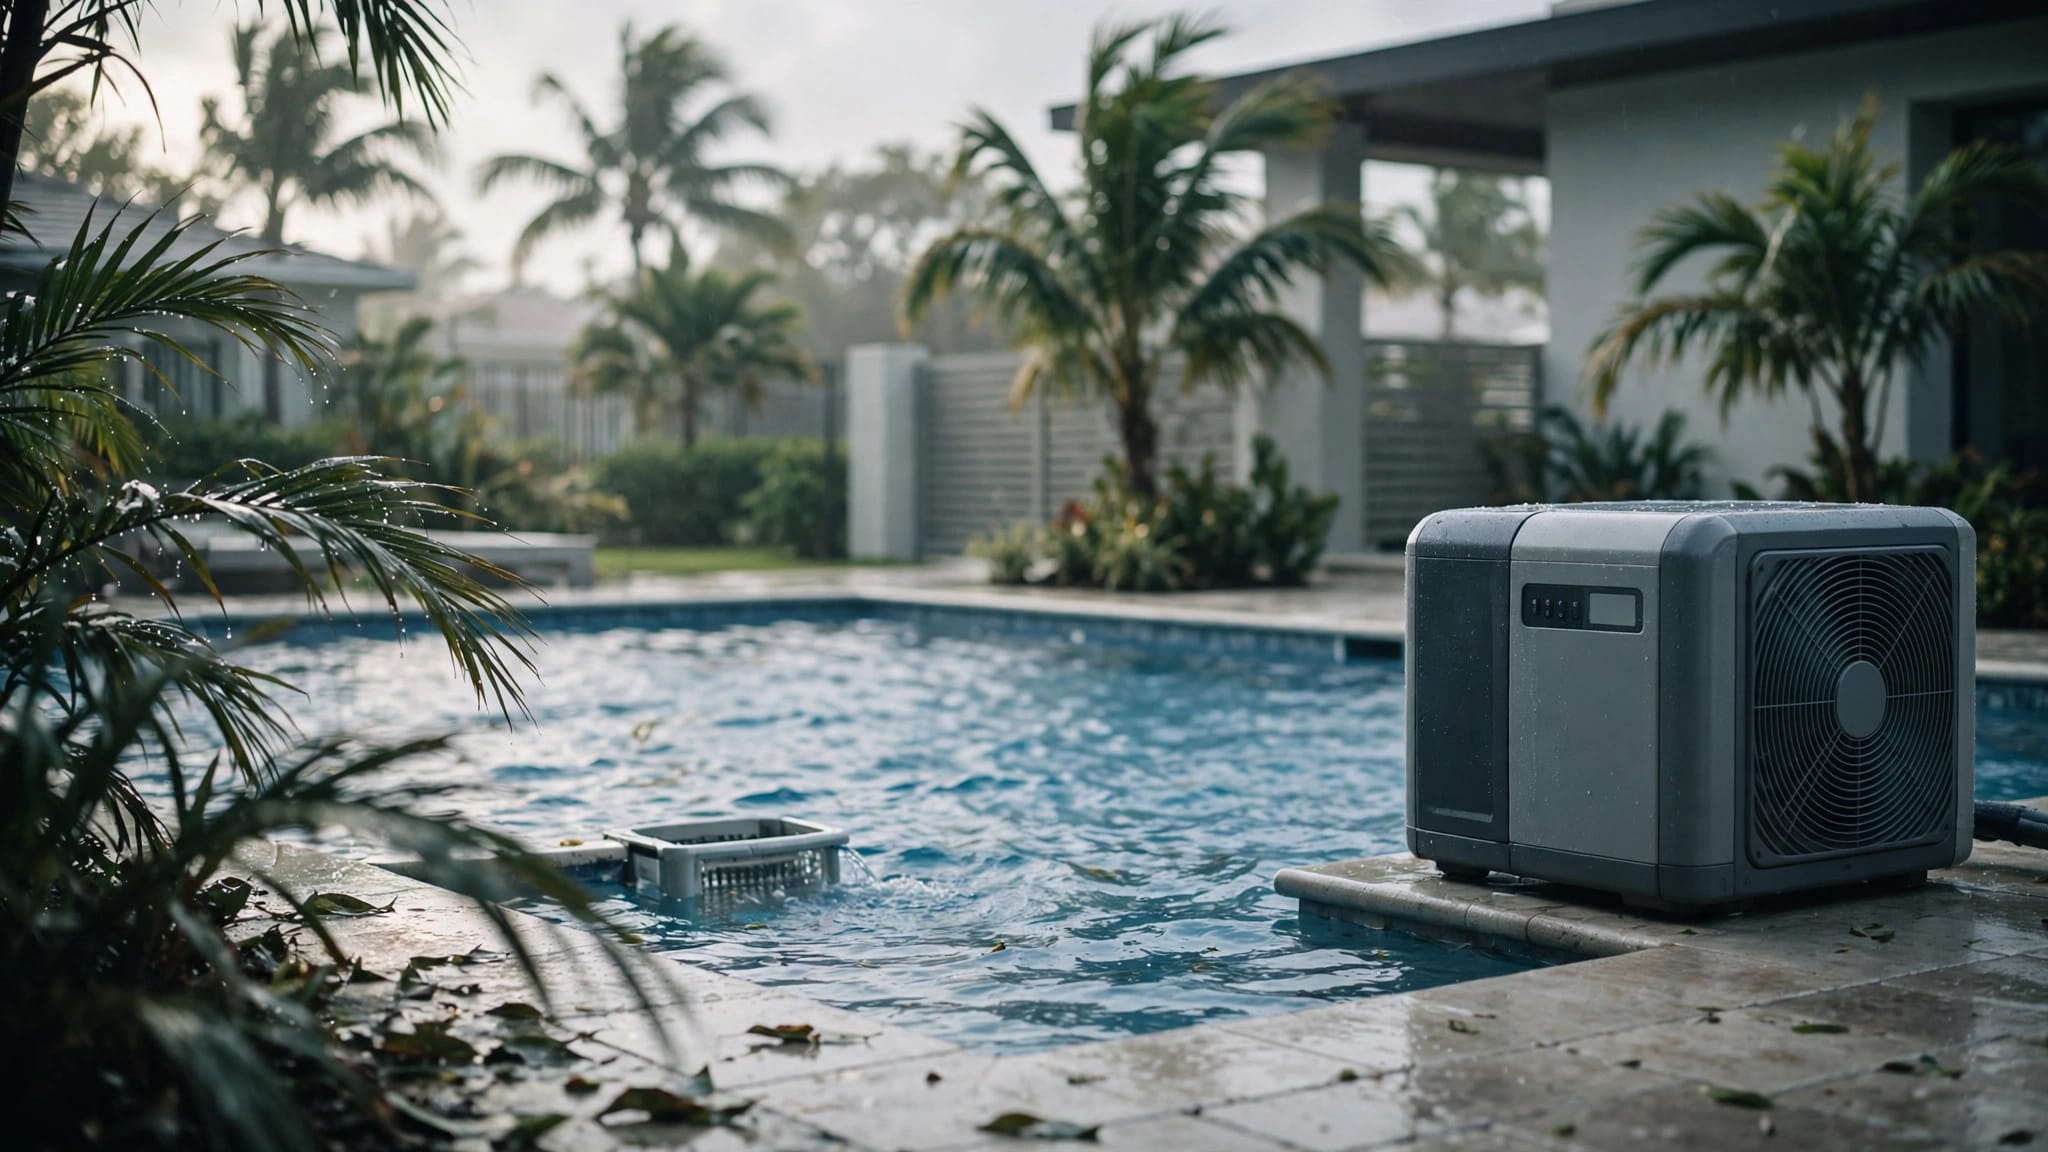
Pool water changes throughout the week. Rain can dilute chemicals, heavy use adds contaminants, and Florida heat can increase chlorine loss. A working pump and filter also need properly balanced water to operate under normal conditions.
Focus on the readings that matter first
pH tells you how acidic or alkaline the water is. If it falls too low, the water can irritate skin and eyes and may damage metal components. High pH can cause cloudy water, scale, and reduced chlorine performance.
Free chlorine is the sanitizer available to control bacteria and other contaminants. A low reading can leave the pool unprotected. A high reading may irritate swimmers and make the water smell strong.
Total alkalinity helps keep pH from changing too quickly. Cyanuric acid, also called stabilizer, protects chlorine from sunlight in outdoor pools. You don't need to adjust every number every day, but these readings help explain why the water keeps changing.
Set a practical testing schedule
For a residential pool, test pH and free chlorine at least two or three times each week. Test more often after heavy swimming, heavy rain, extreme heat, or a major chemical adjustment.
Check total alkalinity when you open the pool, after adding a large amount of water, or whenever pH keeps drifting. Follow the instructions for your sanitizer, salt system, or test kit because recommended ranges can vary by product.
How to Collect a Reliable Pool Water Sample
A poor sample can produce a misleading result. Water near a return jet may contain recently added chemicals, while water at the surface may not represent the pool as a whole.
Choose the right sampling spot
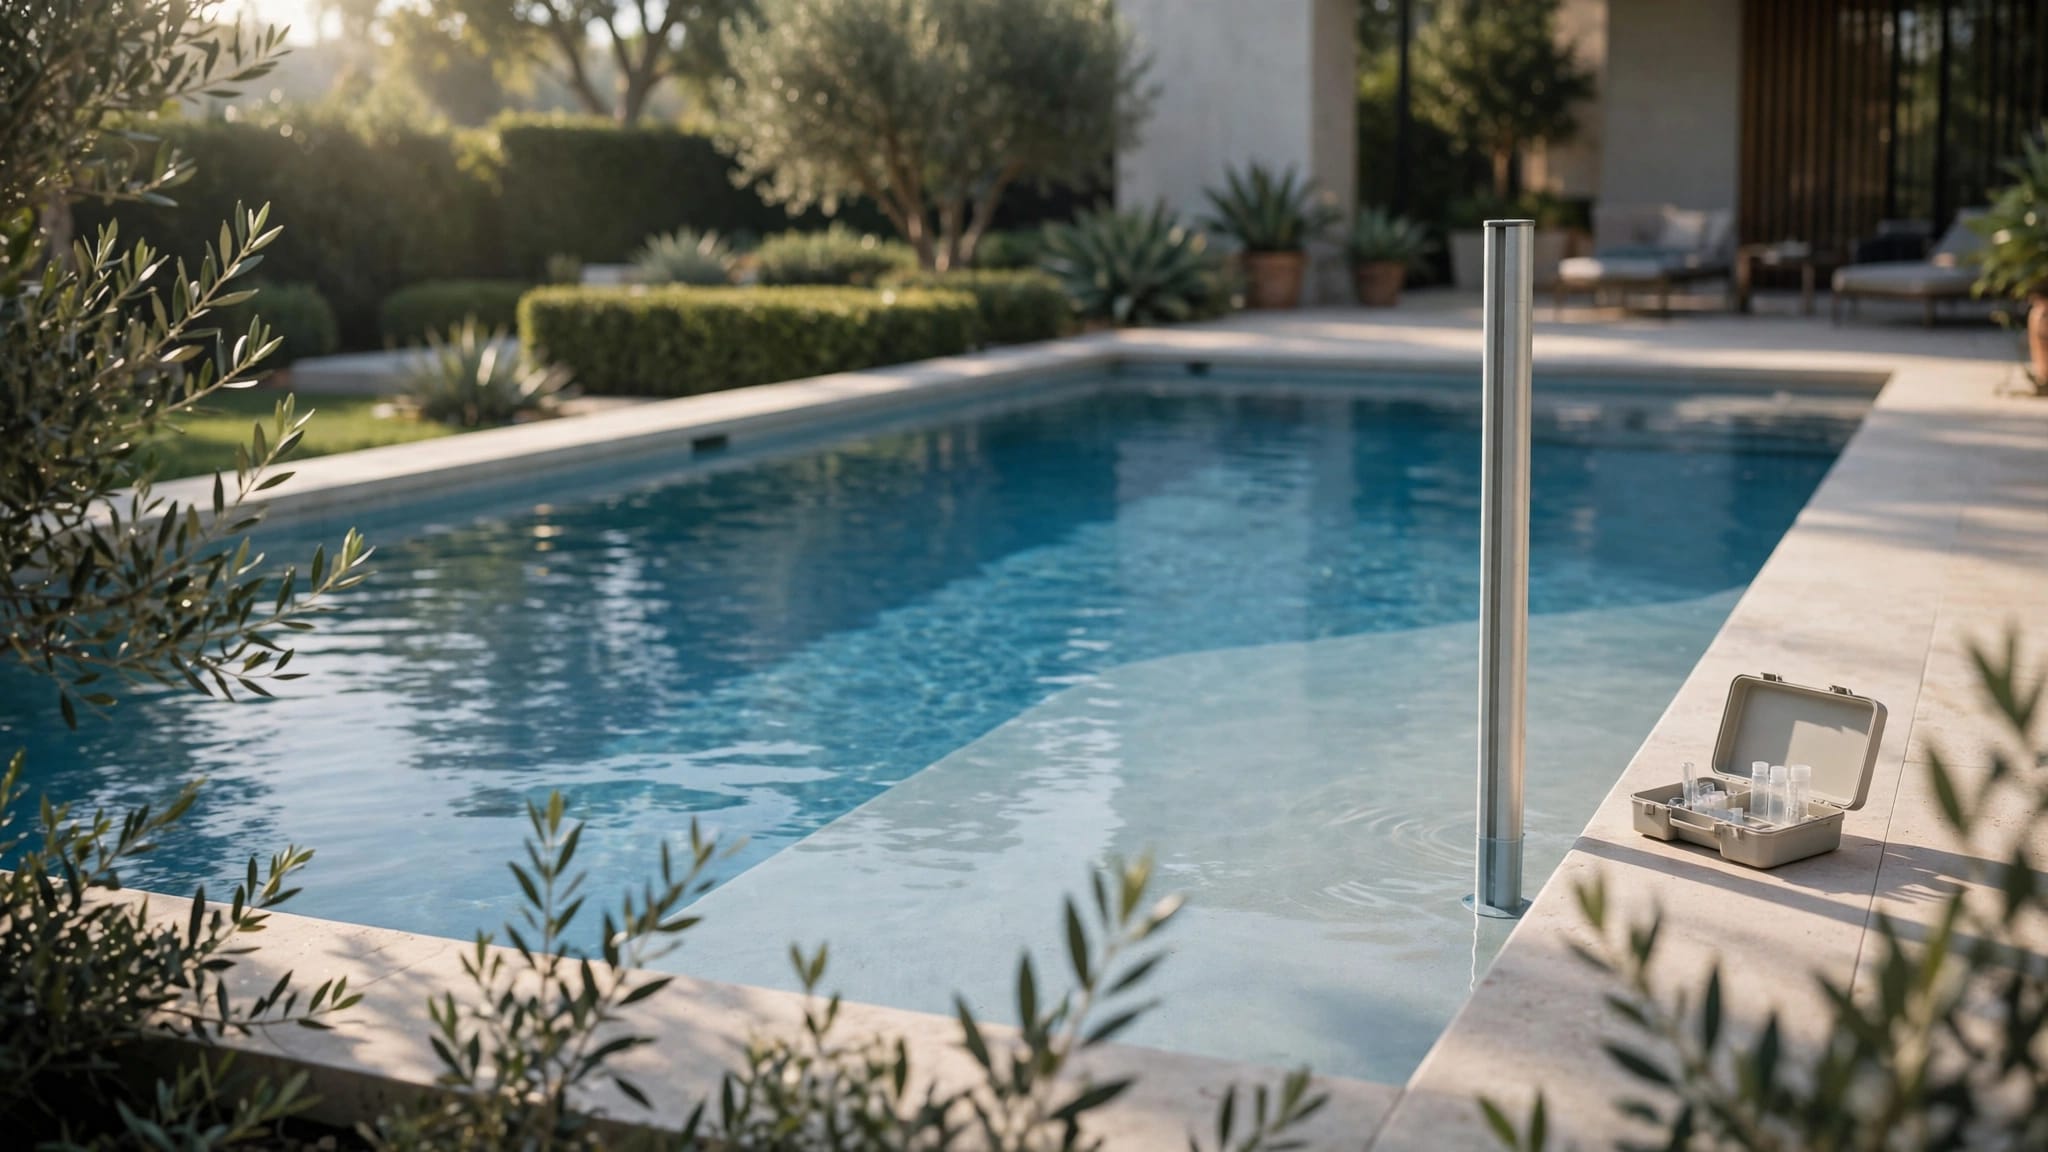
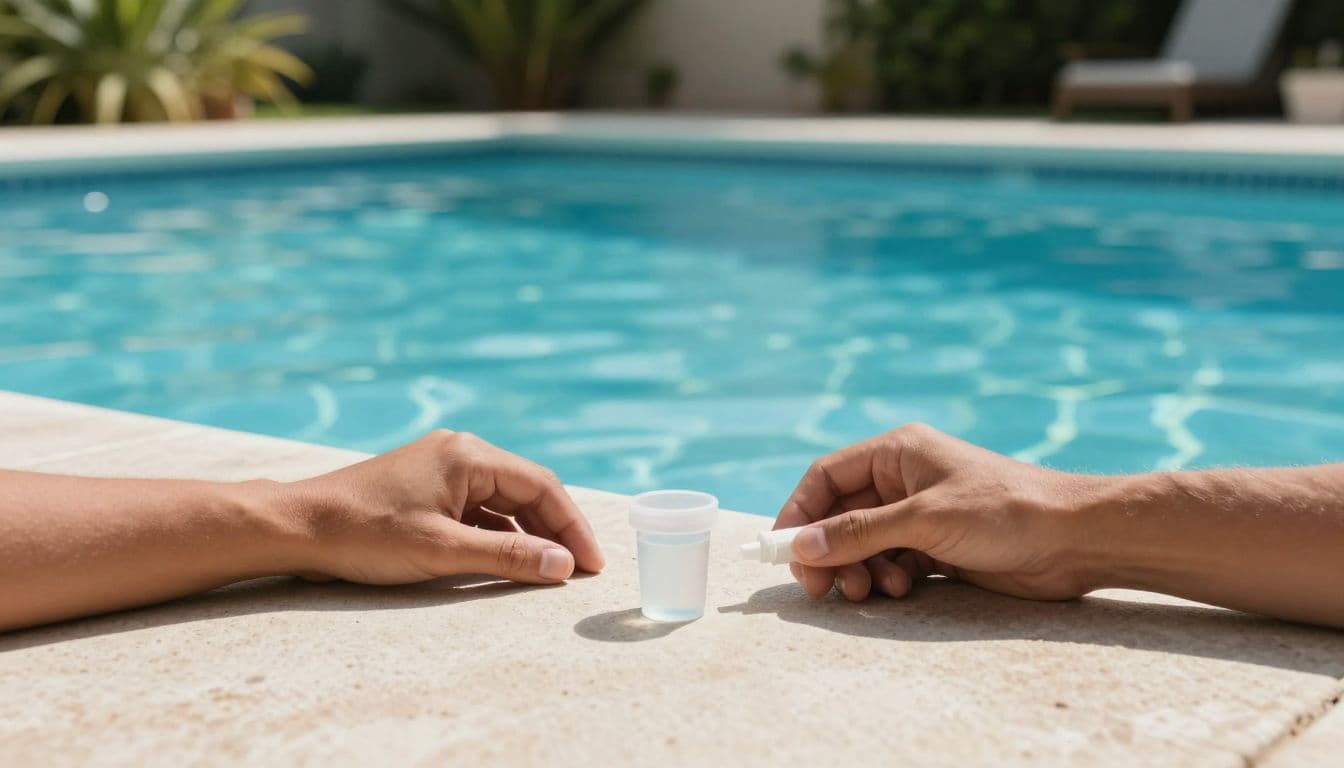
Take the sample from the middle of the pool, away from the skimmer, return jets, steps, and floating chemical dispensers. Collect water roughly 12 inches below the surface. If you have a clean plastic cup or the container supplied with your kit, rinse it with pool water first.
Don't take a sample immediately after adding chemicals. Give the pump time to circulate the water, then test a fresh sample. Soap residue, sunscreen, dirt, and chemical residue inside a container can alter the result.
Use these steps each time:
- Hold the container upside down and lower it below the surface before turning it upright.
- Fill it with water, leaving enough space for the test method or marked fill line.
- Test the sample soon after collecting it.
- Keep the sample out of direct sunlight while you compare the colors.
Consistency matters. Using the same sampling location and method makes it easier to spot real changes.
Pool Water Testing Methods: Strips vs. Liquid Kits
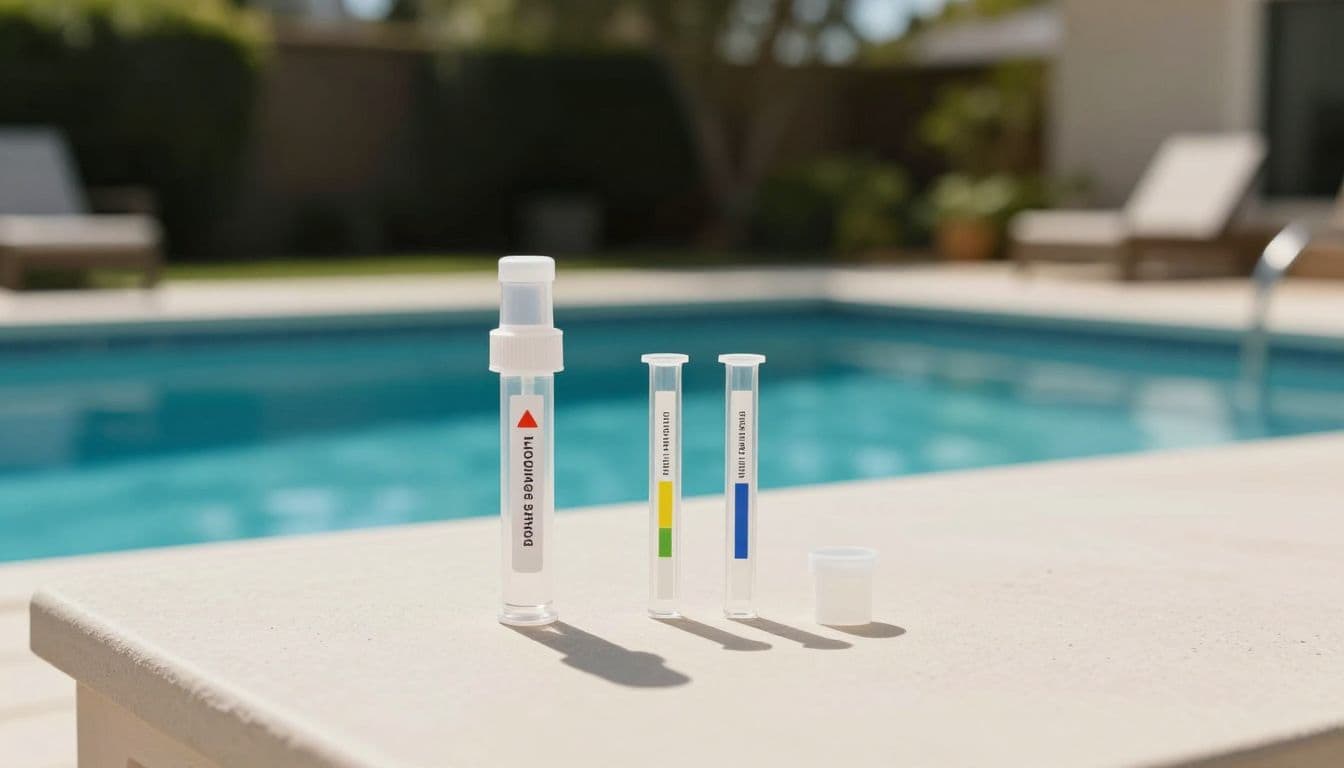
Test strips are convenient, while liquid kits usually offer more control when you need a closer reading. Both can work well when you follow the instructions carefully.
| Method | Advantages | Limitations | Good fit |
|---|---|---|---|
| Test strips | Fast, simple, and easy to store | Color matching can be less precise | Routine checks |
| Liquid kit | More detailed color comparison and control | Takes longer and requires careful drops | Troubleshooting and regular owners |
When test strips make sense
Test strips are a good starting point for a first-time pool owner. They can check several readings at once, including pH, free chlorine, alkalinity, and stabilizer, depending on the product.
They also work well when you want a quick reading before swimming or after a storm. Keep the container sealed because moisture can affect unused strips. Check the expiration date, and don't touch the reactive pads with wet fingers.
When to choose a liquid kit
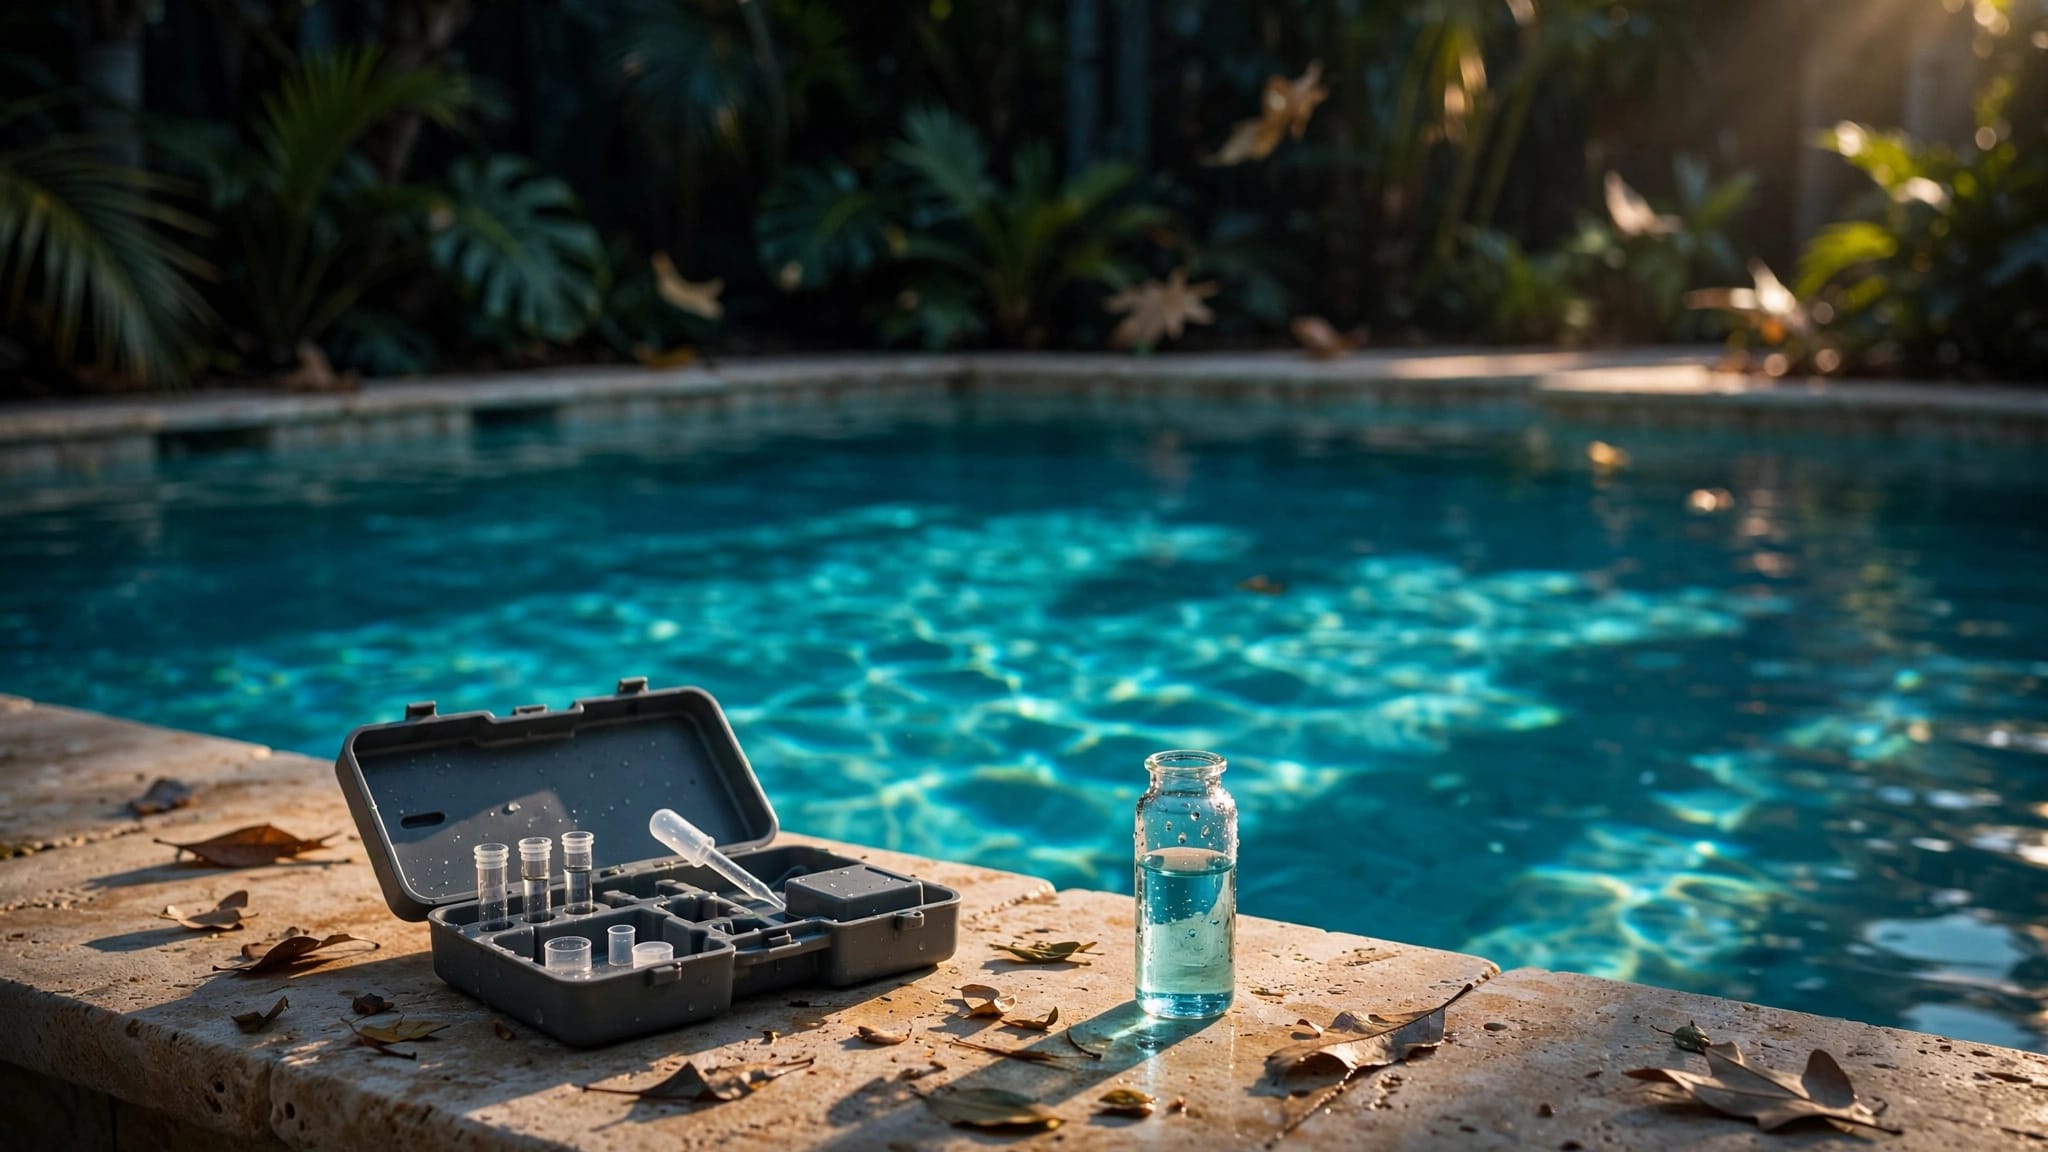
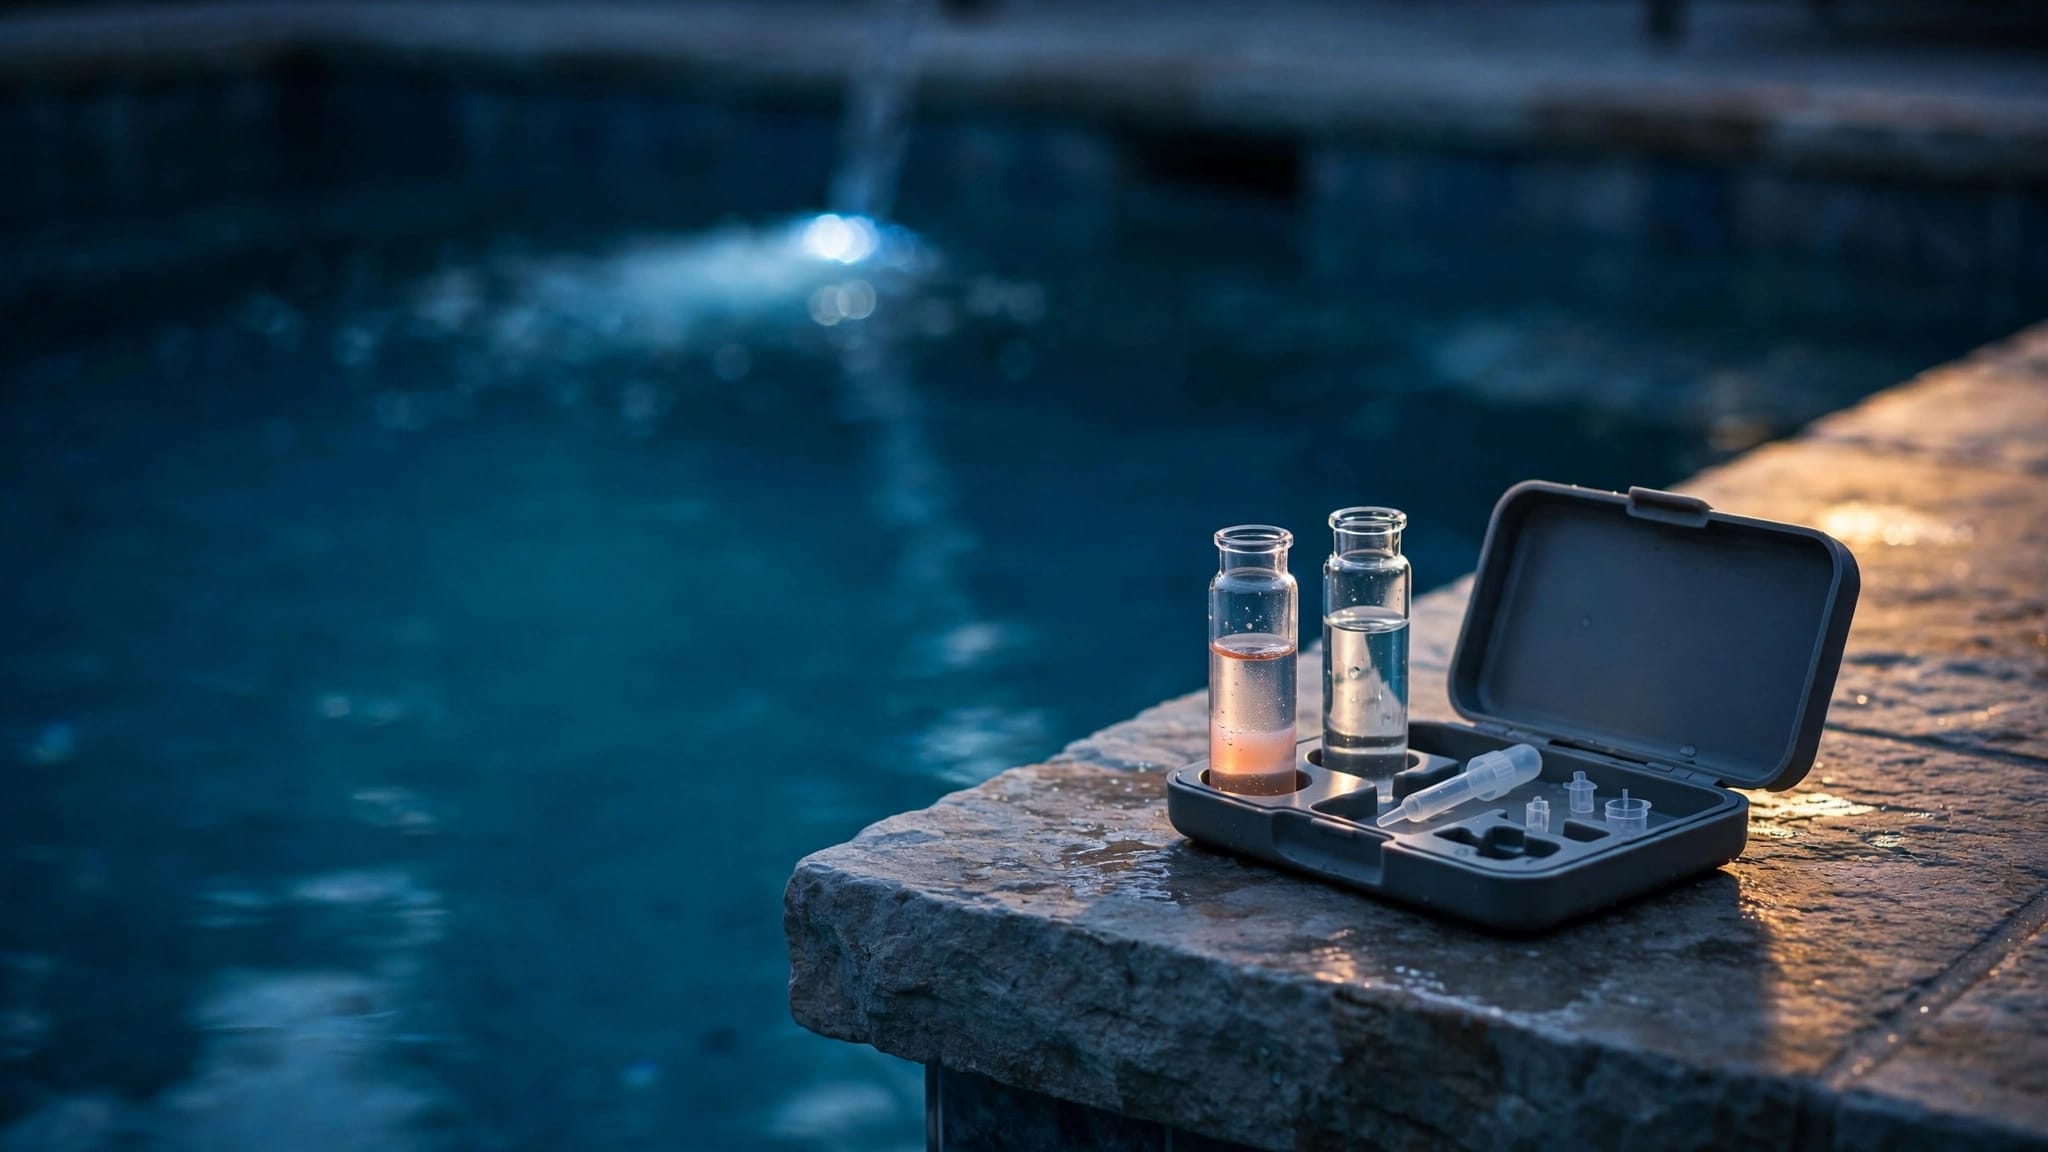
A liquid kit is useful when a reading seems unusual or you need greater detail. You fill one or more tubes with pool water, add the specified reagent, and compare the resulting color with the kit's chart.
Liquid kits require more care. Too many drops, an incorrect water level, dirty tubes, or poor lighting can change the result. Still, the process gives you a more controlled way to check pH and chlorine when strips leave you uncertain.
How to Perform Pool Water Testing Correctly
Read the directions for your exact product before starting. Different brands use different dip times, drop counts, color scales, and waiting periods.
Using test strips
Remove one strip without touching the test pads. Dip it into the sample for the time listed on the container, then remove it without shaking unless the directions say otherwise.
Hold the strip level and compare each pad with the chart at the specified time. Don't wait several minutes and then read it. The colors can continue to change after the recommended reading window.
Record the results in a notebook or phone note. A simple record helps you connect changes in the water with rain, heavy use, or recent chemical additions.
Using a liquid test kit
Rinse the test tubes with pool water, then fill them to the marked line. Add each reagent carefully, counting drops as directed. Keep the bottle vertical if the instructions call for drops, because tilting can change the amount released.
Cap the tube and mix it according to the directions. Compare the color in natural, indirect light. Avoid reading against a brightly colored surface because it can make the result appear different.
If the color falls between two values, use the closest match and repeat the test if the reading would lead to a major chemical adjustment. Never pour unused test chemicals into the pool unless the product instructions clearly allow it.
Typical Pool Water Target Ranges
These ranges are common starting points for many residential pools. Always follow the product label and your equipment manufacturer's recommendations , especially if you use a salt chlorine generator, alternative sanitizer, or specialty finish.
Start with pH and free chlorine
| Reading | Common residential range | What it affects |
|---|---|---|
| pH | 7.2 to 7.6 | Swimmer comfort and chlorine performance |
| Free chlorine | 1 to 3 ppm | Sanitizing the water |
| Total alkalinity | 80 to 120 ppm | pH stability |
| Cyanuric acid | 30 to 50 ppm for many outdoor chlorine pools | Protection from sunlight |
Free chlorine is the number to watch for daily sanitation. Total chlorine can include chlorine that has already combined with contaminants, so it doesn't tell you how much active sanitizer remains.
Use supporting readings to explain problems
If pH looks normal but chlorine disappears quickly, stabilizer, sunlight, heavy use, or contamination may be involved. If pH rises repeatedly, total alkalinity may be high, aeration may be increasing pH, or the pool may need a closer equipment and water-quality review.
Calcium hardness also matters, especially for plaster, quartz, or other pool finishes. The correct range depends on the pool surface, water source, and product guidance. Ask a pool professional for help if hardness, scaling, or staining remains difficult to control.
Troubleshooting High and Low Readings
Don't make several large chemical changes at once. Adjust one issue according to the label, allow the water to circulate, and test again before making another change.
If pH or chlorine is high
When pH is high, use the pH reducer listed for your pool system and follow its dosage instructions. Add only the recommended amount, then let the pump circulate before retesting.
If free chlorine is high, stop adding chlorine and follow the product directions for allowing the level to return to its recommended range. Keep swimmers out until the test result is within the range required by your sanitizer and local guidance.
A very high chlorine level can interfere with some color tests. If the result seems impossible, retest with a fresh sample and check whether the kit is expired.
If pH or chlorine is low
Low pH usually calls for a pH increaser, while low free chlorine may require sanitizer according to the product label. Remove leaves and debris, check that the pump and sanitizer system are operating, and retest after circulation.
If chlorine remains low after an adjustment, check stabilizer and consider whether recent rain, intense sunlight, or heavy pool use has increased demand. Cloudy or green water needs prompt attention because testing alone won't correct the underlying problem.
When water balance stays difficult even after accurate testing, the cause may involve aging equipment, leaks, or a rough or damaged interior. Back Bay Pools provides pool interior refinishing and renovations for homeowners planning a larger pool update. You can also Get a Free Estimate for an on-site review.
Pool Chemical Safety for Homeowners
Store chlorine, acid, shock, and other products in their original containers. Keep them in a cool, dry, well-ventilated location that children and pets cannot reach. Never leave open containers beside the pool.
Never mix pool chemicals. Don't combine chlorine with acid, place different products in the same container, or mix chemicals in a bucket unless the label gives exact instructions for that use. If a label directs you to dilute a chemical, add the chemical to water, never water to the chemical.
Wear the protective equipment listed on the label, avoid breathing fumes, and wash your hands after testing or handling products. If chemicals contact your eyes or skin, follow the emergency directions on the container and seek medical help when instructed.
Add chemicals one at a time
Test first, make one measured adjustment, and wait for circulation before retesting. Keep swimmers out for the time stated on the product label. Never guess at a dose because pool size, current readings, and chemical strength all affect the amount required.
Conclusion
Home pool water testing becomes simple when you use a clean sample, follow the test timing, and record your readings. Test strips are convenient for routine checks, while liquid kits help when results seem unclear or a problem keeps returning.
Keep pH near 7.2 to 7.6 and free chlorine within the range recommended for your system. Store chemicals securely, never mix them, and treat unusual readings as a reason to test again before making a larger adjustment. A few careful minutes each week can keep your pool more comfortable, cleaner, and easier to maintain.