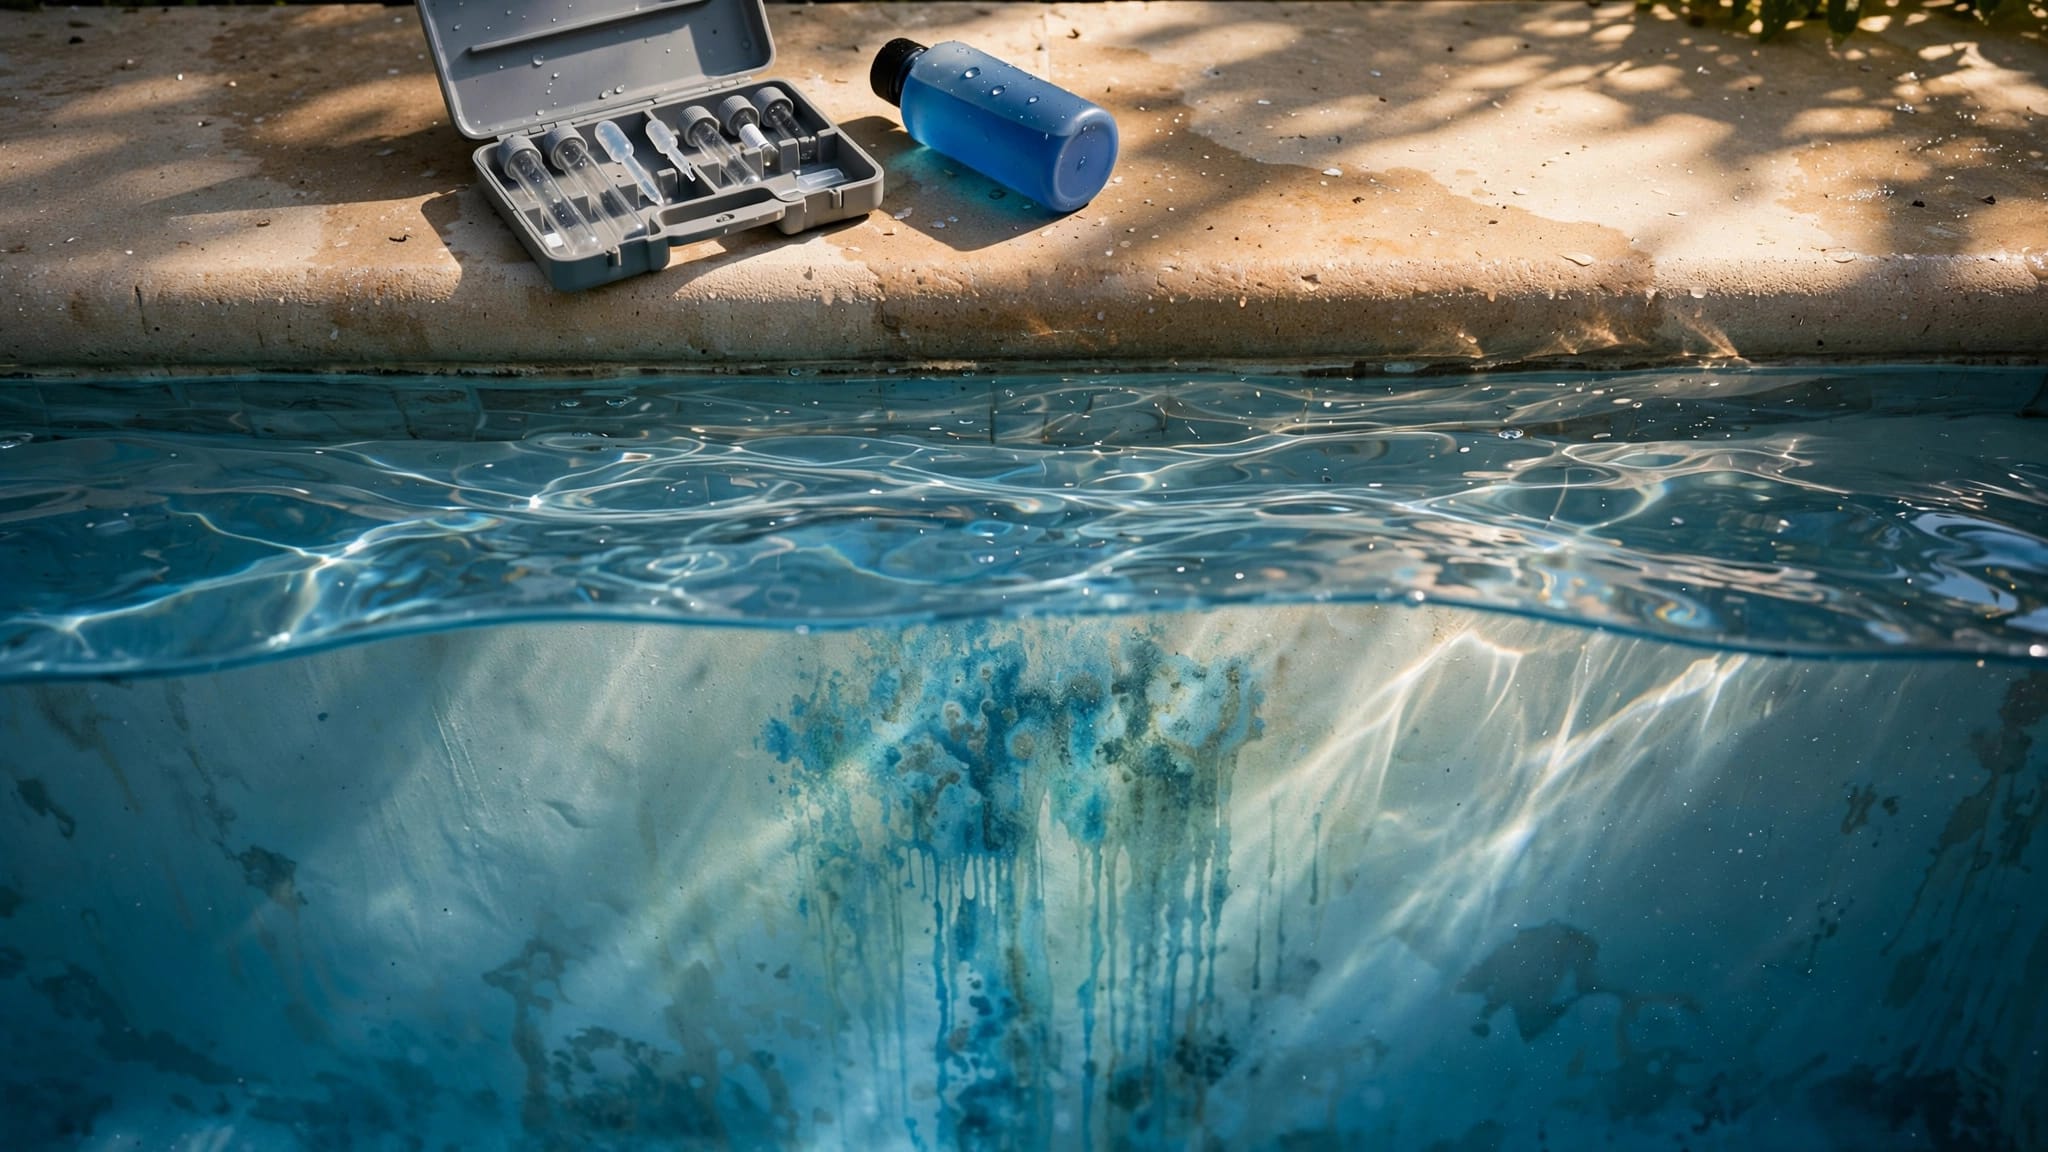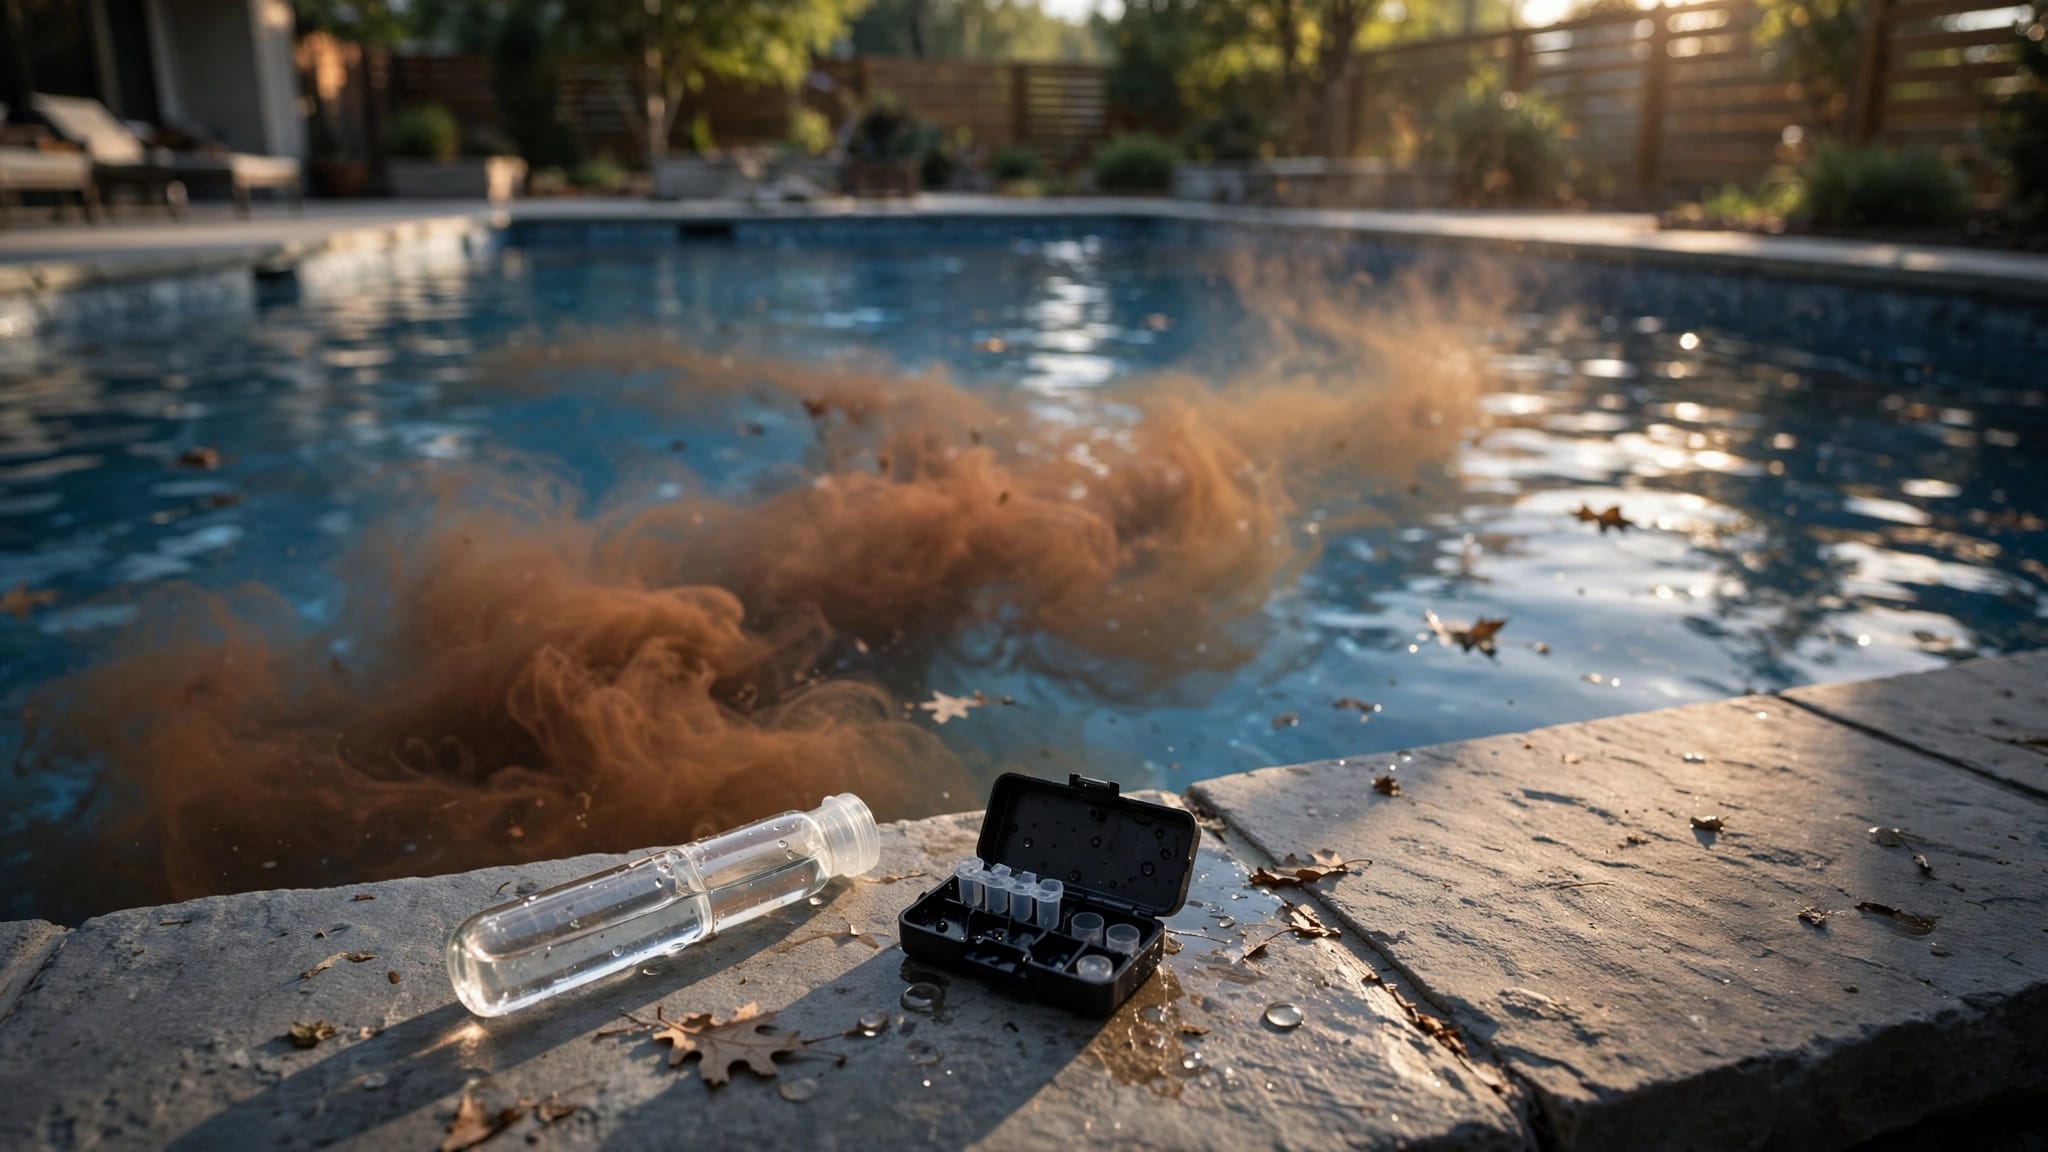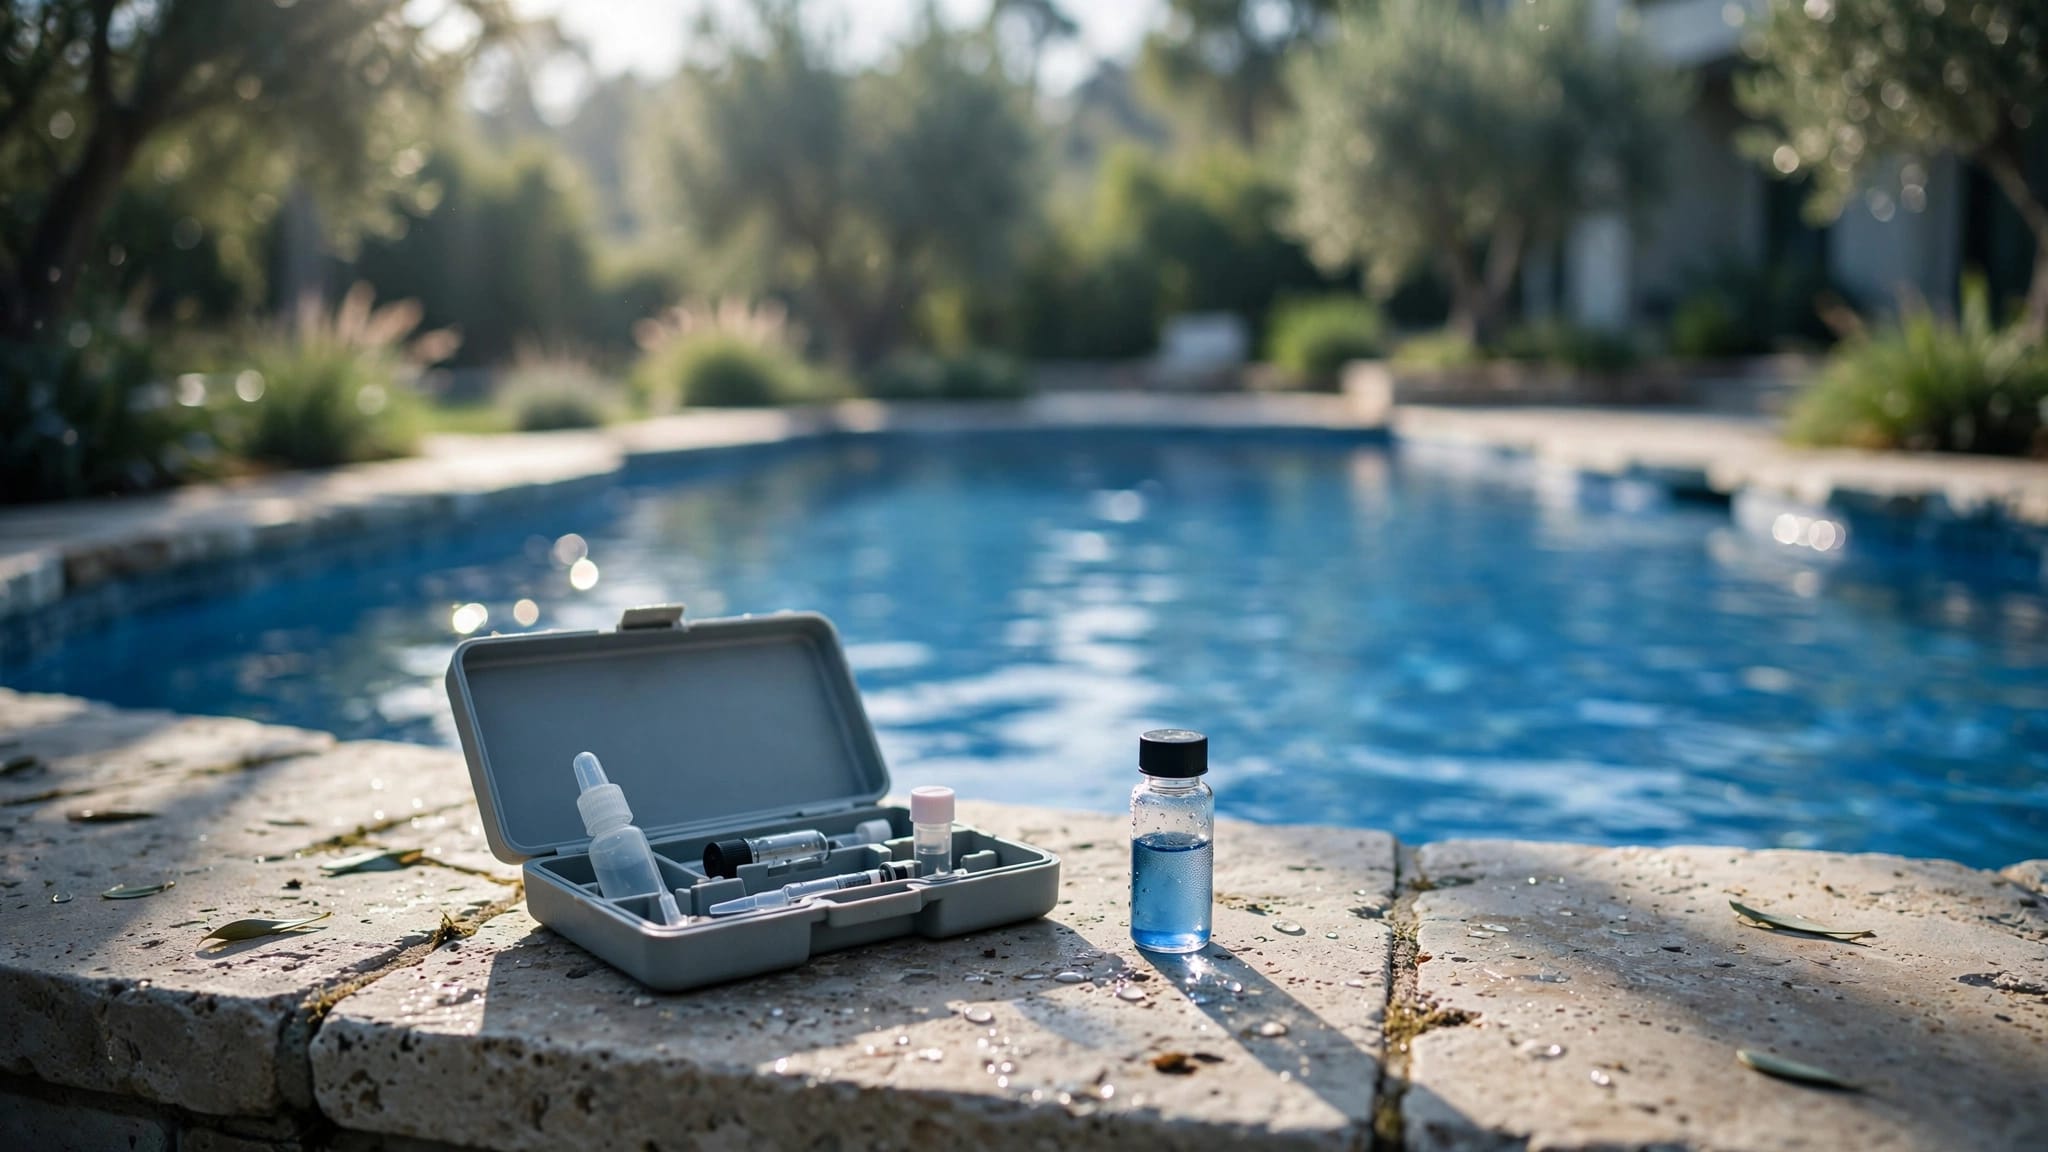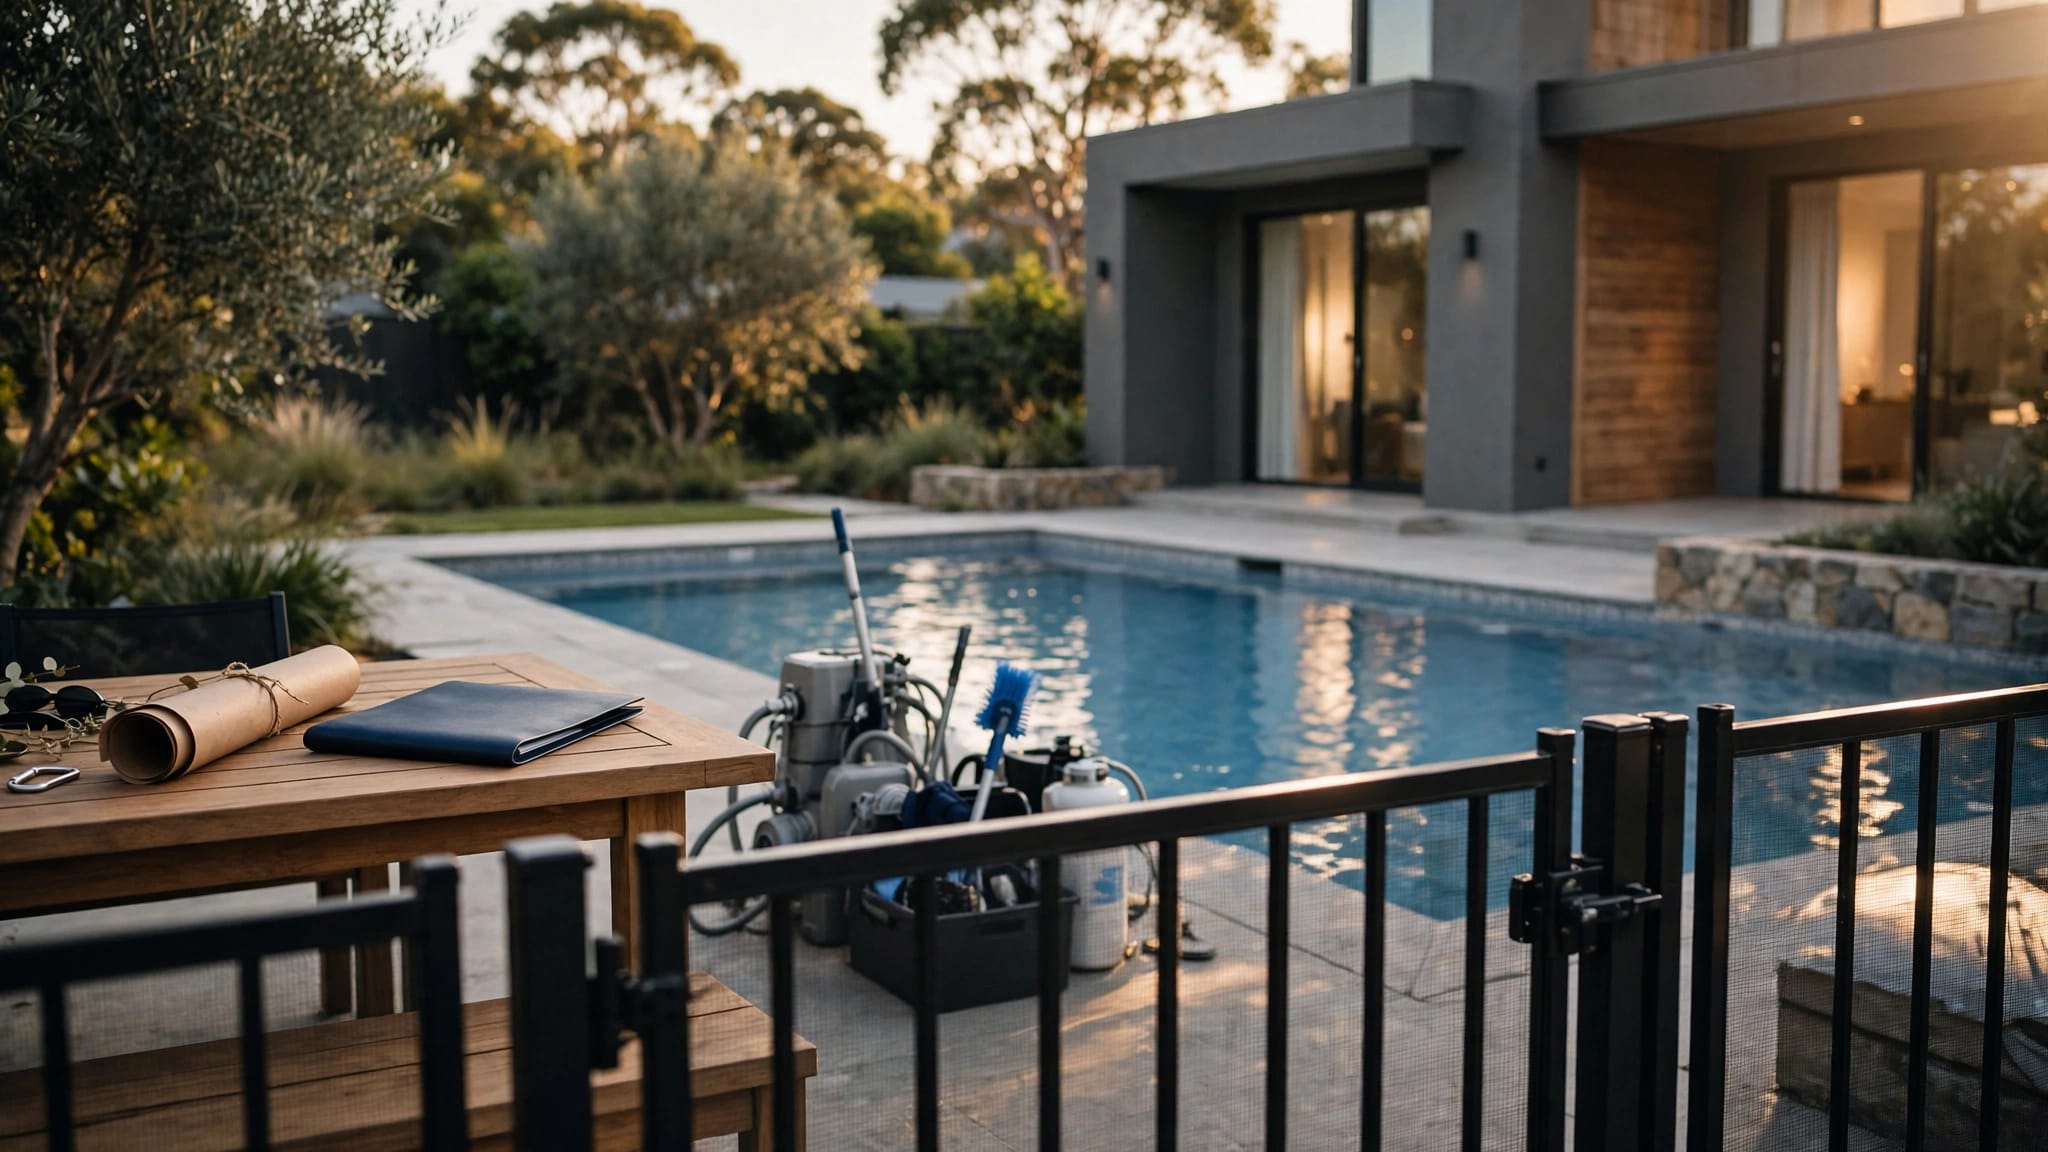
Pink slime in a pool calls for a careful cleanup of visible residue, along with a check of water circulation and chemistry. Start by keeping swimmers out, removing debris, and gently cleaning accessible surfaces.
The pink color alone doesn't tell you what's behind the discoloration. A measured approach protects your pool finish and helps you spot equipment or water-balance problems without adding chemicals by guesswork.
Start With a Look Around the Pool
Pink residue can catch your attention at the waterline, but don't focus on that spot alone. Look over steps, corners, fittings, and other accessible areas. Make a note of where you see discoloration and whether the water is cloudy or contains debris.
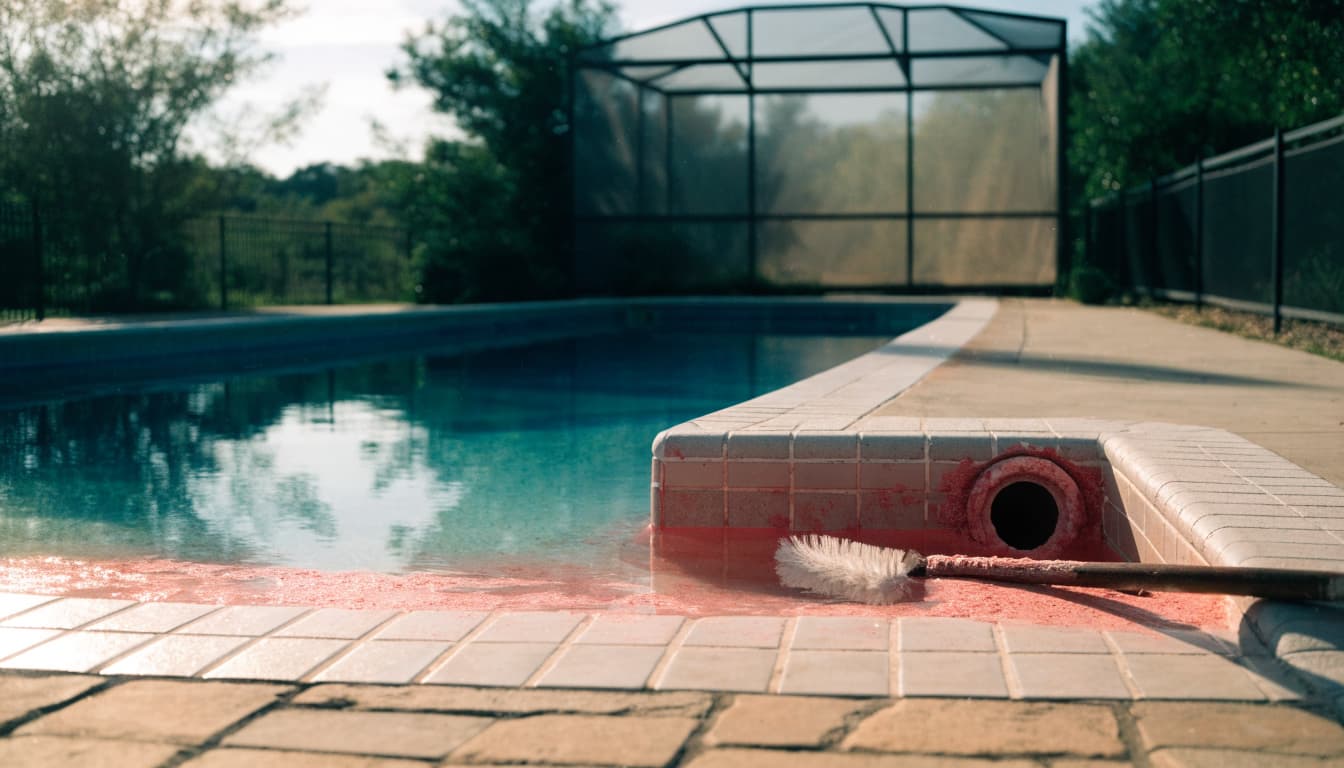
Take photos before you begin. They can help you compare the pool's condition after cleanup and give a pool professional useful context if the discoloration remains.
Keep the inspection simple. Don't remove light fixtures, open plumbing, or reach into drains. If a fitting is loose or an area of the finish is peeling, leave it alone until it can be assessed.
Step 1: Clear Debris and Prepare for Cleanup
Keep everyone out of the pool while you work. If the water is cloudy enough that you can't see the floor and main drain, leave the pool closed until visibility is restored.
Use a leaf net to remove floating leaves and other large debris. Clearing the surface gives you a better view of the pool and keeps loose material from collecting around the edges.
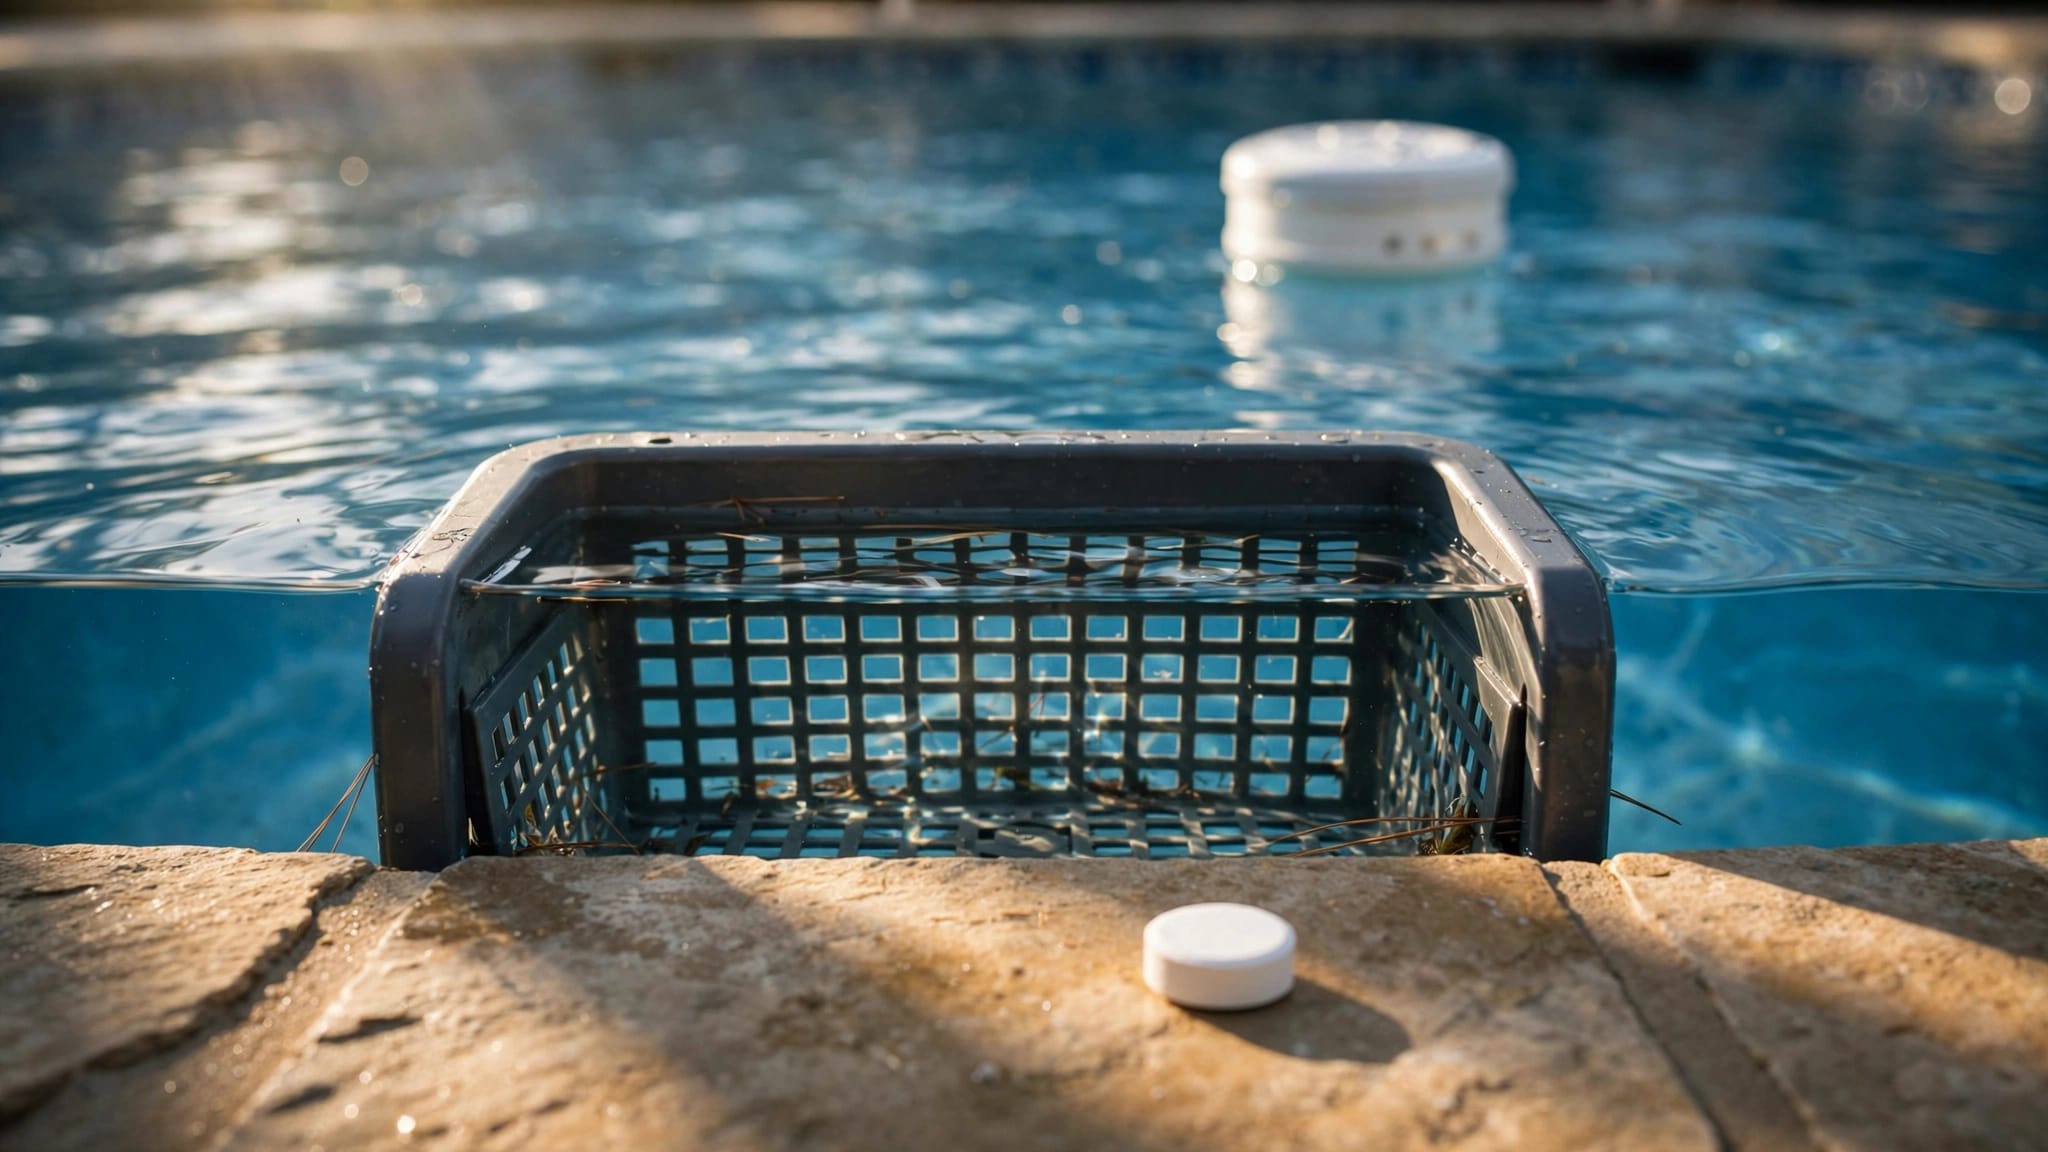
Next, look at the skimmer and pump baskets. Packed baskets can restrict water flow, so empty them when needed. Turn off the pump before opening an accessible pump basket, and follow the equipment instructions when putting the lid back in place.
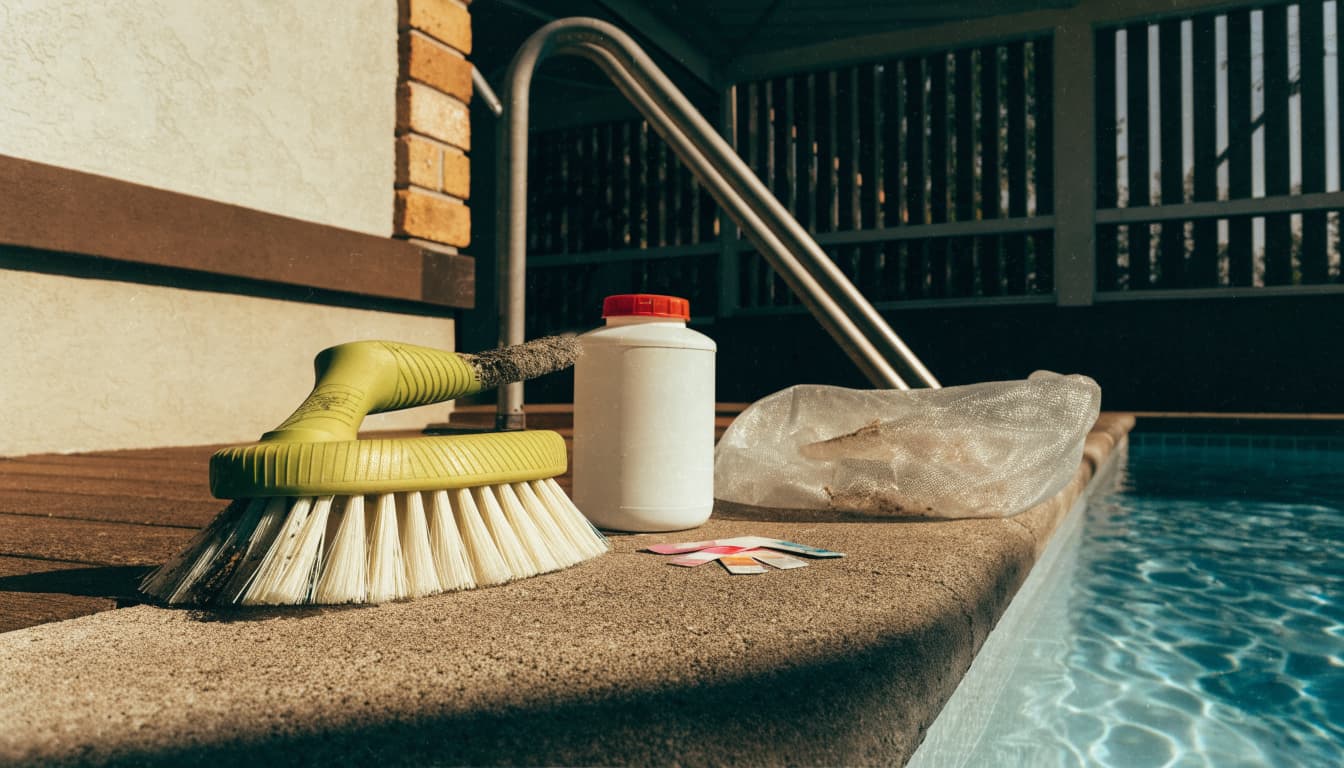
Gather a pool-safe, non-scratch pad, a net, and a water-testing kit before moving on. Keep children and pets away from any chemicals or equipment you handle. Avoid bringing household cleaners onto the deck for this job, since products made for kitchens or bathrooms may not be suitable for pool finishes or water.
Step 2: Clean Accessible Pool Surfaces Gently
Work on reachable surfaces without draining the pool or using aggressive tools. A vinyl liner, fiberglass shell, plaster finish, and glazed tile each have different care requirements.
Wipe the waterline and other reachable areas
For accessible tile or another suitable hard surface, use a wet, pool-safe, non-scratch pad with light pressure. Work in small sections and rinse the pad as it picks up residue. Keep track of the areas you've covered, including the edge around steps and benches.
Stop if the pad scratches the surface or disturbs grout. Avoid razor blades, wire tools, and abrasive powders. A stubborn patch isn't a reason to increase pressure on a finish you could damage.
Leave damaged areas for an assessment
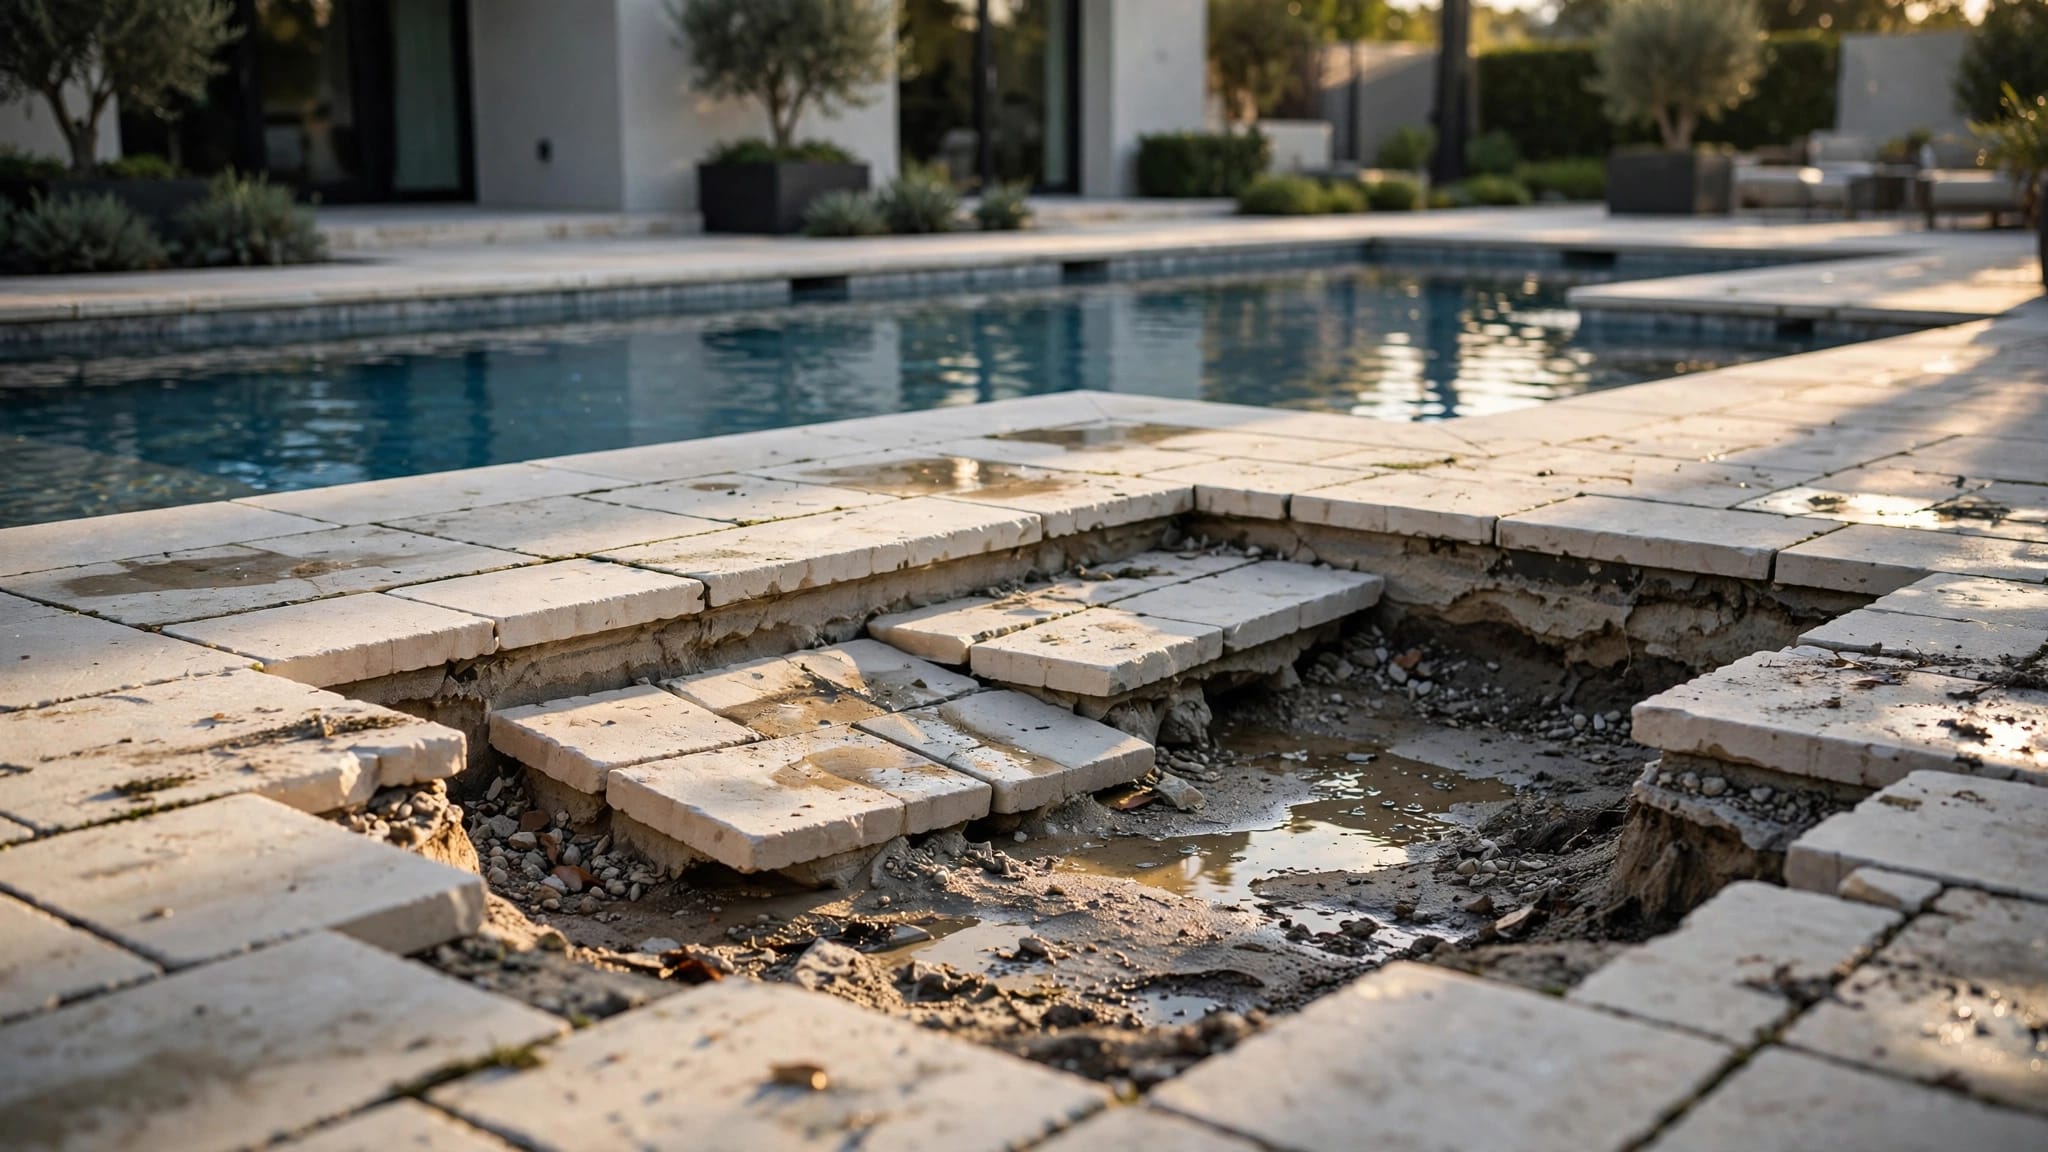
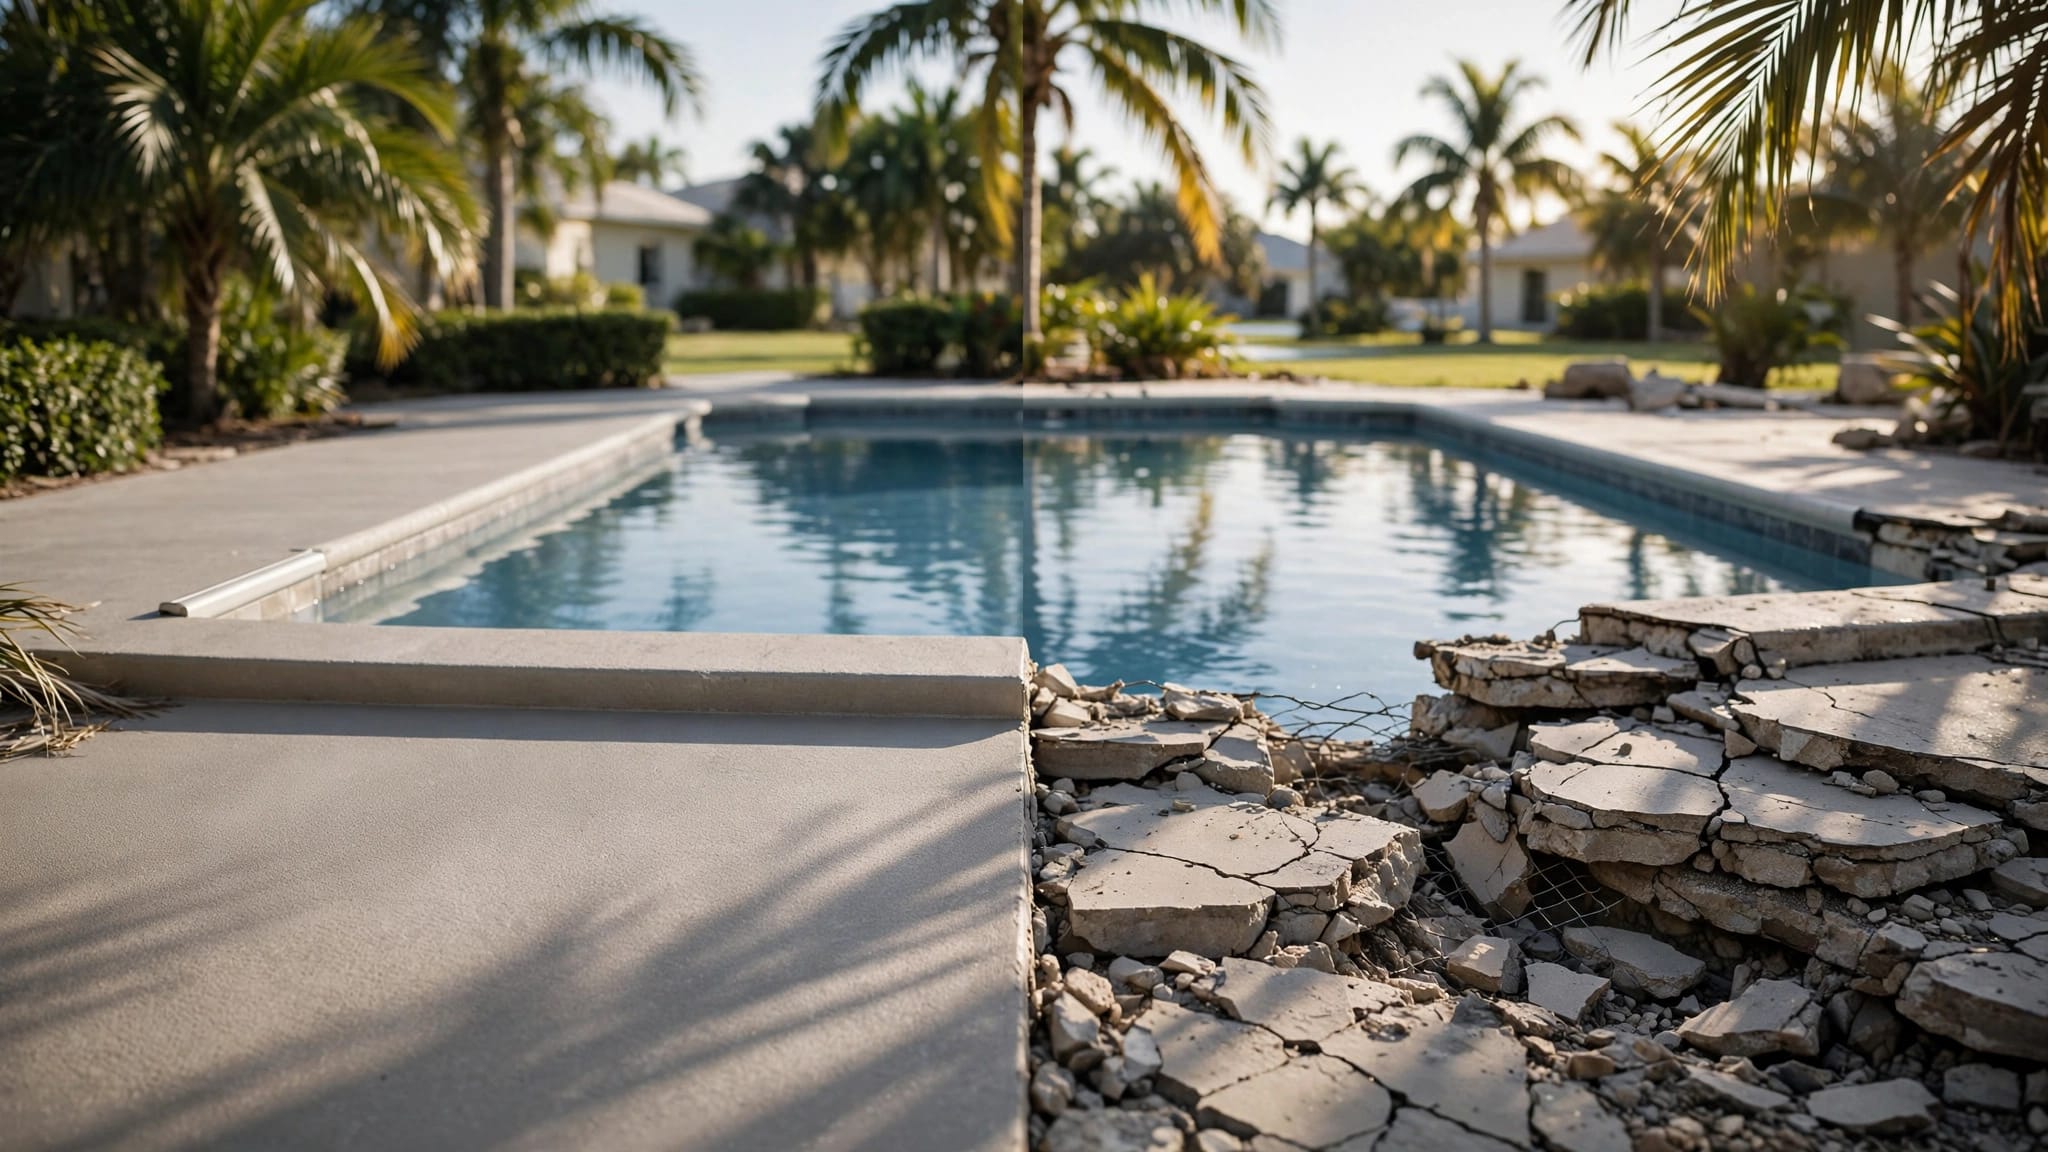
Loose tile, missing grout, peeling material, and rough patches deserve a closer look before you clean them. Wiping an unstable area can make it harder to tell how much of the finish is already damaged.
Don't drain the pool to reach a difficult spot. Draining can damage certain pools and create a safety risk. If residue extends into an inaccessible opening or the surface appears to be failing, arrange a professional assessment rather than taking fittings apart.
Step 3: Check Circulation and Filtration
Your pool's equipment needs to move water through the system while you address the visible residue and water balance. A weak return flow or an overdue filter service can make the rest of the cleanup harder to manage.
Watch the return flow
Once the pump is running, look for steady movement at the return jets. Check that the water level is high enough for the skimmers to operate normally and that accessible baskets aren't packed with debris.
The pool's shape and jet positions affect how water moves. Steps, benches, and corners may receive less flow than open areas. Our guide to pool skimmers and return jets explains how those parts work together.
Pay attention to filter pressure
Record the pressure shown on the filter gauge and compare it with the system's normal operating reading. A significant change, reduced return flow, or cloudy water can point to a problem that needs attention.
Different filter types have different service requirements. If the filter needs service or the flow remains weak after you clear accessible baskets, arrange for the appropriate maintenance. Don't open pressurized equipment or force a valve when you aren't comfortable with the procedure.
Step 4: Test the Water Before Making Adjustments
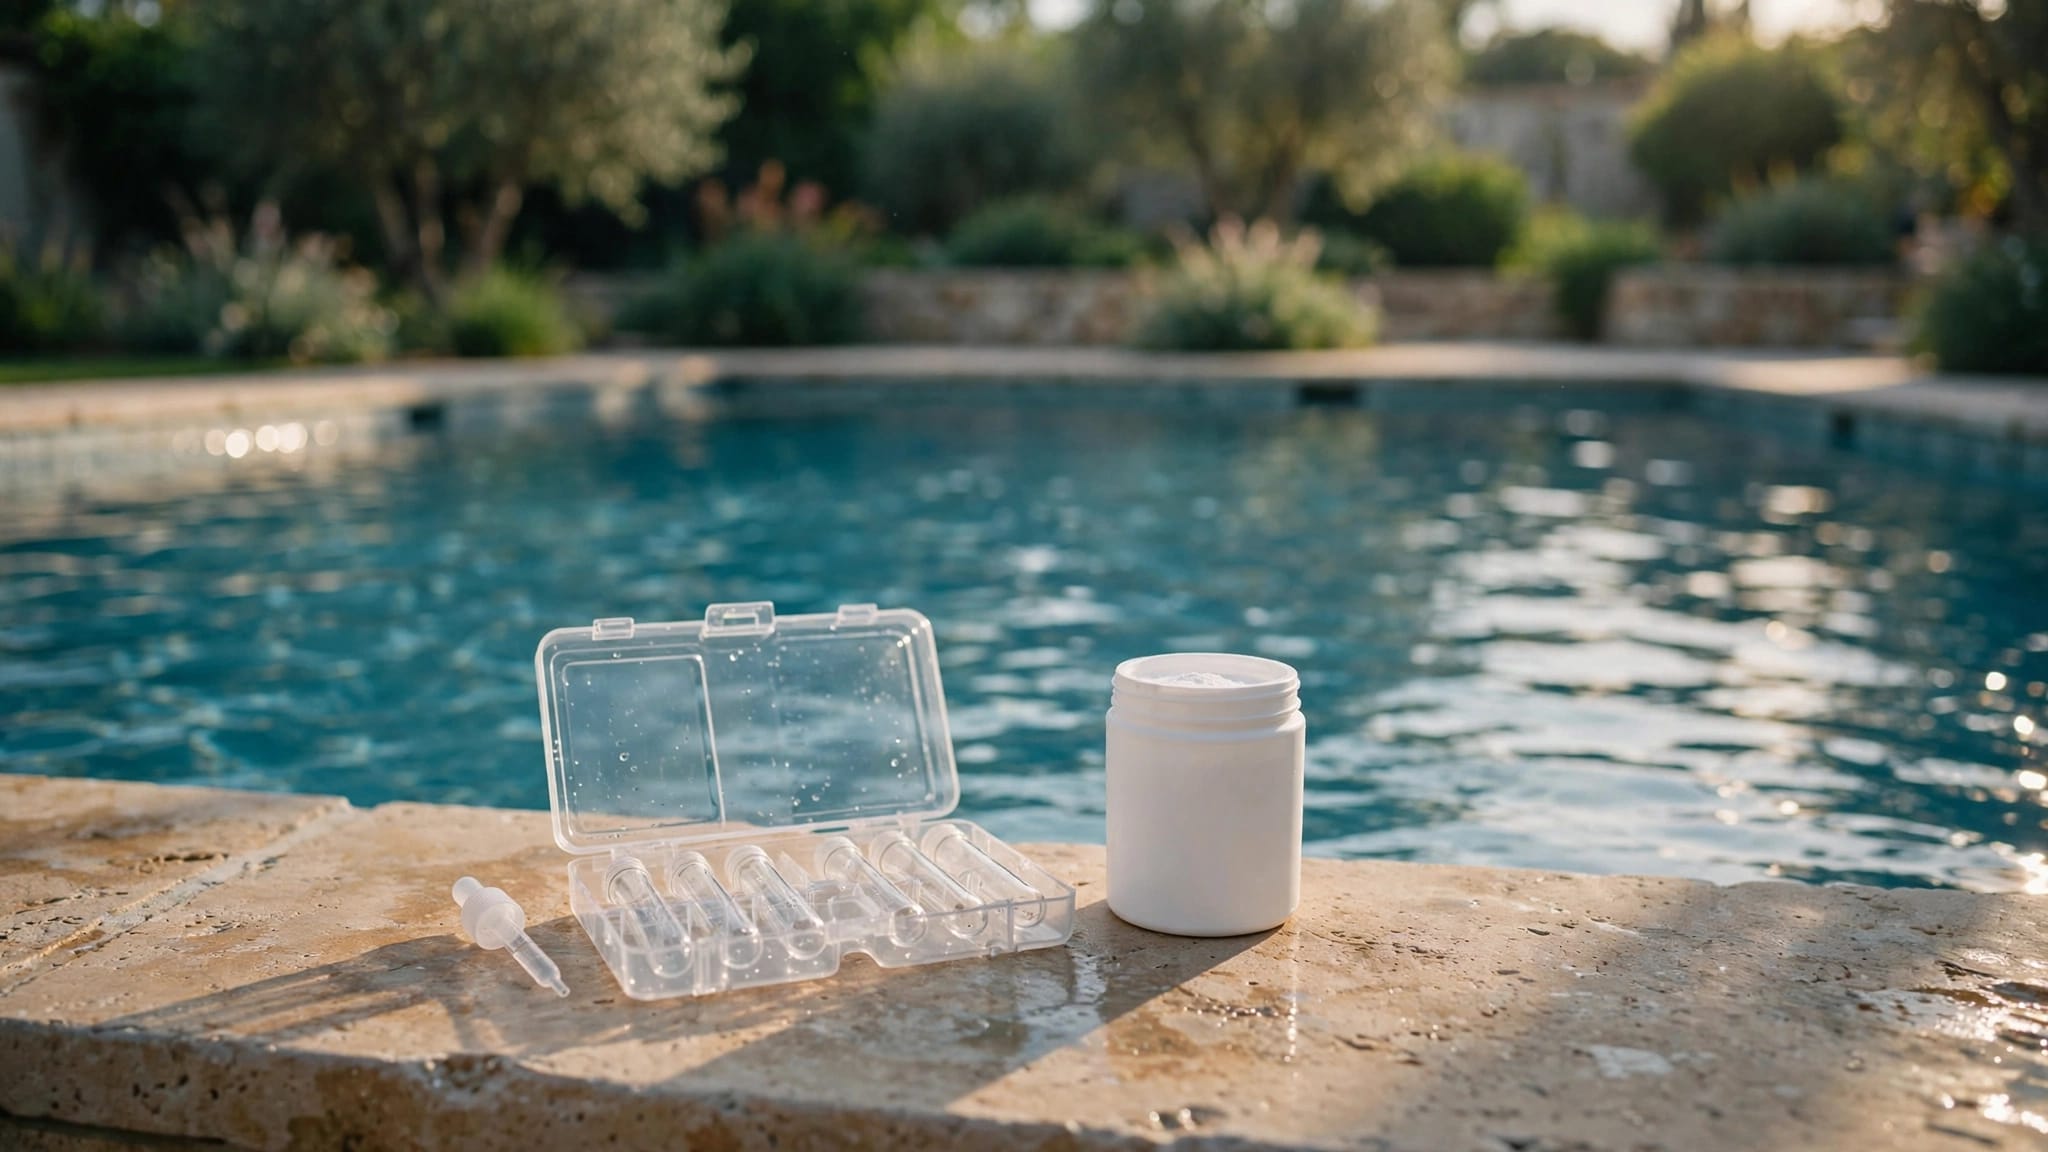
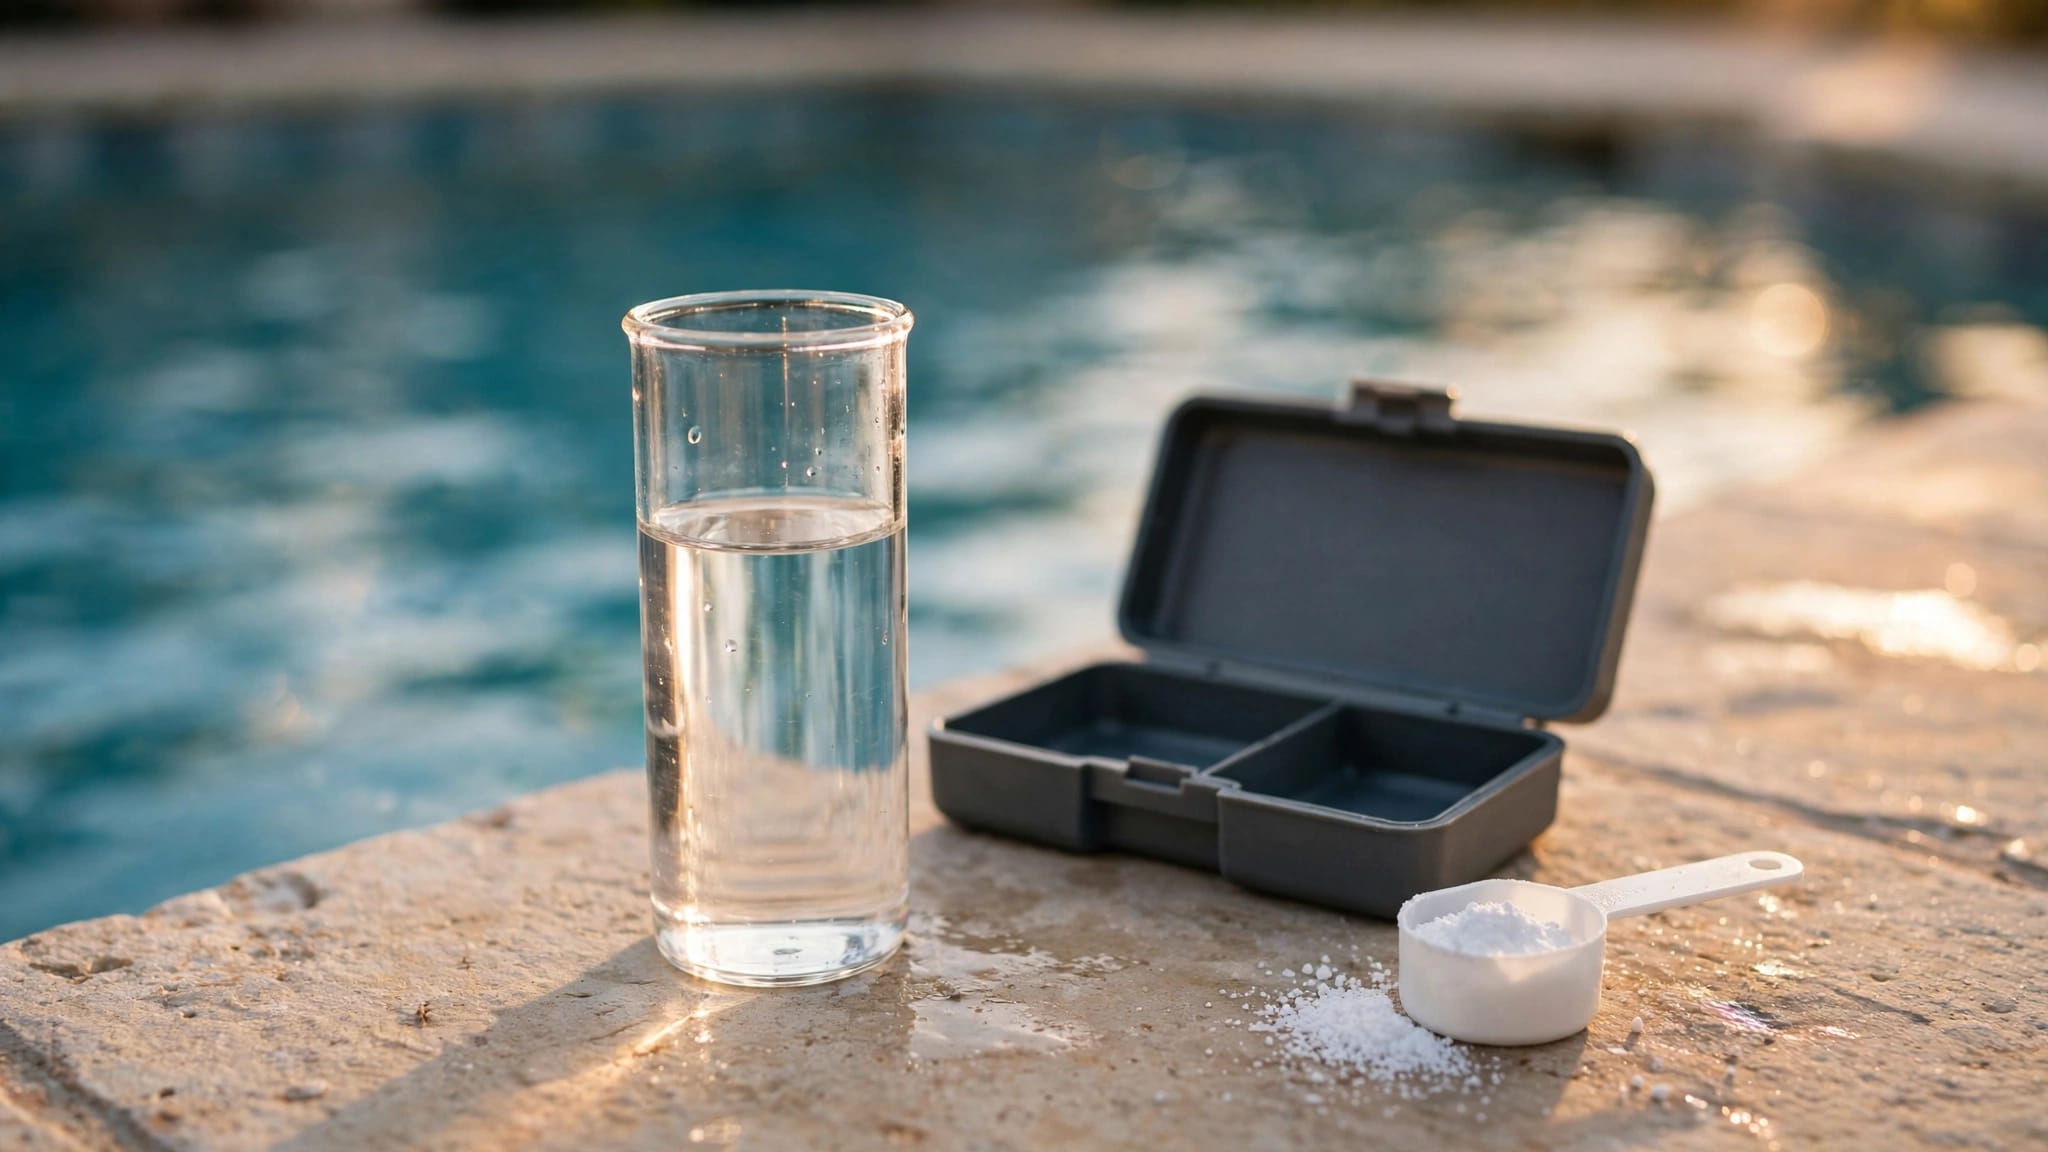
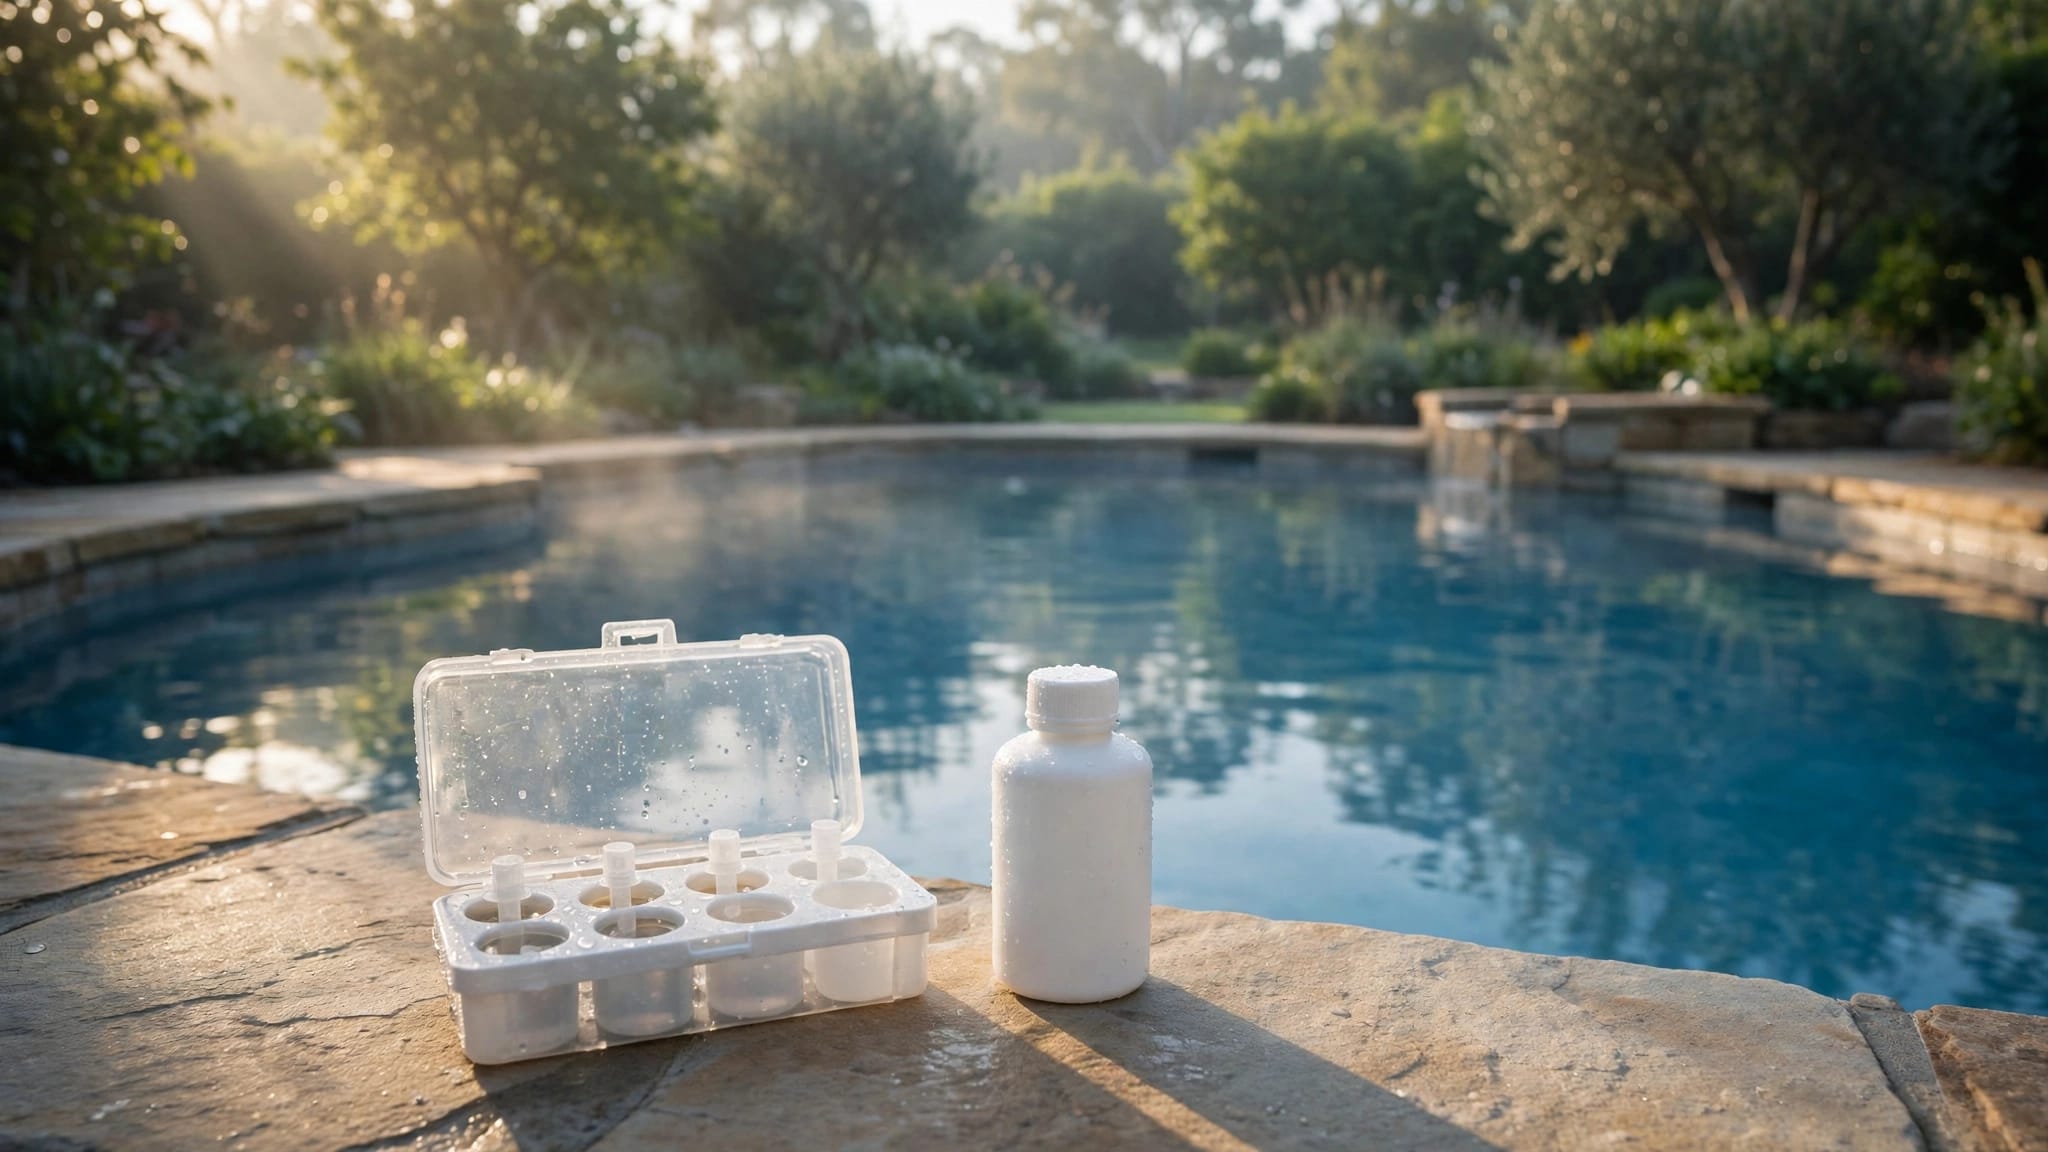
A pink patch doesn't tell you how much of any chemical your pool needs. Start with a fresh water sample and a reliable test kit, then record the results before changing anything.
Record the readings
Test sanitizer and pH, along with total alkalinity when your kit measures it. Calcium hardness and stabilizer readings can also provide useful context for ongoing water care.
Take the sample away from the skimmer and return jets. Writing down the results gives you a starting point for the next test, especially if rain, a refill, or heavy pool use has changed the water.
Saltwater pools need testing too. Their chlorine generators depend on proper operation and circulation, so a salt system doesn't eliminate the need to monitor the water.
Make one adjustment at a time
If readings are outside the appropriate operating ranges, follow the relevant product directions for your pool volume. When both total alkalinity and pH need correction, address alkalinity first, allow the water to circulate, and retest before adjusting pH.
Our pool alkalinity and pH guide covers the relationship between those readings. Keep a record of additions and test results so you can spot a continuing imbalance rather than repeating the same adjustment blindly.
Step 5: Handle Chemicals Safely
Keep pool chemicals in their original containers and follow their labels for handling and storage. Wear the recommended protective equipment, and keep containers away from children and pets.
Never mix pool chemicals together in a bucket, feeder, or storage container. Add products separately as directed, and allow the water to circulate before testing again or making another adjustment.
Avoid adding several products at once simply because the pool doesn't look better right away. That makes it harder to understand the test results and can create unsafe conditions. If the readings are difficult to interpret, a pool professional can help assess the water and equipment.
Before swimming resumes, the water should be clear enough to see the entire floor and main drain. Water readings must be within the applicable operating ranges, and any product-specific waiting period must have passed. Keep the pool closed if visibility or water balance remains uncertain.
Step 6: Set a Routine That Helps Catch Problems Early
Once the pool is ready for use, a consistent routine makes changes easier to notice. Pay particular attention after a storm, a large gathering, or a period when the pump hasn't operated normally.
Test and observe each week
Test the water regularly and note any changes in sanitizer or pH. Inspect the waterline, steps, and visible fittings as part of the same routine. Early attention gives you a chance to address a small area before more of the pool needs cleaning.
After heavy rain, remove leaves and debris, let the circulation system mix the water, and test again. Rain can dilute pool water, while runoff can introduce dirt and other material.
Keep an eye on the equipment
Empty baskets before they become packed, and watch for changes in return flow or filter pressure. Keep a simple log of readings, service, and water tests. That record can help identify a pattern if a problem returns.
A screen enclosure can reduce leaves and larger debris, but it doesn't replace water testing or equipment care. Torn or sagging panels may allow more debris into the pool area, so include the enclosure in your post-storm inspection.
When Discoloration May Need a Surface Assessment
A pink area that remains after gentle cleaning may need a closer look. The same applies when you see cracks, missing grout, peeling plaster, or a rough finish that catches dirt.
Those conditions don't automatically mean the entire pool needs resurfacing. The location and extent of the damage matter, and an onsite assessment can help separate a cleaning concern from a repair.
Avoid aggressive acid cleaning as a first response to an unexplained mark. Our comparison of pool resurfacing and acid washing explains why the condition of the existing finish matters.
If you're considering a renovation or resurfacing project, Get a Free Estimate to schedule an onsite consultation with our team.
Frequently Asked Questions
Can I swim when I see pink residue?
Keep swimmers out while you clean and assess the pool. Reopen only when the water is clear, the floor and main drain are visible, water readings meet the applicable ranges, and any treatment waiting period has passed.
Should I drain the pool to reach the residue?
Don't drain it for routine cleaning. Work on accessible areas and arrange a professional assessment for residue inside fittings or areas you can't safely reach.
Does a screened pool need the same care?
Yes. Screens reduce some debris, but rain, swimming, and changes in equipment operation still affect the pool. Continue testing the water and inspecting the enclosure for damage.
Keep the Cleanup Gentle and Consistent
A clear sequence starts with debris removal and gentle surface care, followed by circulation checks and water testing. If the finish is damaged or the discoloration persists, an assessment is more useful than harder scrubbing.
Keep up with regular testing and equipment checks after the pool reopens. They make changes easier to spot and give you a better record if the pink residue returns.