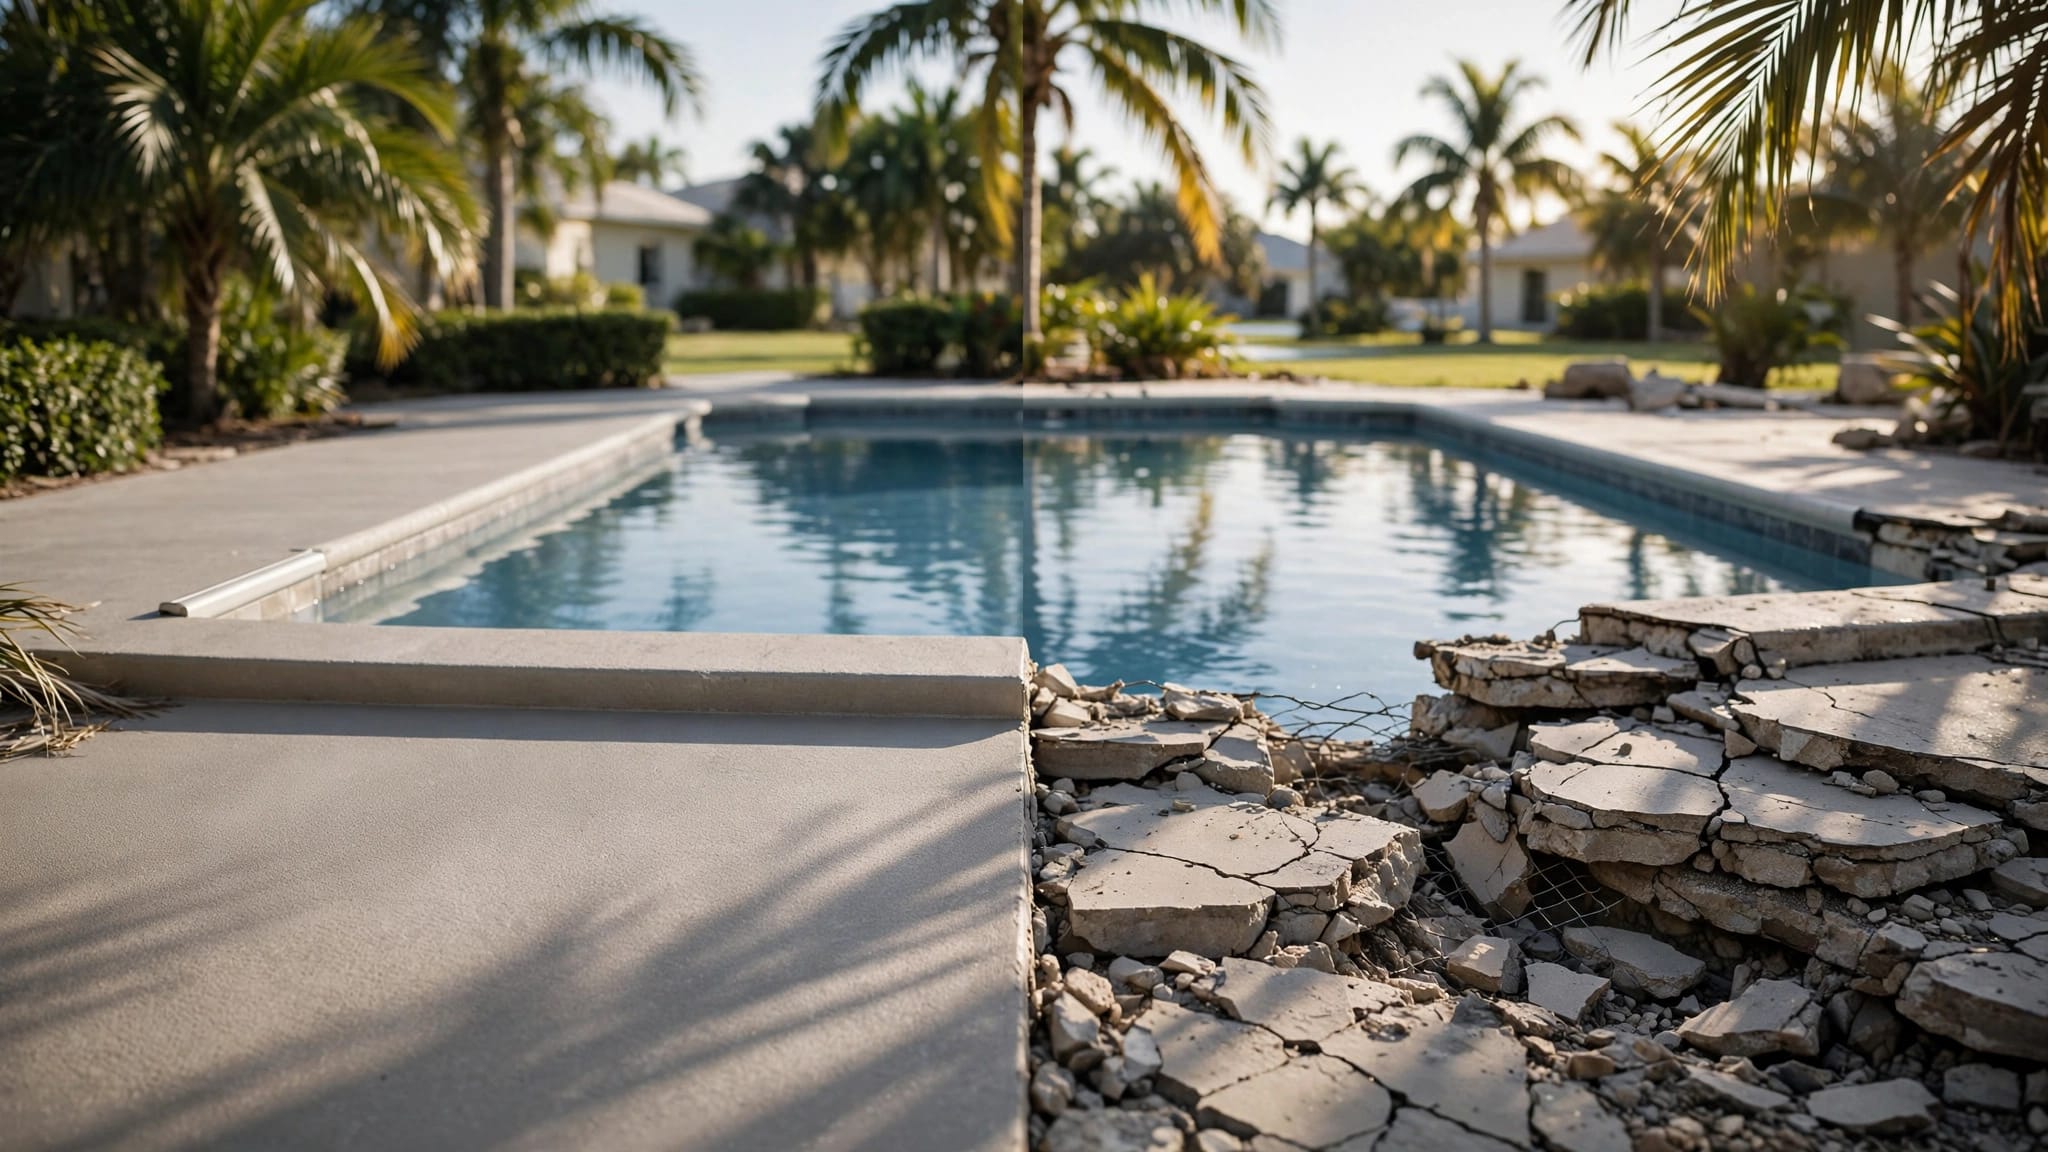
A pool filter clamp leak can come from a dirty or damaged O-ring, an incorrectly seated clamp, or damage to the tank itself. Water can also run down from a fitting above the clamp, making the source less obvious.
Because the filter tank operates under pressure, turn off the pump and release the pressure before touching the clamp or opening the tank. Start with a visual inspection, then work through the seal and hardware in a safe sequence.
Key Takeaways
- A small drip at the clamp needs attention because the filter tank is a pressurized vessel.
- Water above the clamp can travel down the housing, so look for the highest wet point before identifying the source.
- Dirt, a pinched O-ring, damaged sealing surfaces, or a misaligned clamp can prevent a sound tank from sealing.
- A cracked tank, distorted flange, or failing clamp hardware calls for professional attention rather than a patch.
- Never loosen or tighten the clamp while the system is pressurized.
Make the Filter Safe Before Inspection
A filter can hold pressure after the pump stops. That stored pressure can cause the tank or its components to separate forcefully if the clamp is released.
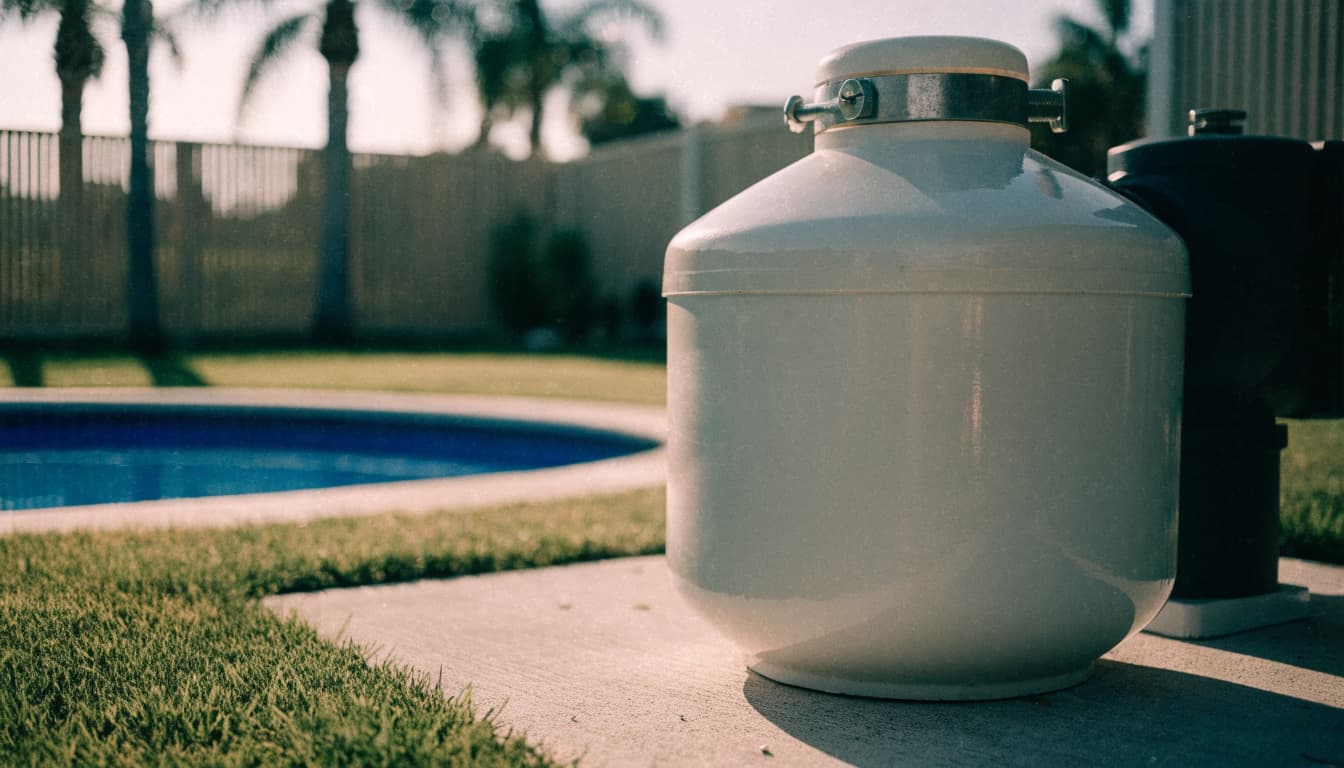
Shut off power and release pressure
Turn off the pump, then shut off its electrical supply at the breaker. Disable timers or automation that could restart it. If standing water is near electrical equipment, stay away and call a professional.
Open the filter's manual air-relief valve according to the filter's instructions. Stand clear of the tank, and wait until air and water stop escaping. The pressure gauge should return to zero, but a zero reading alone doesn't prove the system is safe: a faulty gauge or blocked relief valve can give you an incomplete picture.
Don't loosen the clamp if pressure may remain trapped. If the air-relief valve is stuck, the gauge behaves oddly, or you're unsure the pressure has cleared, leave the equipment off and call a pool professional.
Keep the system from restarting
Leave the breaker off throughout the inspection. Keep children and pets away from the equipment pad, and don't work over the top of the tank.
Some systems need valves positioned to prevent water from draining through the open filter. The correct positions depend on the plumbing, so leave unfamiliar valves alone and have a professional handle the service.
Find the Highest Point of the Leak
Before opening the filter, use what you observed while it was running. Don't restart a leaking or damaged filter just to trace the water.
Dry the outside of the tank once power is off and pressure has been released. Then look for mineral deposits, dirt trails, or a wet path above the clamp. A photo taken when you first noticed the leak can also help.
Water at the tank seam
If the first visible moisture appeared along the joint between the tank halves, the O-ring, sealing surfaces, and clamp are reasonable places to investigate. A damp seam alone doesn't identify which part has failed.
Look around the entire circumference. Water may collect at the lowest side even when it entered the seam elsewhere.
Water from a fitting above the clamp
Inspect the pressure gauge, air-relief assembly, nearby plumbing connections, and any valve above the wet area. A leak at one of those parts can run down the tank and collect at the clamp.
A multiport valve leak, for example, may involve the valve or its seal rather than the tank joint. If the trail starts above the seam, address that component instead of taking the tank apart unnecessarily.
Check Clamp Alignment and Hardware
Once the tank is depressurized, examine the clamp without removing it first. The band should sit in the intended position around the tank flanges rather than riding high on one side or crossing an uneven joint.
Look for an uneven or displaced band
Walk around the filter and inspect the band from several angles. A section that has slipped off the flange, a visible gap between tank halves, or an unevenly seated lid can prevent the joint from closing correctly.
Misalignment may follow an earlier cleaning or an O-ring that shifted during assembly. Don't try to pull the band into place with the tank under pressure. If the clamp or tank parts won't align without force, stop and have the assembly inspected.
Inspect the fastening parts
Look at the clamp bolt, nut, and any spring or other hardware supplied with your model. Rust, damaged threads, a bent band, or missing parts can prevent the clamp from holding the tank properly.
A loose fastener may need correct reassembly, but more tightening isn't a universal fix. Excess force can damage components, while an incorrectly seated band can remain unsafe even when the fastener feels tight.
Use only compatible replacement hardware and the filter manufacturer's assembly procedure. If the clamp is bent, heavily corroded, or won't secure correctly, have it replaced rather than forcing it into place.
Inspect the O-Ring and Sealing Surfaces
The O-ring creates the seal between the tank halves on many clamp-style filters. To inspect it, open the tank only after power is off, pressure has been fully released, and you've followed the opening procedure for your filter.
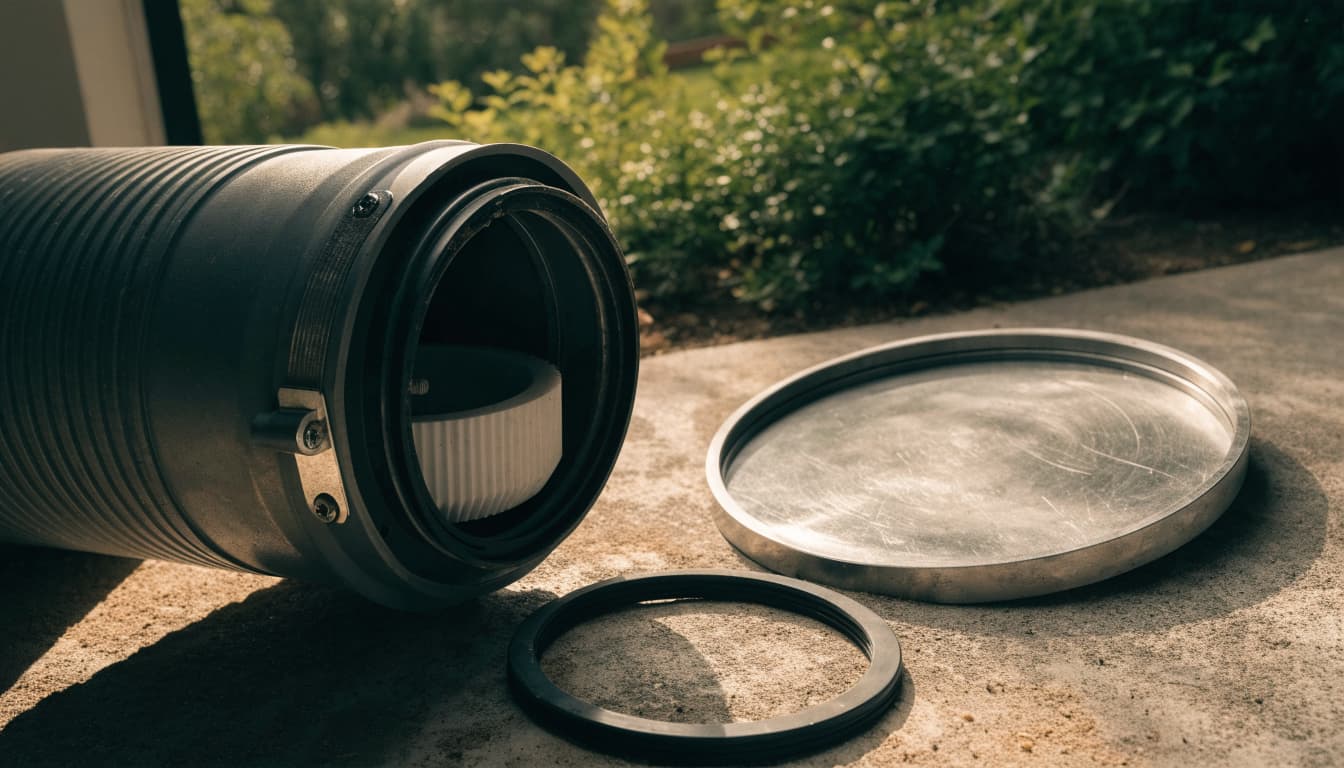
Check the O-ring for damage and debris
Remove the O-ring carefully and look along its full length. Sand, leaves, or a grain of grit can prevent a good seal. Also look for cuts, cracks, flattened sections, stretching, or areas that have become hard and brittle.
Clean a sound O-ring with water and a soft cloth. If it's damaged or no longer fits its groove properly, replace it with the correct seal for the filter model. Don't substitute an O-ring that looks close in size.
Use lubricant only if the filter's instructions call for it, and use the specified type. Avoid petroleum products on pool equipment seals.
Examine the groove and tank flanges
Wipe the O-ring groove and mating surfaces clean with a soft cloth. Look for trapped debris, chips, deep scratches, or distortion where the two tank halves meet. Don't scrape or sand the sealing surfaces to make them fit.
When reinstalling a sound O-ring, make sure it sits flat in its intended groove without twisting or protruding. A pinched section can create a leak as soon as the system is restarted.
Recognize a Cracked Tank or Failing Part
A clean seal won't correct damage to the pressure vessel. Look closely at the tank body, the edges around the clamp, and the areas where fittings connect.
Cracks, bulges, and damaged flanges
A visible crack, bulge, or split at the seam calls for an immediate stop. Keep the pump off and have a qualified pool professional assess the tank. A cracked or distorted pressure vessel generally calls for replacement, not glue, tape, sealant, or a tighter clamp.
Also look for chipped or warped flanges where the clamp grips the tank. Damage there can keep the halves from seating securely, even if the O-ring is new.
Corrosion and movement around the pad
Check for severe corrosion on the clamp hardware and signs that connected pipes are pulling on the filter. A shifted equipment pad or displaced tank can put stress on fittings and make alignment difficult.
After heavy weather, note any erosion, moved equipment, or pipes pulled away from connections. Our post-hurricane pool equipment inspection checklist covers additional warning signs around the pad.
Take photos of visible damage before cleaning or moving anything. They can help a contractor understand what changed.
Reassemble and Restart Only When the Tank Is Sound
If the tank and clamp are intact, the appropriate repair may be as straightforward as cleaning the sealing surfaces and reseating or replacing the O-ring. Reassembly still needs care because the clamp is part of the tank's pressure system.
Seat the parts in the correct order
Position the O-ring and tank halves as directed for your filter. Install the clamp so it captures the flanges evenly around the full joint. Then secure the fastener using the manufacturer's procedure and the correct hardware.
Don't improvise if the parts won't fit, the band looks uneven, or you don't have the instructions for that assembly. A pool professional can identify the correct parts and complete the repair.
Before restoring power, return any valves to their normal operating positions and make sure the pump has water for priming. Don't run a pump dry.
Watch for trouble after startup
With the tank properly assembled, follow the filter's startup procedure. Keep people clear of the equipment and don't lean over the tank. Use the air-relief valve as directed to release air during startup.
If the seam leaks, the clamp shifts, or the tank shows any sign of movement, shut off the pump and power. Release pressure again before anyone touches the assembly. Don't tighten the clamp while the system is running.
Prevent Another Leak and Know When to Replace
After a successful repair, note the filter's clean pressure at its normal pump speed. A change from that baseline can point to a dirty filter or another circulation problem. It doesn't, by itself, explain a clamp leak.
Inspect the tank exterior and nearby fittings during routine pool care. Clean the filter according to its design, and avoid disturbing the clamp unless the tank needs service. For sand and DE systems, our guide to safe pool filter backwashing covers additional maintenance checks.
If the tank is damaged or multiple components are failing, compare the safety and cost of repair with replacement. Our guide to pool equipment repair versus replacement explains the factors involved.
Fix the Cause, Not Just the Drip
A pool filter clamp leak deserves a careful inspection before anyone reaches for a wrench. Once the system is safe, tracing the water and examining the seal, clamp, and tank can narrow down the repair.
If you're planning a pool renovation and have concerns about the equipment area, Get a Free Estimate for an on-site consultation.