A pool spa loses heat overnight because warm water transfers energy to cooler air and surrounding materials. An uncovered surface, wind, and cooler temperatures can speed up that loss. Heat also travels through the spa shell and plumbing.
Some cooling is normal , especially when the heater and circulation pump are off. A sudden change in your usual temperature drop, though, can point to a cover, equipment, or circulation issue. Start by looking at where your spa loses heat and how your system operates after dark.
Why Pool Spa Heat Loss Happens Overnight
The water in your spa is usually warmer than the air around it. That temperature difference drives heat outward, even on a mild Cape Coral evening.
Evaporation and cool air
As water evaporates, it carries heat away from the spa. The process continues after dark, and an uncovered spa gives more water surface direct contact with the air.
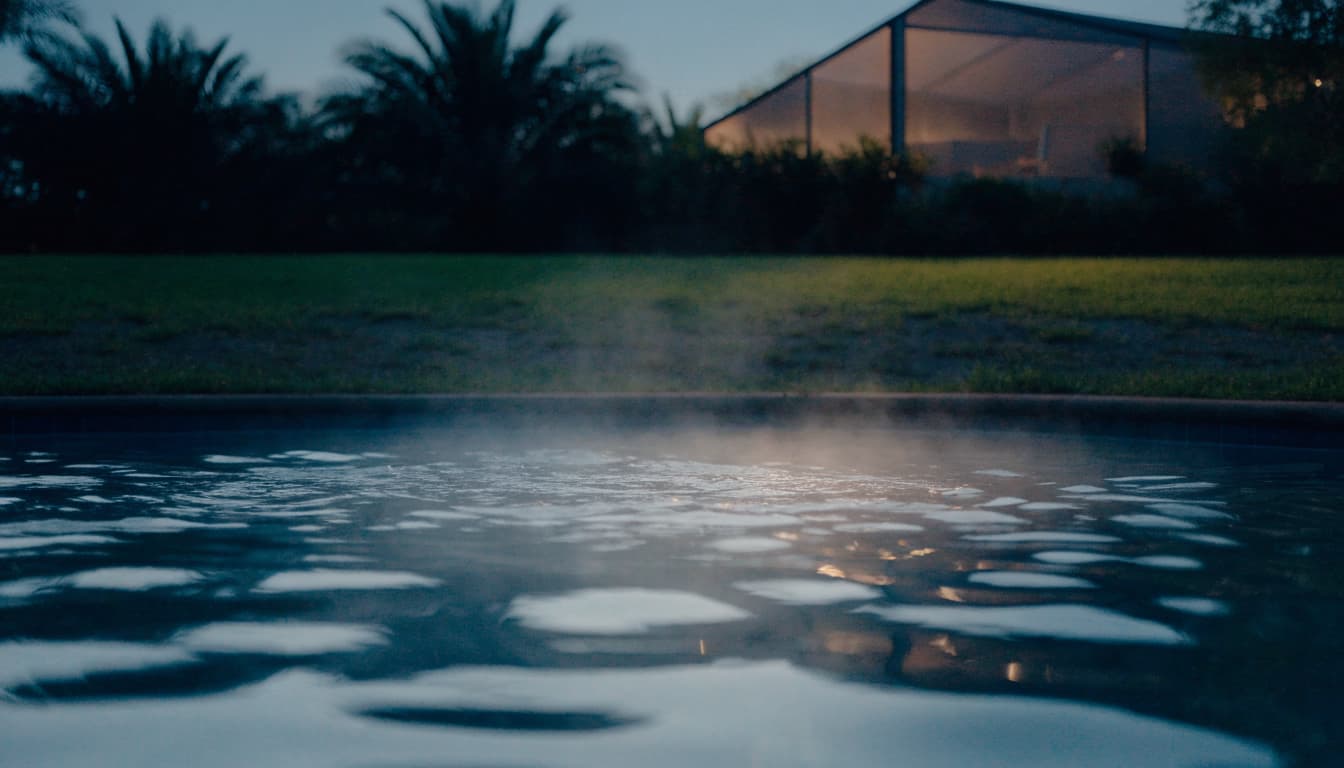
Cool air also takes heat directly from the water surface. The greater the difference between water and air temperatures, the faster heat can move out of the spa. You may notice more cooling during a cold snap than on a warm, humid night.
Wind and moving water
Wind moves air across the surface and can increase evaporation. Jets and waterfalls also expose more water to air, so leaving them on can affect how quickly the spa cools.
An attached spa may also circulate or spill water into the cooler pool, depending on its design and operating mode. That exchange can change the spa temperature even when the heater is working as intended.
Choose a Cover That Fits Your Spa
A fitted, insulated cover limits the water's contact with the air. It's one of the most practical ways to slow cooling when you want to keep the spa warm between uses.
Get a close fit around the edges
Look for a cover made for the spa's shape and dimensions. Raised walls, curved edges, handrails, and spillways can make a generic cover difficult to fit. Gaps leave water exposed, so pay attention to corners and any area where the cover lifts away from the coping.
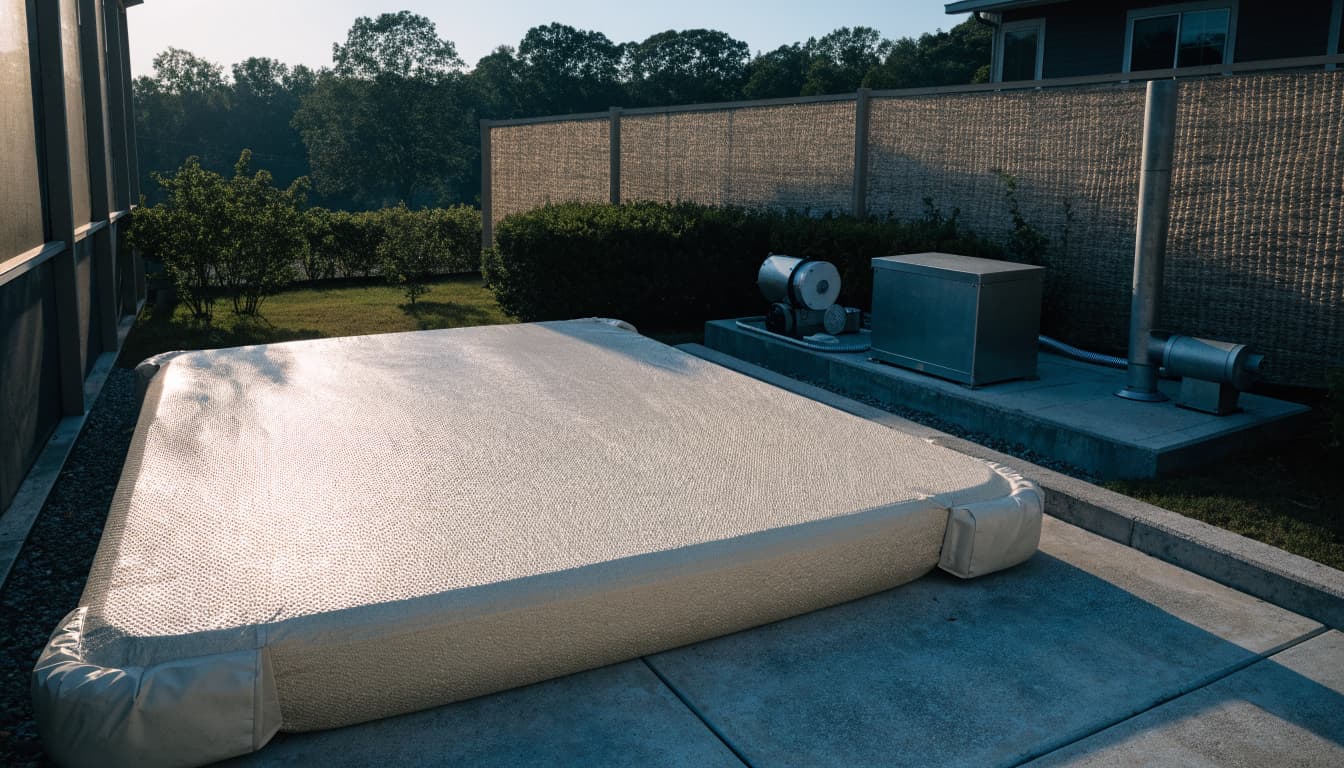
Put the cover back on after each use and secure it according to its instructions. Remove it completely before anyone enters the spa. Also, follow its care instructions when adding chemicals.
Watch for wear and waterlogging
A cover that has warped, torn, or become unusually heavy may no longer fit or insulate as it once did. Damaged seams and a sagging center are worth inspecting, especially if the spa has begun cooling faster under otherwise similar conditions.
A cover can help with heat retention, but don't assume every cover is a safety barrier. Use one designed for your spa and follow the applicable safety requirements for your property.
Look at the Shell and Exposed Plumbing
The water surface isn't the only place heat travels. Warm water also transfers heat through the spa shell to cooler surroundings. A raised spa has exposed exterior walls, while a flush spa has different contact with the surrounding deck and ground.
Insulation around the spa
Insulation can slow heat transfer through suitable areas of a spa's exterior. What's practical depends on the shell, access points, moisture conditions, and construction. For a built-in spa, adding insulation after the deck and finishes are complete may be difficult.
If you're planning a new spa or opening the area during a renovation, discuss insulation while the structure and access routes are still being designed. Don't cover vents, equipment access panels, or components that need clearance.
Pipes and equipment access
Heated water also passes through plumbing on its way between the spa and equipment. Insulation intended for exposed hot-water pipes can slow heat transfer along those sections. It needs to suit the outdoor environment and leave valves and service points accessible.
During a renovation, planning pool plumbing upgrades can help you coordinate a new spa or heater with the work already planned. Avoid digging around buried lines or modifying equipment yourself.
Protect the Spa From Wind
A spa in an open part of the yard may cool faster on a breezy night than one sheltered by a wall or fence. A well-placed landscape screen, fence, or other windbreak can reduce direct wind across the water.
Keep any barrier clear of heater and heat-pump airflow, exhaust openings, and equipment service areas. Don't enclose a heater or place combustible materials near it.
A screen enclosure offers a different kind of protection. It can help keep insects and debris out of the pool area, but it shouldn't be treated as a substitute for an insulated spa cover. If you're considering changes to your backyard, our screen enclosure and rescreening services can be part of a broader project.
Review Heater and Circulation Controls
Before assuming the spa has a faulty heater, look at how the system is set to operate overnight. Attached pool and spa systems often have separate operating modes, and the selected mode affects where water circulates.
Spa mode, schedules, and temperature controls
Look at the control panel or automation app to see whether the system is in spa mode or pool mode. Also review the heating and pump schedules. A spa that cools after its scheduled heating period ends may be behaving as programmed.
If you want the spa warm for a particular time, plan for the heater to run while adequate water flow is available. A heater generally needs circulation to operate. On the other hand, heating water you won't use for a long stretch can add unnecessary energy use.
Jets, spillways, and shared water
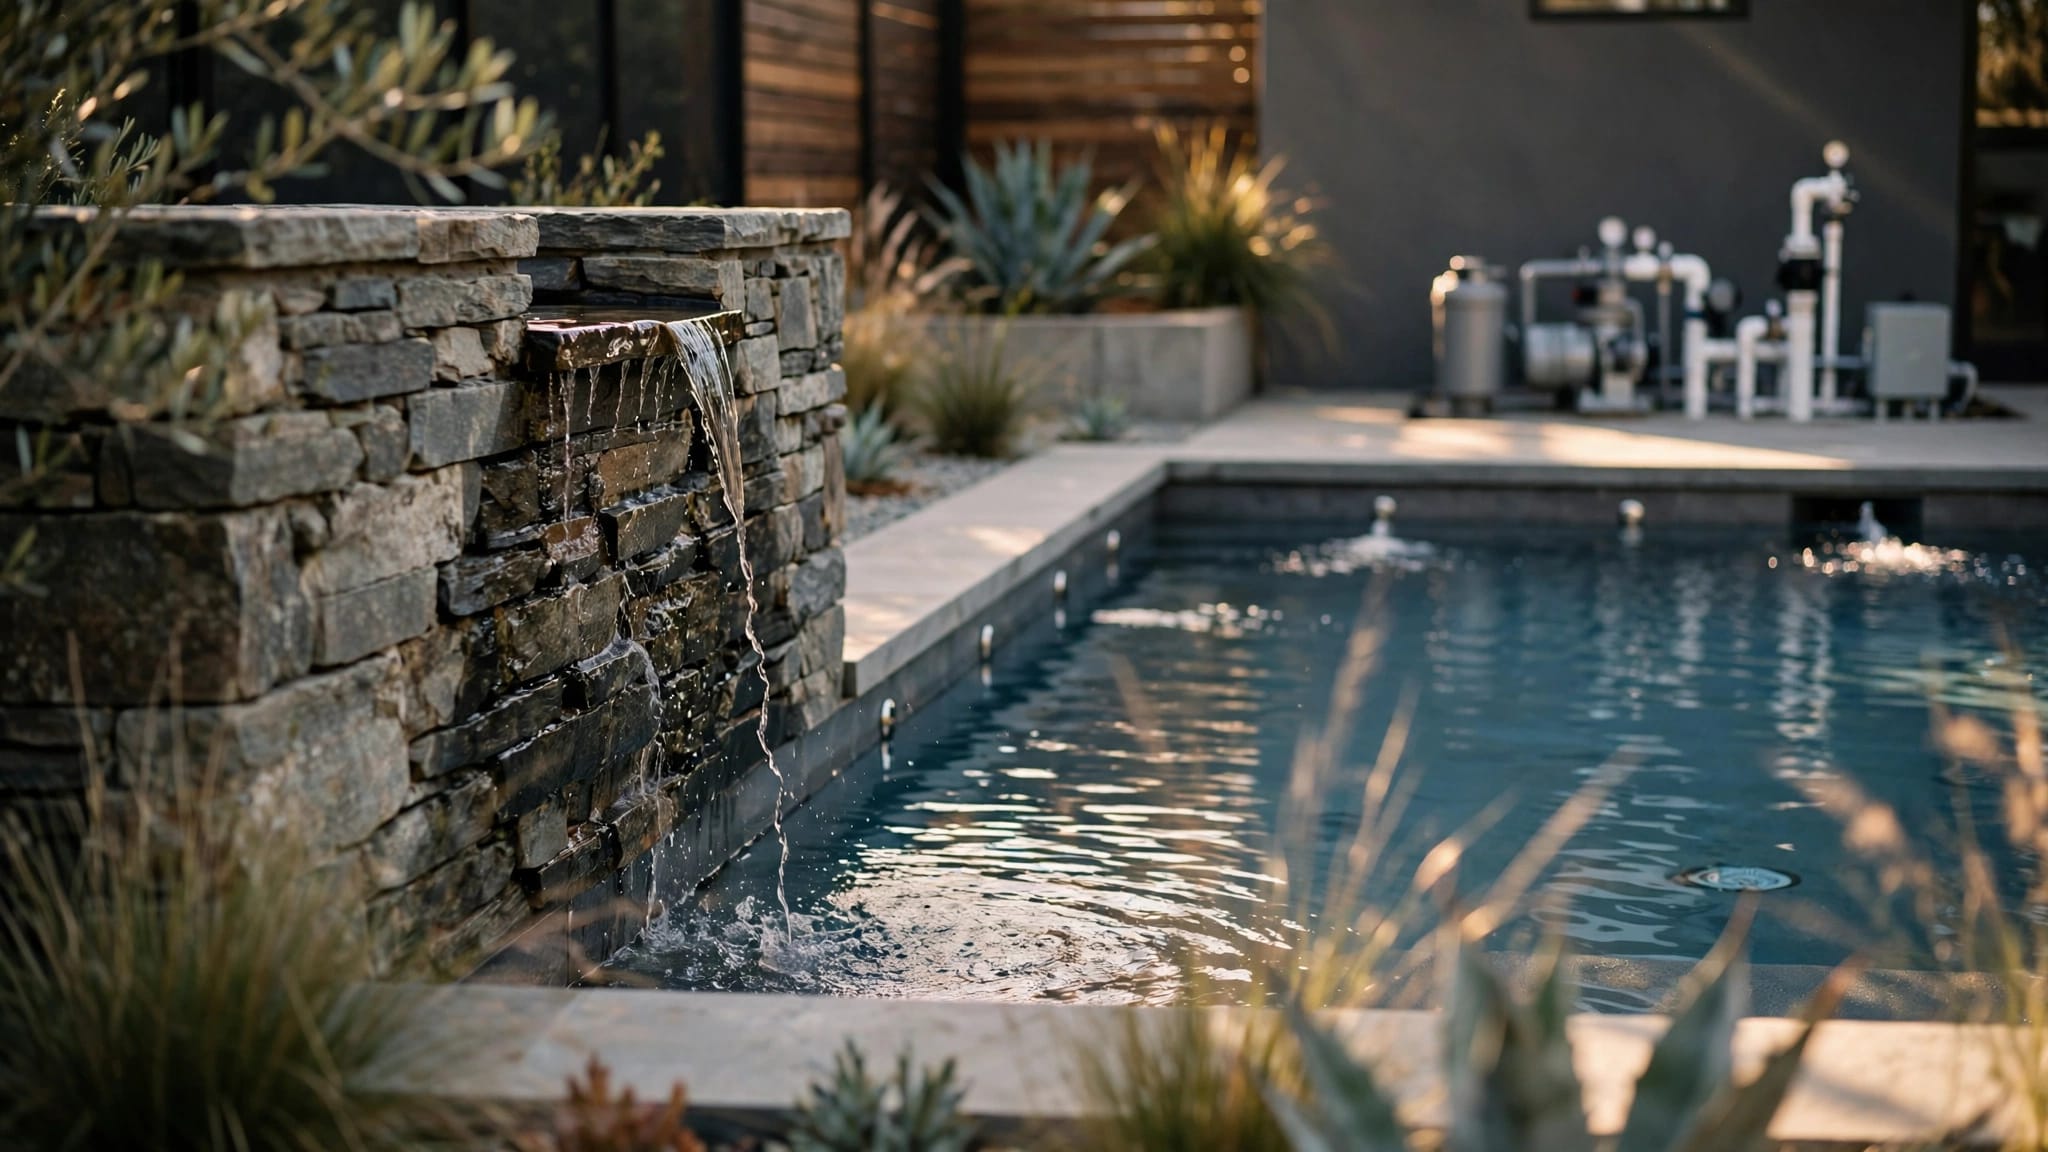
A spillway can move warm spa water into the pool when the system is operating in its spillover configuration. Pool and spa water may also mix through the circulation system, depending on the valve arrangement.
Turn off optional water features when you don't need them, using the normal controls. If you're unsure how your system handles spa mode and spillover, a pool professional can explain the setup. Avoid forcing valve handles or bypassing safety controls.
Tell Normal Cooling From a Problem
There's no single temperature drop that applies to every spa. Cover fit, weather, starting temperature, water volume, and equipment schedules all affect the result. A useful comparison is your spa's own pattern under similar conditions.
Use the same thermometer or display to note the temperature before covering the spa and again the next morning. Keep the cover use and equipment schedule consistent. Also note whether the night was unusually cool or windy.
A lower reading after the heater has been off may simply reflect normal cooling. However, a change from your usual pattern deserves attention. Look for these clues:
- The cover no longer sits flat, or it has become damaged or heavy.
- The heater displays an error, fails to start, or doesn't reach its set temperature.
- Return flow appears weaker than usual, the pump loses prime, or air enters the system.
- The spa water level drops unexpectedly, or the spa drains differently after the pump stops.
These signs don't identify a cause on their own. For example, some change in a raised spa's water level can be normal when circulation stops. A new or pronounced change is more useful to note than the water level alone.
Try These Simple Troubleshooting Steps
Start with observations that don't require opening equipment or changing plumbing. First, look over the cover and make sure it rests properly on the spa. Then review the control panel for the selected mode, schedule, and any displayed error.
Next, look at the equipment area for visible leaks and listen for unusual pump behavior. A low water level, full baskets, or a dirty filter can interfere with circulation. Clean accessible baskets and maintain the filter according to its instructions, but don't run the heater if the pump isn't providing proper flow.
If the water level is falling, separate that issue from the temperature reading. Evaporation removes water as well as heat, while a leak can also lower the level. Our guide to pool leaks versus evaporation explains a bucket test and signs to look for around the structure and equipment.
Call a qualified pool professional for persistent circulation trouble, heater errors, or suspected plumbing leaks. If you smell gas, leave the area and contact your gas utility or emergency services. Don't operate switches or try to troubleshoot the heater yourself.
Plan for Heat Retention During a Build or Renovation
The easiest time to address access and equipment placement is before the spa and deck are complete. Consider where a fitted cover will sit, where you'll store it, and whether the spa's shape or spillway will make covering it difficult.
A renovation is also a chance to review the heater, controls, and circulation layout alongside the spa finish. Resurfacing can address an aging interior, but it doesn't replace an inspection of a suspected structural or plumbing problem.
For a new backyard project, our pool installation and equipment options include heaters, pumps, and automation. We can discuss how the spa will fit into your Cape Coral pool design.
Keep Your Spa Warm on Your Terms
Some overnight cooling is expected. A close-fitting cover and protection from direct wind can help, while a consistent temperature record makes a change in your spa's behavior easier to spot.
If you're planning a new spa or a renovation, Get a Free Estimate for an on-site consultation with our team.