The most expensive time to add a pool plumbing line is after the concrete, decking, and screen enclosure footings are finished. Pool plumbing upgrades are easier and less disruptive when future needs are considered before excavation begins.
A new pool or renovation may eventually include a heater, salt chlorine system, water feature, spa, automation, or extra return jets. A clear plumbing plan gives those additions a place to connect without tearing up finished surfaces. Start with the layout, then choose pipe sizes, equipment locations, valves, and access points that support the pool you may want later.
Why Pool Plumbing Upgrades Start With the First Layout
The first plumbing drawing should show more than today's pump and filter. It should account for how water will move through the pool, where equipment will sit, and which additions might change the system later.
Begin by listing the features you may add within the next several years. A pool heater might become useful for winter swimming. A salt chlorine generator could reduce routine chemical handling. A spa, bubbler, sheer descent, or additional return line may require new flow paths. Automation equipment may also need control wiring near the pump and valves.
These choices affect underground pipe routes. A water feature often needs its own return line. A spa may need dedicated suction and return plumbing. A heater requires enough flow through the equipment pad, while a salt system needs a suitable location after the filter and heater in the circulation sequence.
On a new pool, these lines can be installed before the shell, deck, and enclosure are complete. During a renovation, the best opportunity may come when the deck is already being removed or when equipment is being relocated. Resurfacing changes the interior finish, but it usually doesn't replace underground plumbing by itself.
A future upgrade is affordable when the connection point already exists. It becomes disruptive when a contractor must cut through finished concrete to reach the right line.
Ask for a plan that identifies each suction line, return line, drain, equipment connection, and capped future route. You should also know where the lines run beneath the deck and enclosure area before any future digging begins.
Map Water Flow Before Choosing Pipe Sizes
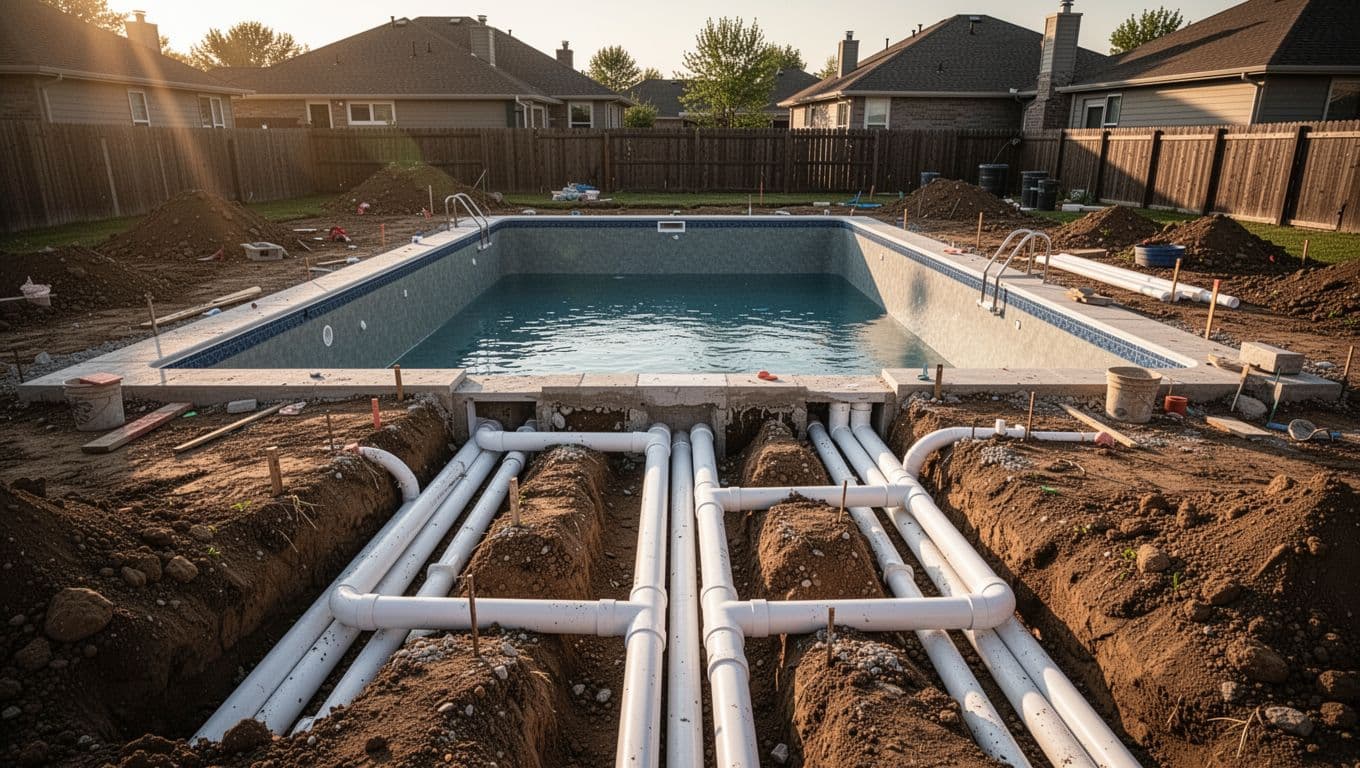
Good pool plumbing begins with a hydraulic layout. That layout considers the pool's volume, the distance to the equipment pad, the number of fittings, the pump's flow rate, and the equipment manufacturer's requirements.
Suction plumbing carries water from the skimmers, main drains, and other collection points to the pump. Return plumbing sends filtered and treated water back to the pool. Keeping these paths clear and properly sized helps the pump move water without unnecessary resistance.
Separate suction lines can make maintenance easier. For example, individual lines for skimmers and drains allow a technician to isolate one circuit without shutting down every part of the system. Dedicated lines also give a future upgrade more flexibility than a single crowded run.
Return placement deserves equal attention. The pool skimmers and return jets affect surface cleaning, circulation, and how evenly treated water reaches the pool. If you plan to add a water feature, ask whether its line should remain separate from the main returns.
Pipe routes should use smooth, direct paths whenever the site allows. Sharp turns and excessive fittings add resistance. Long underground runs also need careful sizing because distance can reduce available flow at the equipment pad.
An engineering plan can show how these details fit the property. Review pool engineering plans and pipe routes before construction begins, especially if the pool sits far from the proposed equipment area or shares space with a deck, patio, or screen enclosure.
Before backfilling, ask the contractor to identify each line at the equipment pad and photograph the underground layout. Those records can prevent guesswork during future pool plumbing upgrades.
Size Main Lines for Future Equipment
Pipe diameter affects friction, flow, pump performance, and equipment compatibility. Many residential pool systems use 1.5-inch or 2-inch PVC on major runs, but the correct size depends on the planned flow rate and the complete equipment design.
A larger pipe can reduce resistance, but installing oversized lines without matching equipment doesn't automatically improve circulation. The pump, filter, heater, chlorinator, valves, and fittings must work within compatible flow ranges.
Variable-speed pumps are common in modern pool systems because they can operate at lower speeds for regular filtration. However, the plumbing still needs to move enough water for filtration and any higher-flow feature. A system designed for a small circulation pump may limit the value of a later equipment upgrade.
Heaters and heat pumps also have minimum and maximum flow requirements. If you may add one later, leave a practical connection point near the equipment pad. The plumbing design may need a bypass arrangement so water can move through the heater at the correct rate without forcing all circulation through it during every operating cycle.
Salt chlorine generators need proper placement in the return line. They generally require water that has already passed through the filter, and the cell must have enough space for inspection and cleaning. Planning the cell location early is easier than trying to fit it between existing valves and elbows.
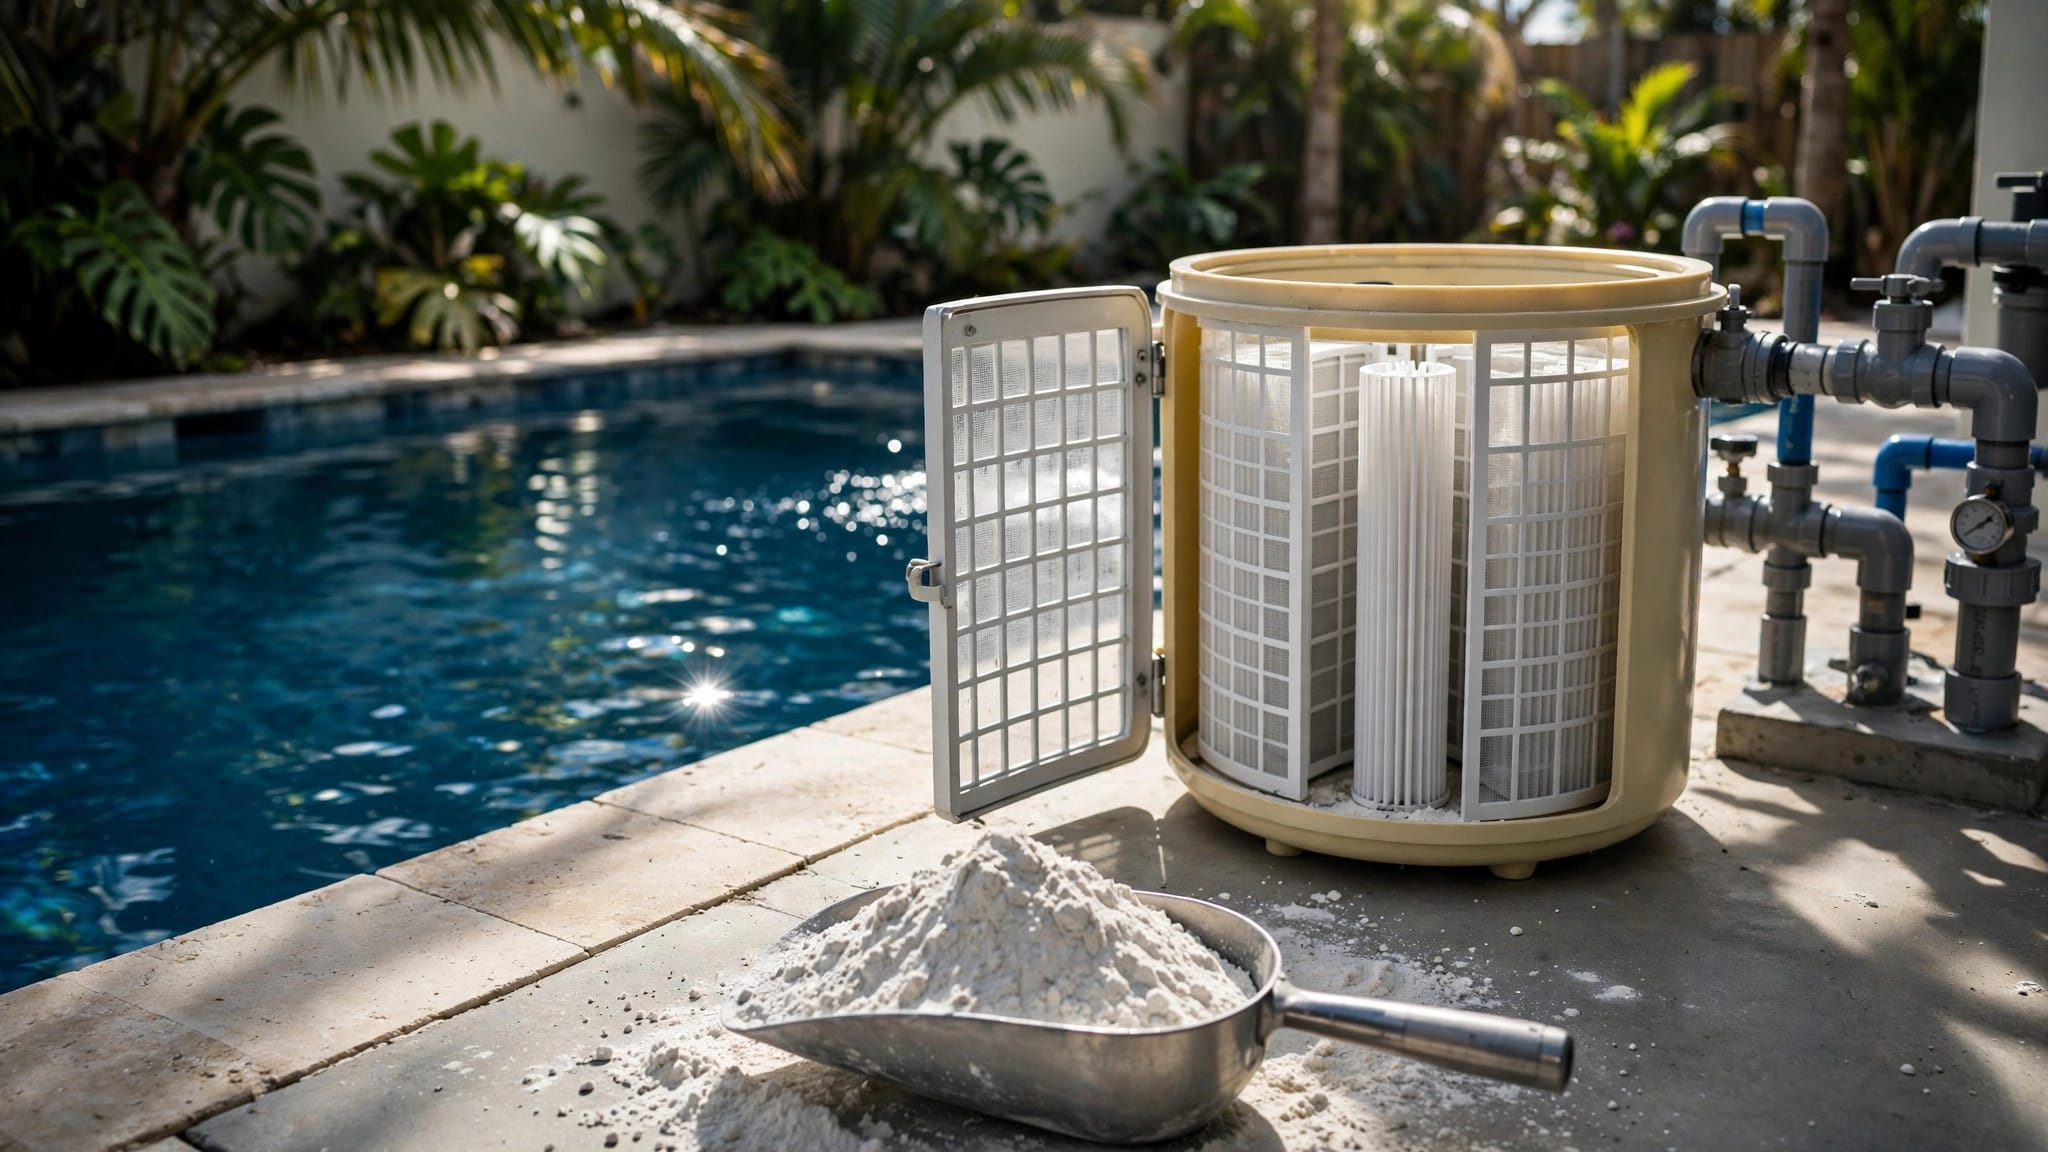
The same principle applies to cartridge filters, sand filters, chemical feeders, and automation valves. Check the manufacturer's installation requirements before selecting a location. Clearance for service can matter as much as the footprint of the equipment itself.
A larger pipe carries more water with less friction, but it cannot compensate for a pump, filter, or heater that cannot handle the planned flow.
Design an Equipment Pad That Can Grow
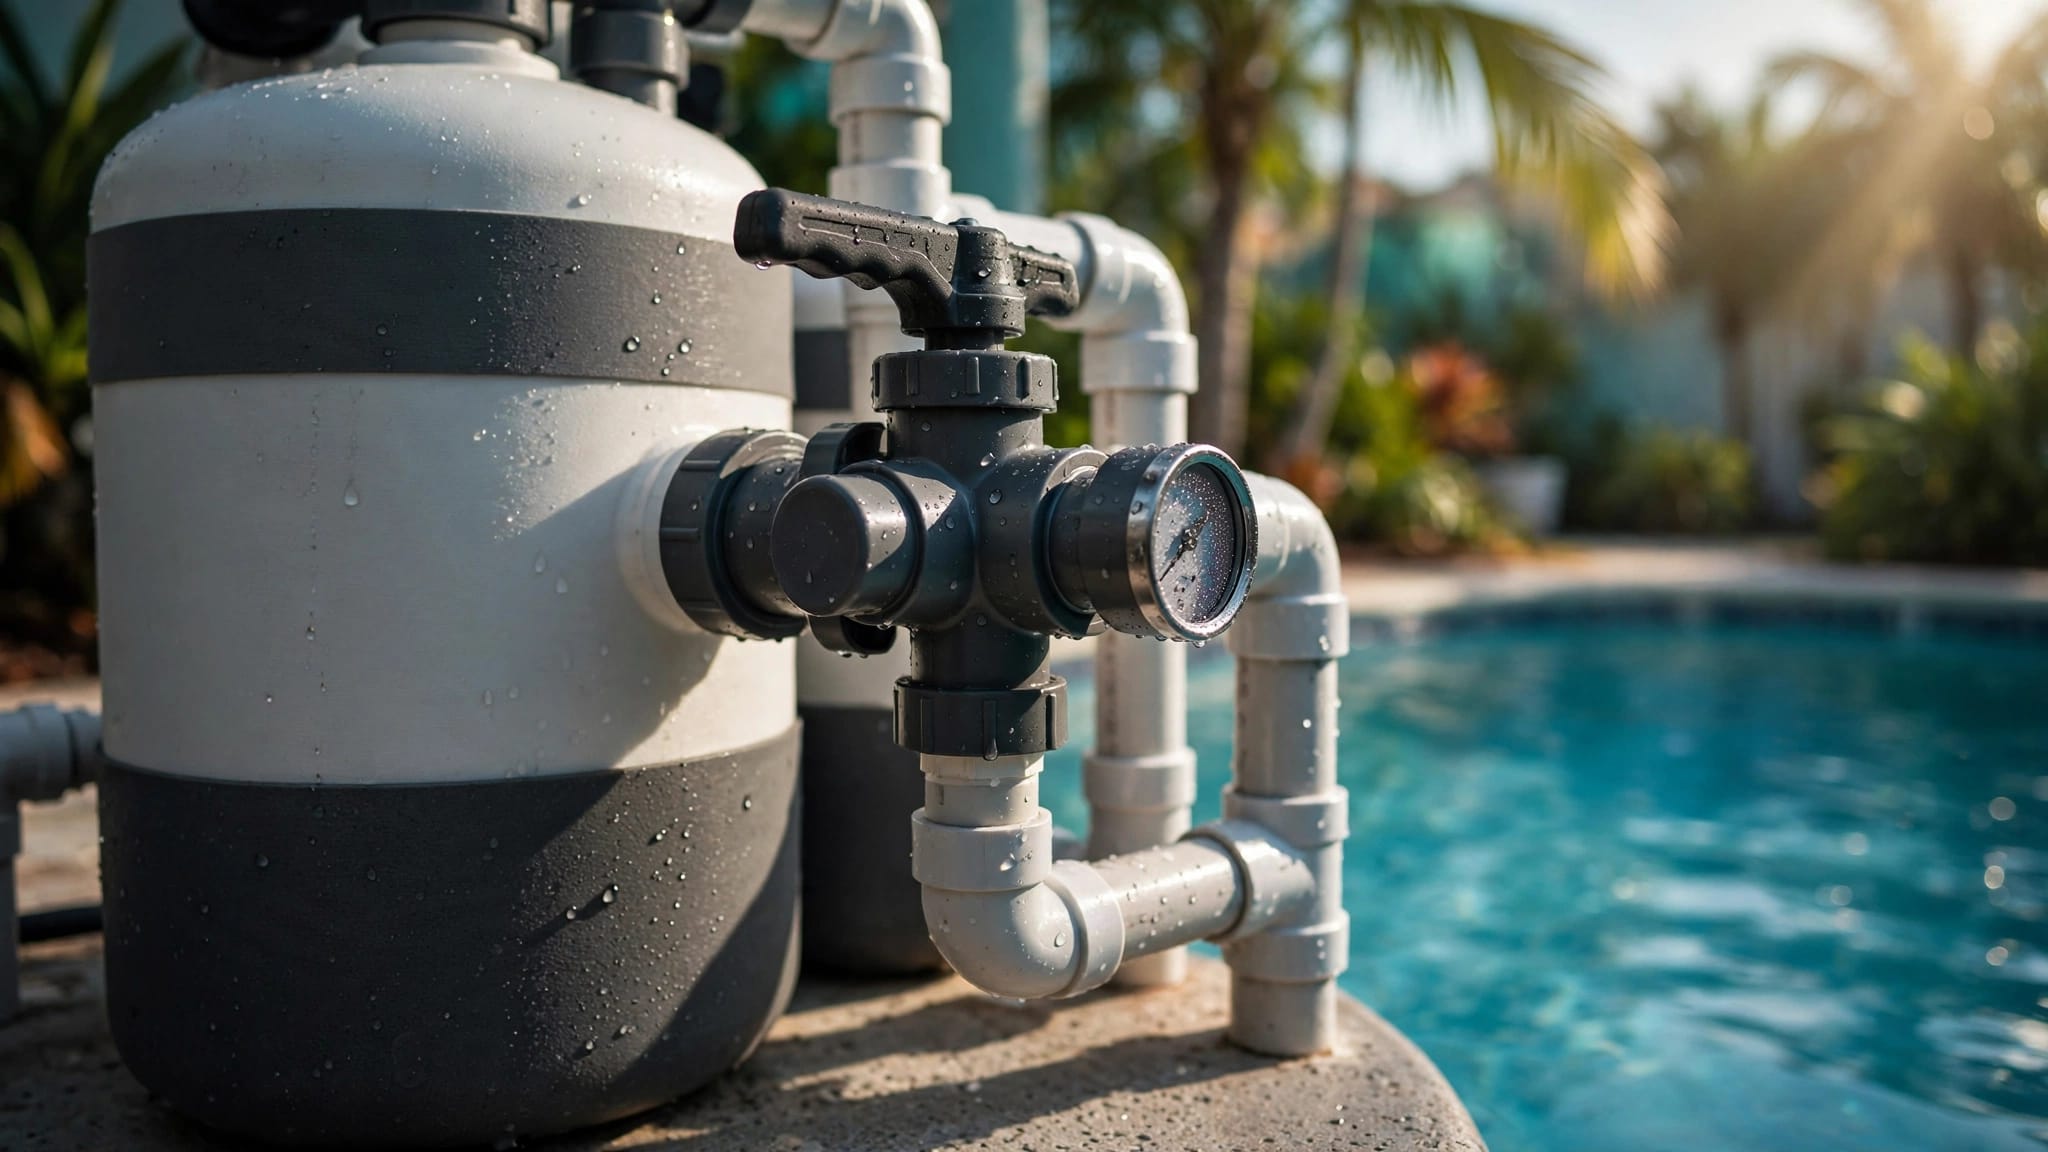
An equipment pad should have enough room for current components and reasonable future changes. A crowded pad makes repairs slower, hides leaks, and leaves little space for a larger pump or an added heater.
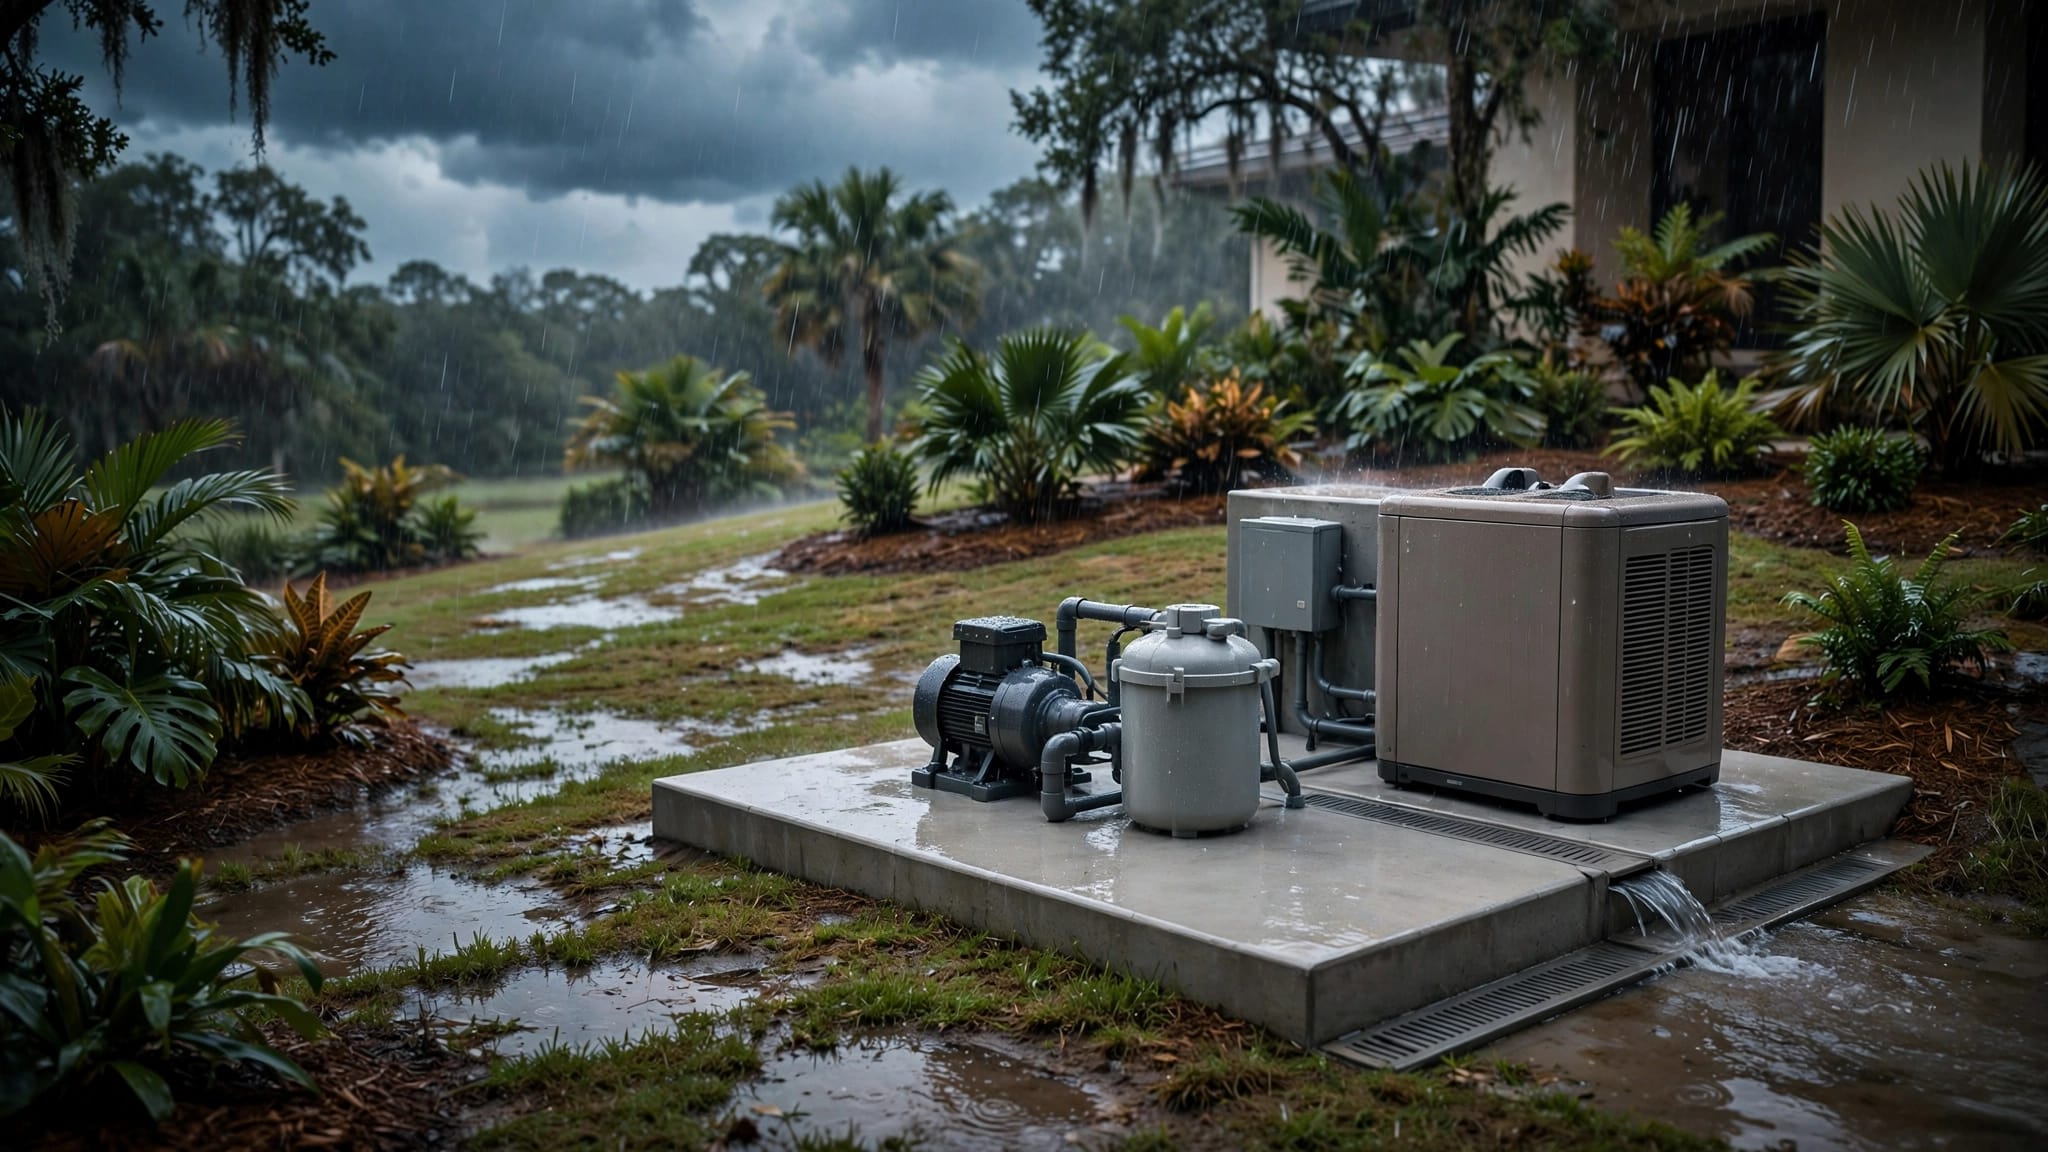
Place the pad where technicians can reach every connection. Leave working clearance around the pump lid, filter tank, valves, heater, and electrical equipment. Equipment shouldn't sit where roof runoff or standing water can collect around the motor and controls.
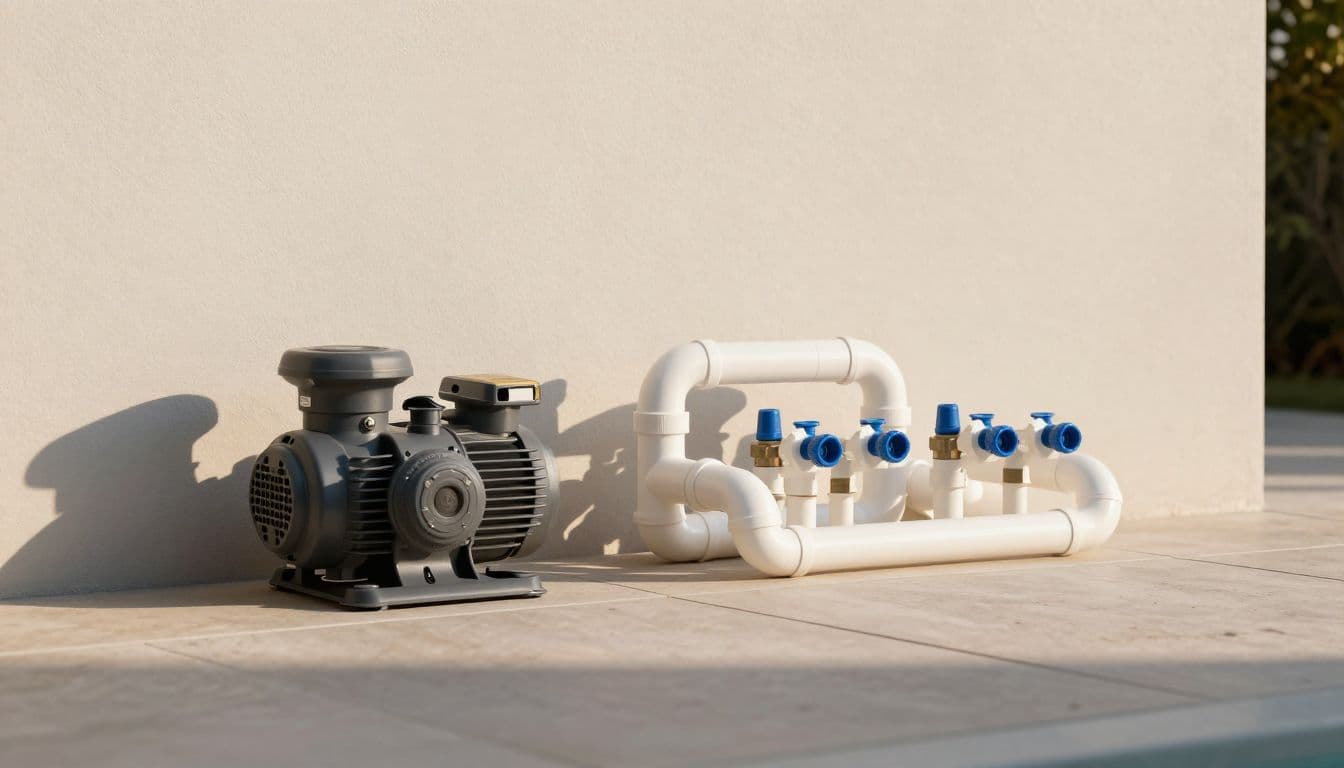
Straight pipe runs make future changes easier. Use unions near pumps, filters, heaters, and other major components so equipment can be removed without cutting pipe. Isolation valves can close one section of the system while the rest remains intact.
A planned valve manifold can also simplify upgrades. Instead of connecting every feature through a tangled series of fittings, the contractor can group related lines in an organized layout. Each line should have a clear purpose and be easy to trace.
Electrical planning belongs in the same conversation. Future pumps, heaters, lighting, automation controls, and salt systems may need dedicated circuits or control wiring. A licensed electrician should review those requirements, while the pool contractor coordinates equipment locations and conduit routes.
Screen enclosures add another planning concern. Keep plumbing and equipment clear of enclosure footings and posts. If a future feature could cross beneath a deck or enclosure slab, install a properly sized sleeve before the concrete is placed. A sleeve creates a protected route without requiring later demolition.
For Cape Coral homeowners, coordinate the equipment pad with the pool deck, lanai, drainage, and waterfront property layout. A few feet of planning can make a later service call far simpler.
Preserve Access to Future Connections
A capped line is useful only when someone can find it and connect to it. Future pool plumbing upgrades depend on clear labels, accessible valves, and accurate records.
If the design includes a future line, ask the contractor where it ends and how it is protected. The capped end should remain accessible at the equipment pad or terminate in a location documented before the area is covered. A buried cap with no record can be as difficult to use as no line at all.
Install isolation valves where they can be reached without moving heavy equipment. Unions should sit near components that may need replacement. Check valves can help prevent unwanted backflow in certain equipment and water-feature arrangements, but their placement should follow the system design rather than being added at random.
Conduit sleeves can protect future wiring for automation, lighting controls, or equipment communication. Ask for a pull string in spare conduit, and keep electrical conduit separate from water plumbing. The contractor and electrician should coordinate locations before the deck or enclosure footings are installed.
Create an as-built record after installation. It should include:
- Pipe sizes and materials used on each major run.
- The route of underground lines, measured from fixed points.
- The location of valves, unions, sleeves, and capped connections.
- Equipment model numbers, flow requirements, and installation dates.
- Photos taken before backfill, deck installation, and enclosure construction.
Keep the record with your home documents. When a leak, pressure problem, or equipment failure appears years later, accurate information can reduce unnecessary excavation. If the existing system already has brittle PVC, repeated patches, or underground leaks, review pool equipment repair versus replacement before adding new components.
Use the Plan During Construction or Renovation
A plumbing plan should appear in the written project scope, not only in a contractor's memory. Before work begins, confirm the pipe sizes, equipment locations, future connections, valve layout, and access points.
For a new pool, review the plumbing before excavation and again before concrete covers the lines. Walk the site with the builder and confirm where the equipment pad, deck, screen enclosure, drains, skimmers, and return lines will sit. A small layout change can affect several parts of the project.
During a renovation, decide whether the work includes only resurfacing or also includes plumbing changes. Moving a return jet, adding a spa, replacing old equipment, or installing a heater may require new pipe routes. Combining that work with deck removal can reduce the need to disturb finished areas later.
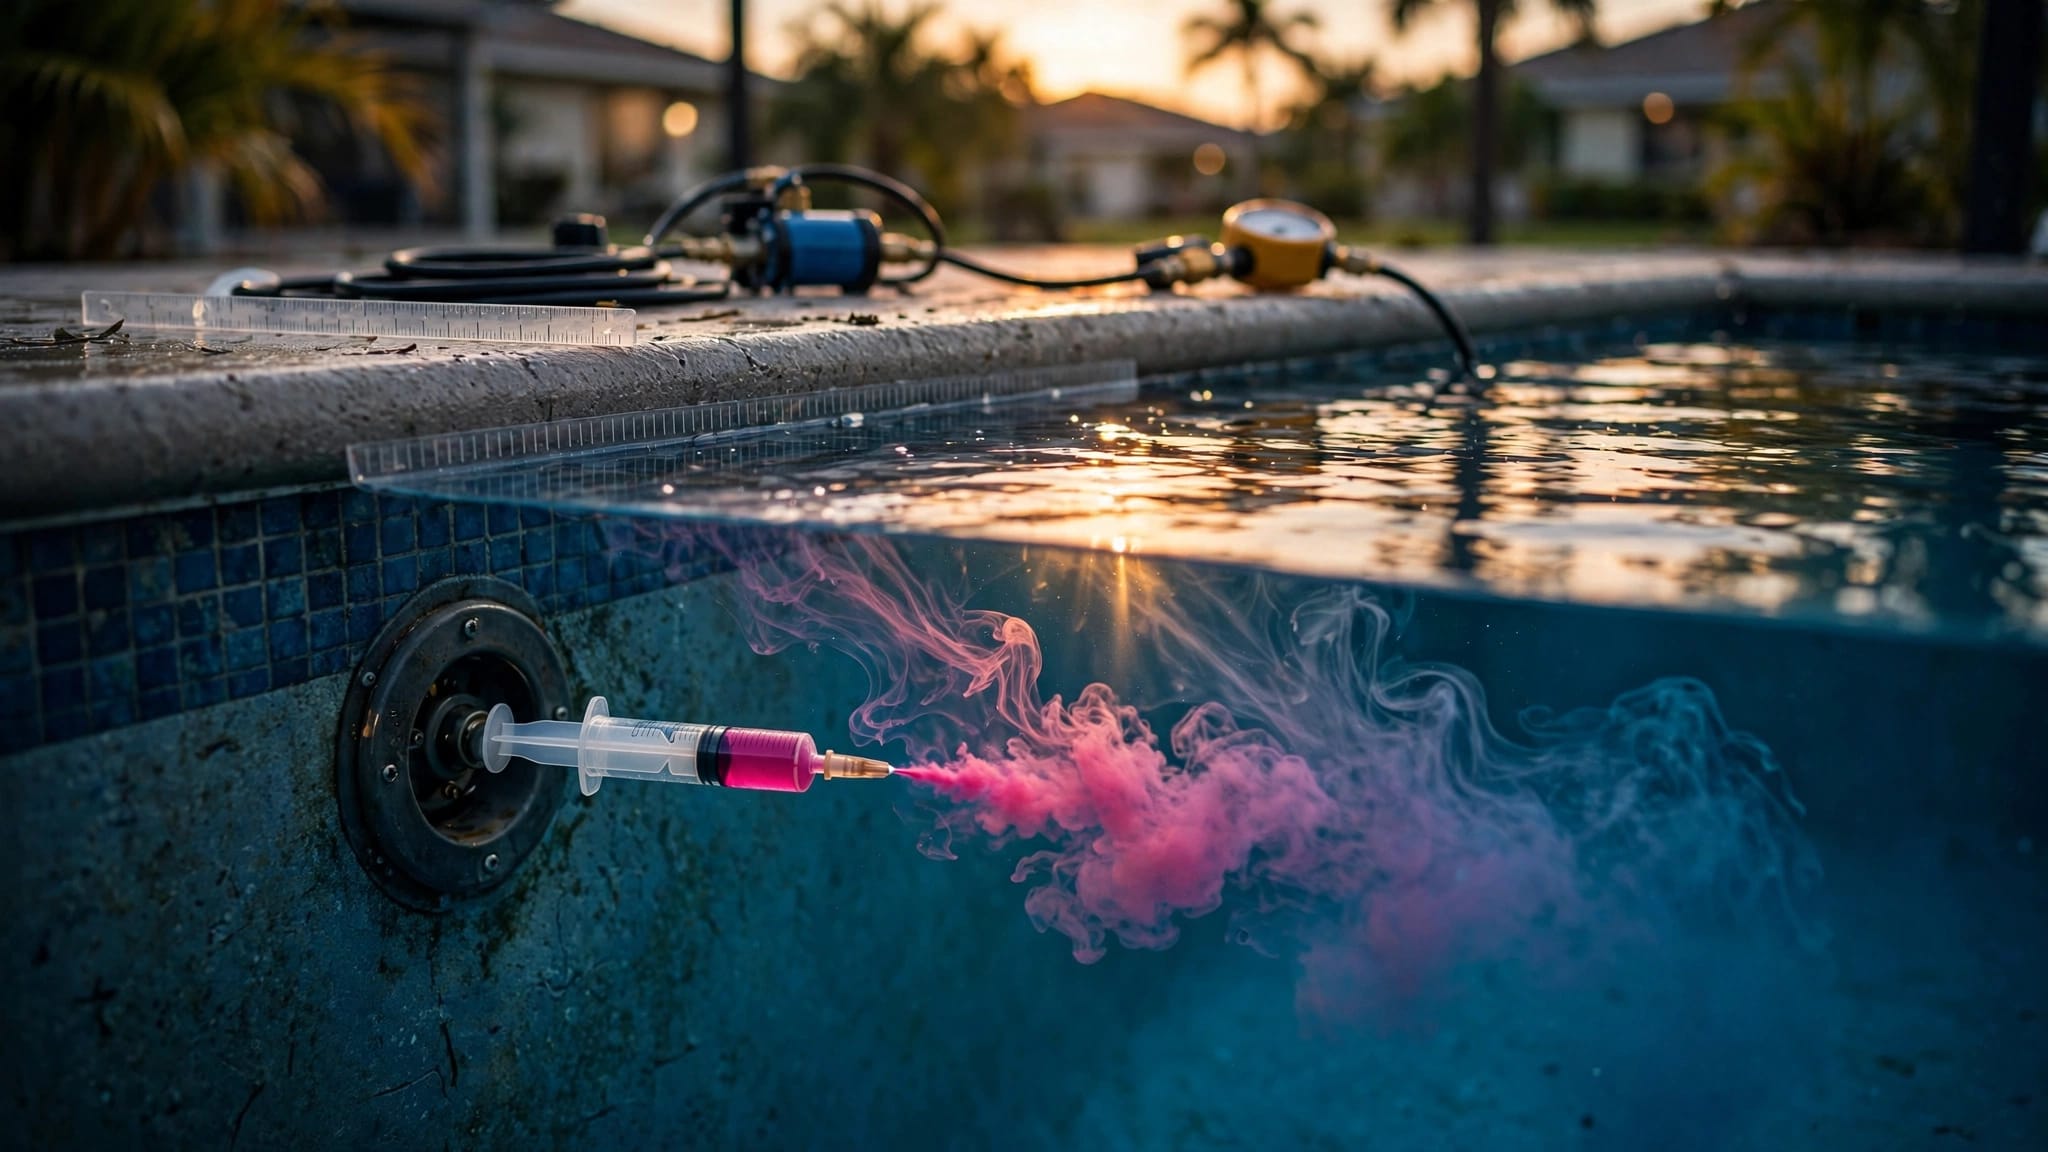
The contractor should pressure-test the plumbing before backfill and correct leaks before the lines disappear underground. Ask for the test results and photos for your records. Local permits and inspections may also apply, so the project scope should identify who handles those requirements.
If you are planning a new pool, major renovation, or equipment relocation, Get a Free Estimate for an on-site review. A contractor can evaluate the property, discuss likely future features, and place those needs into the initial plumbing design.
Conclusion
Future pool plumbing upgrades begin with decisions made before the first trench is covered. Map the water paths, size the system around realistic flow needs, leave room at the equipment pad, and protect future connections with sleeves, valves, unions, and clear records.
A well-planned system gives you more choices when your pool needs change. The best time to make those choices is while the plumbing is still visible and accessible, not after the deck and enclosure are complete.